Mmu_man stop it, it makes me want to recap my 694D Pro-A and run my dual Pentium 3 733 back 
2 Likes
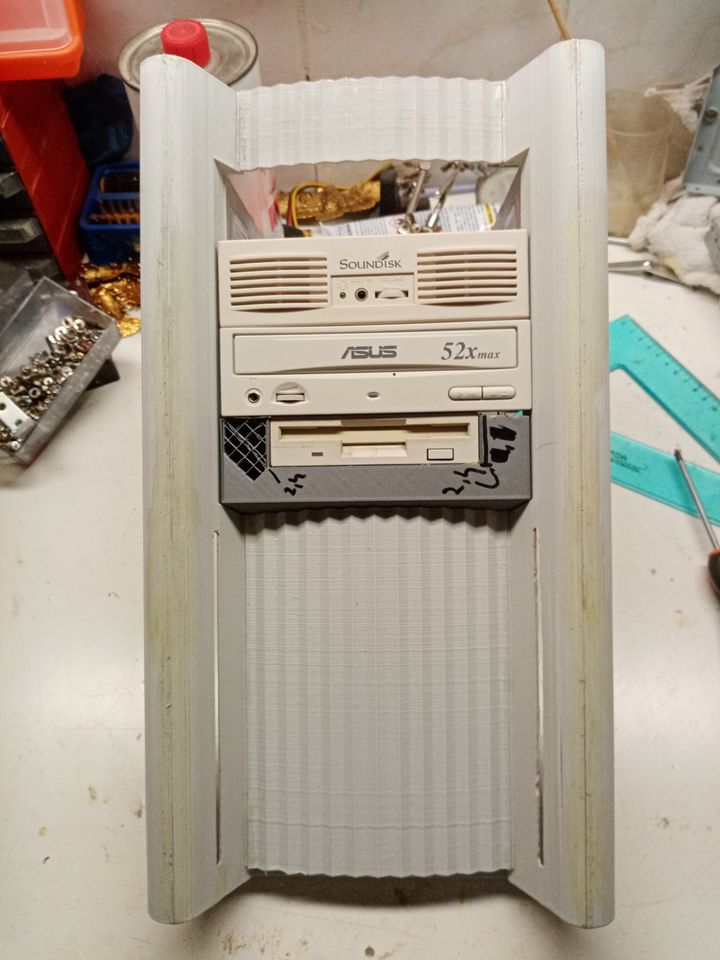
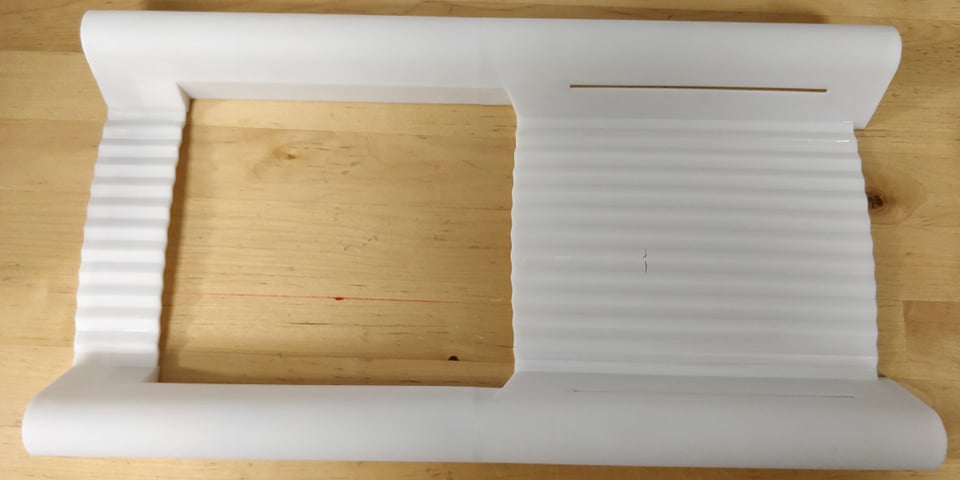
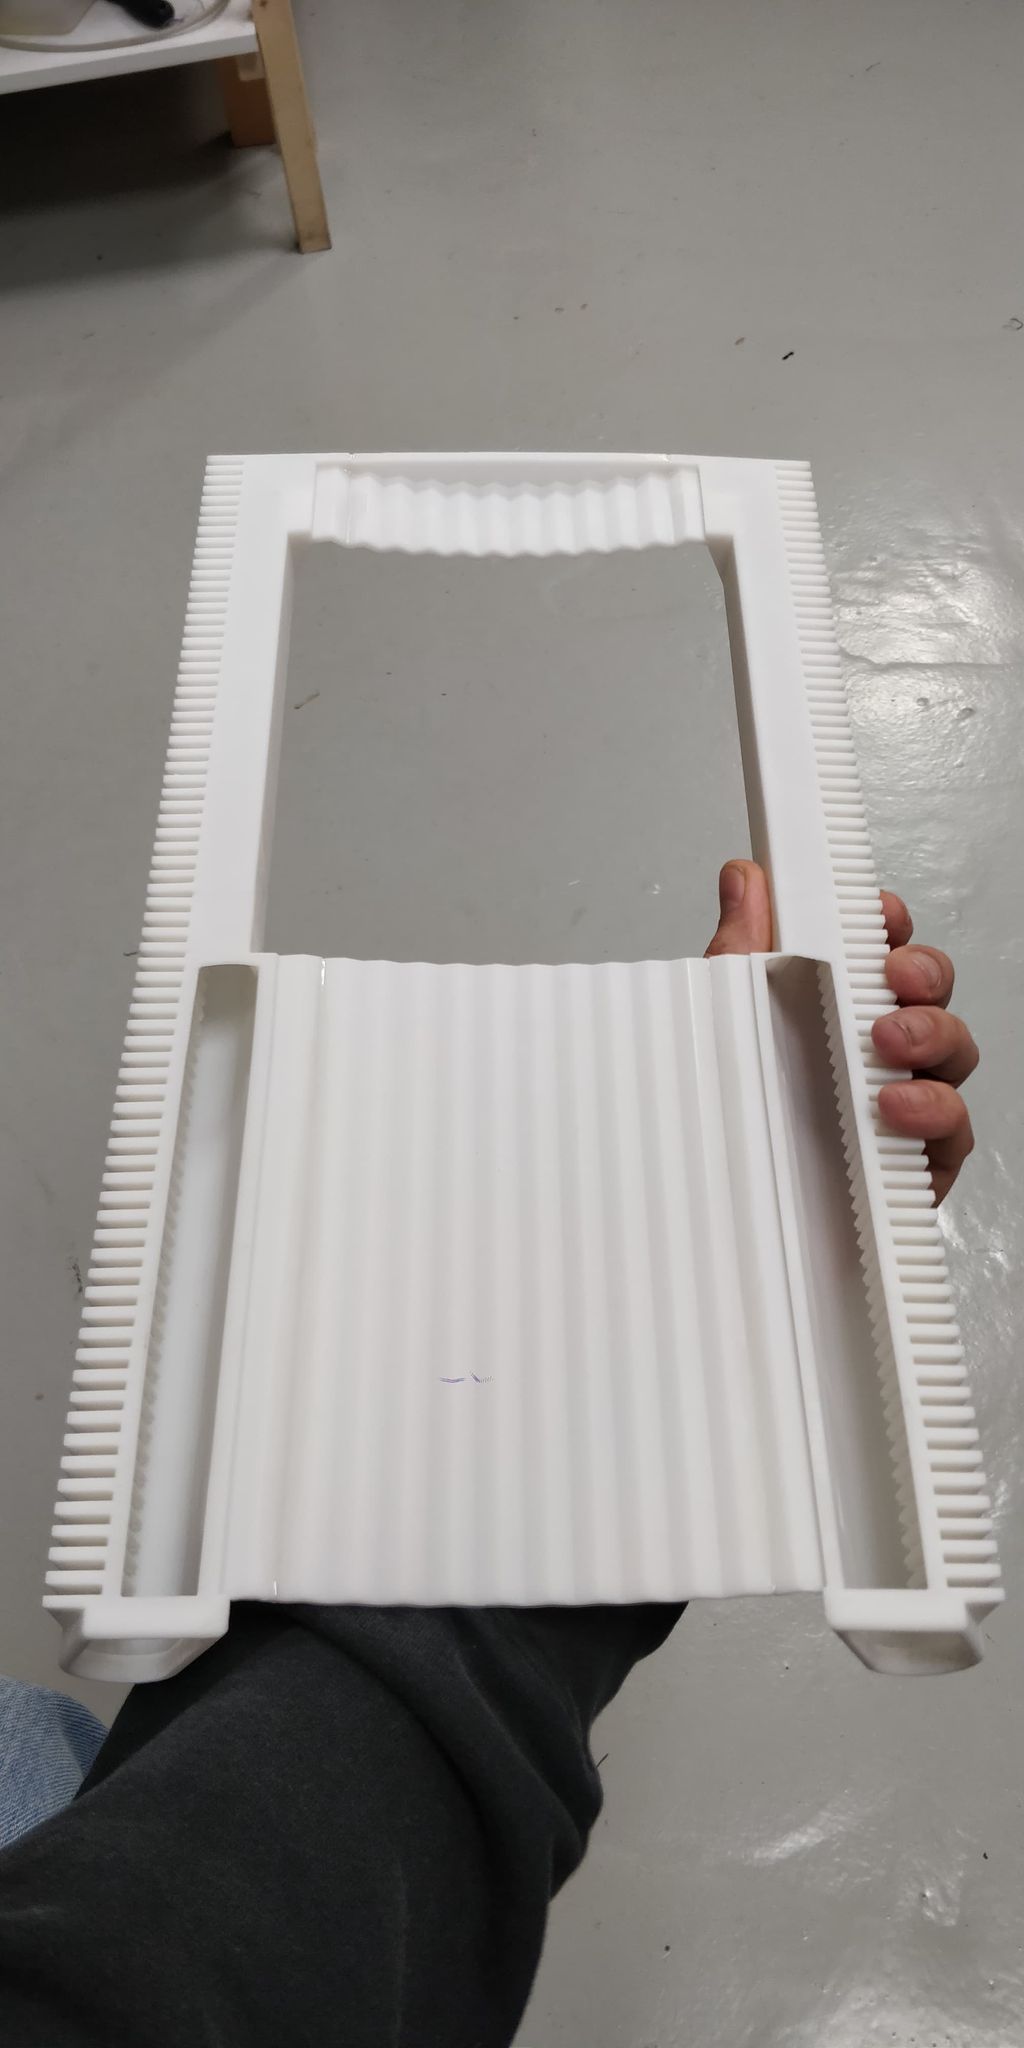
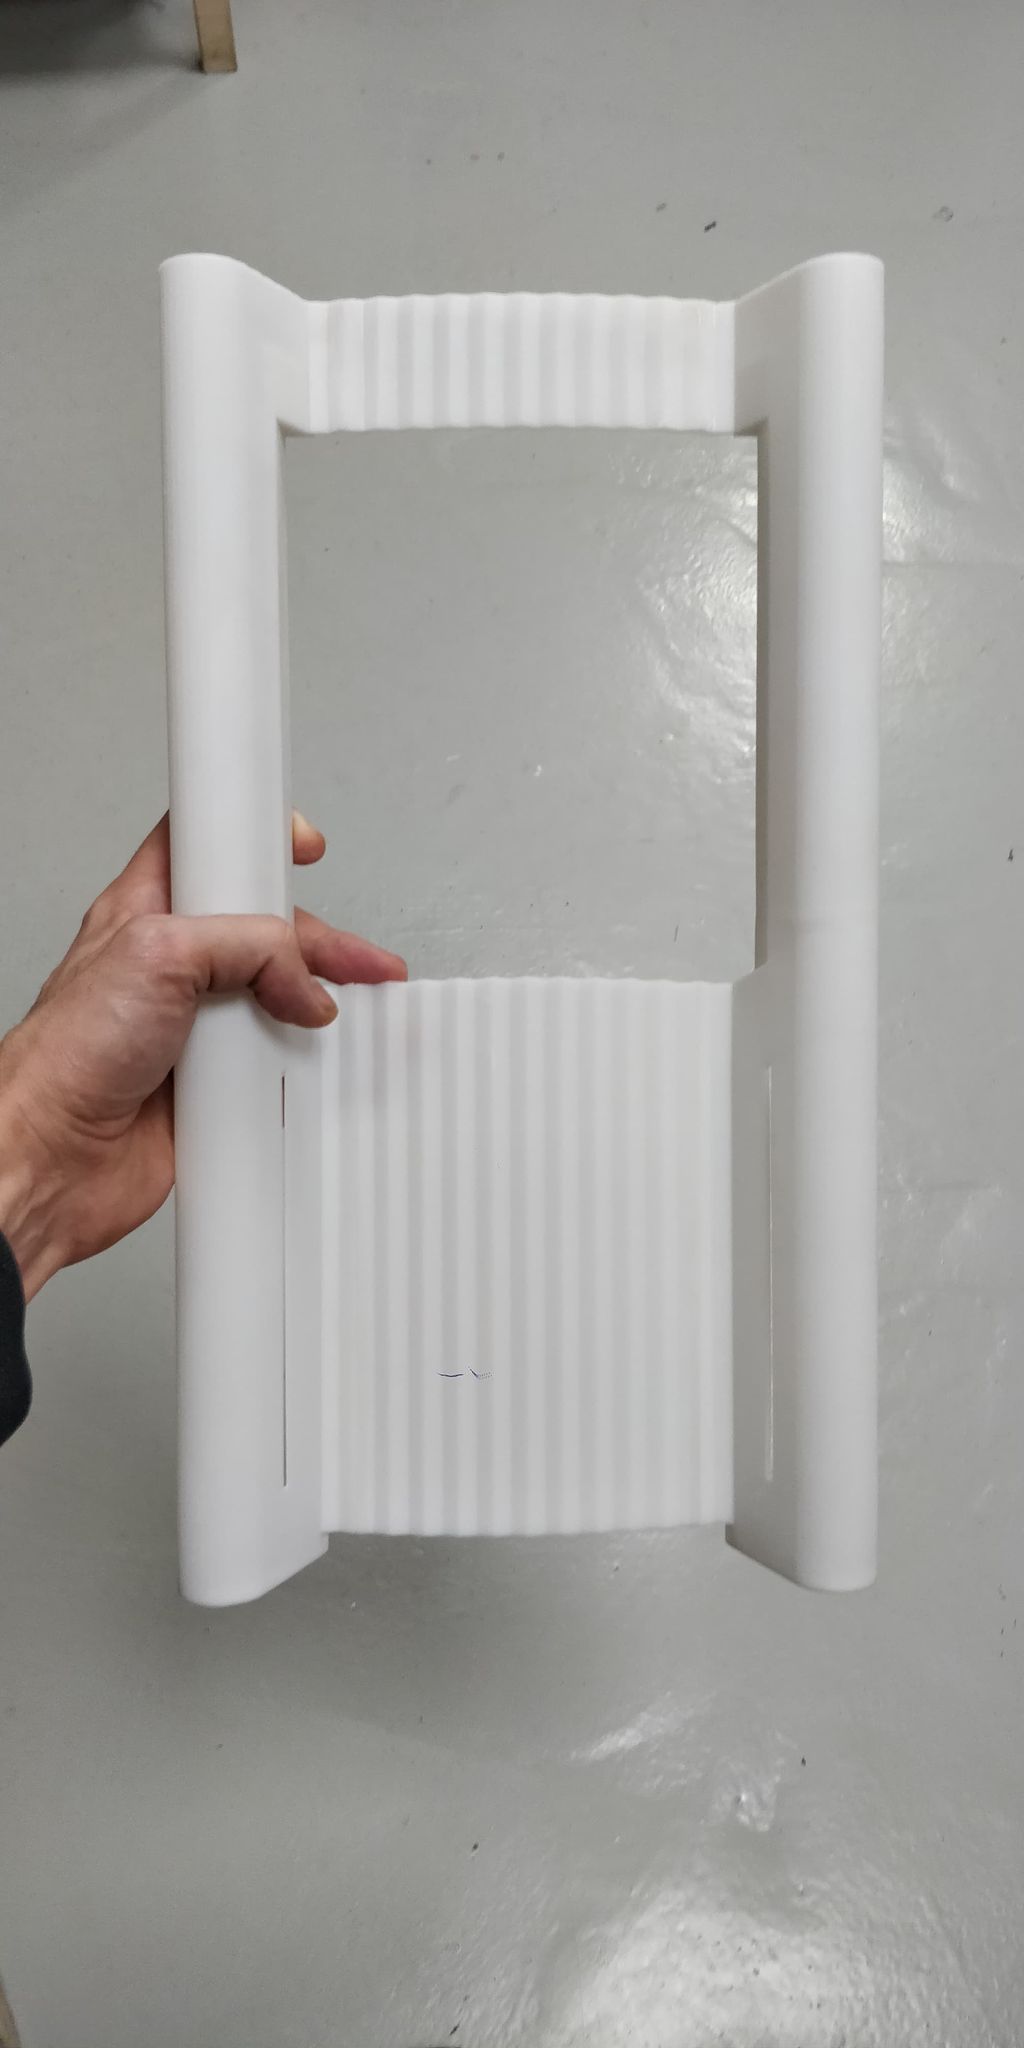
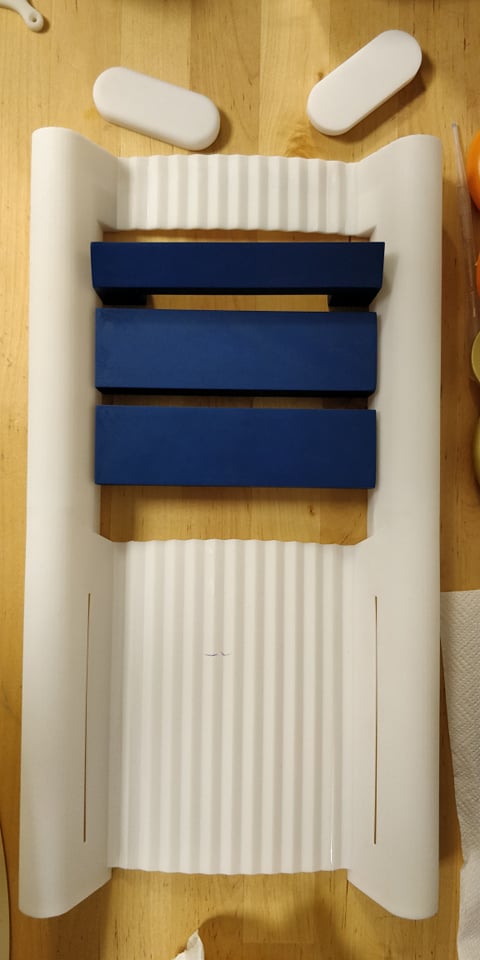
I have installed the block where the cd player and the audio speakers are housed … I have to make some small corrections (stuff of mm), make new 3d prints and then, if everything is correct, I go to make the final print resin
6 Likes
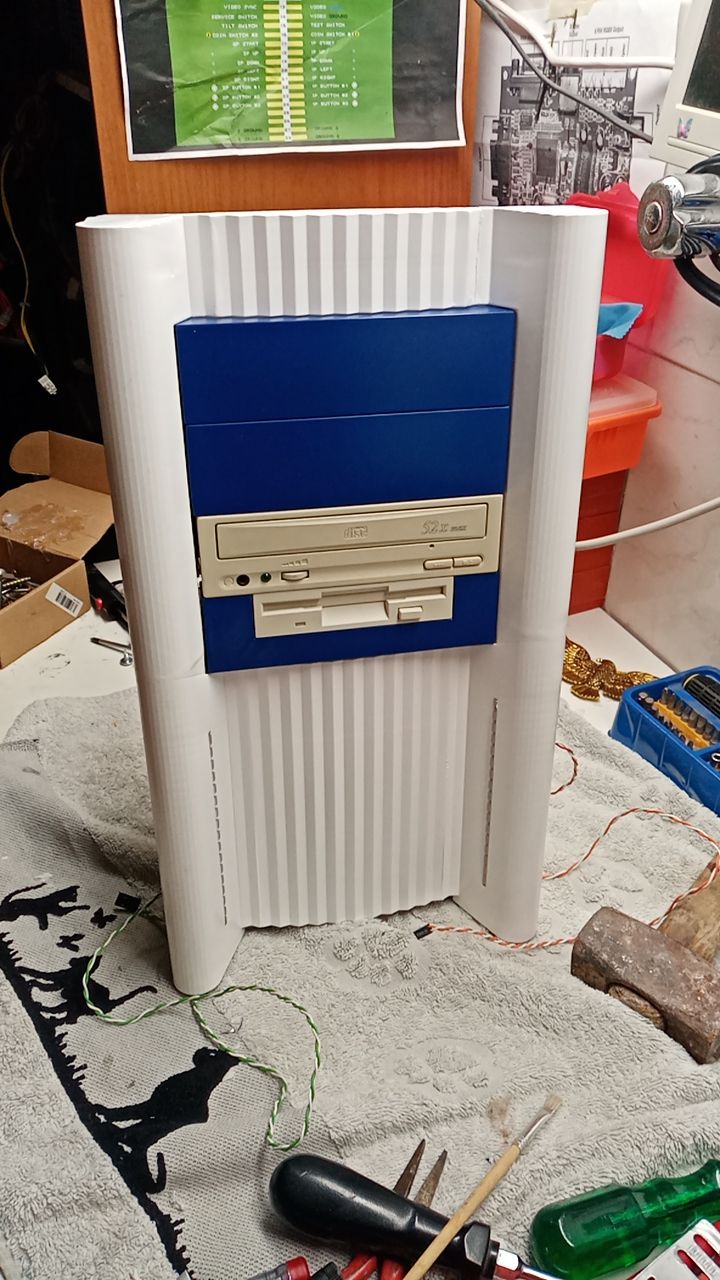
wow, floppy drive  (long time since I used that)
1 Like
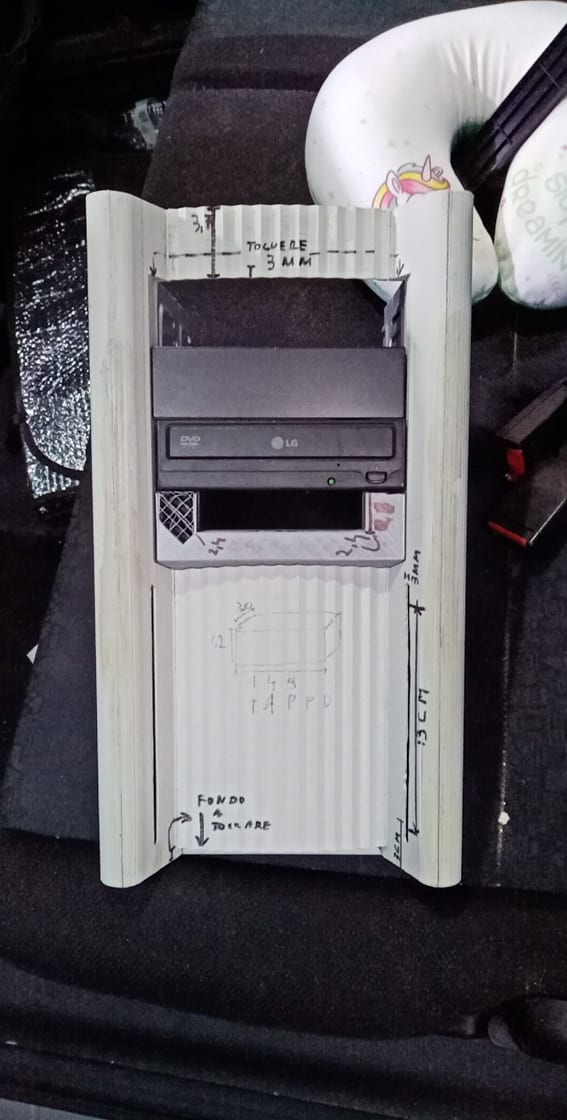
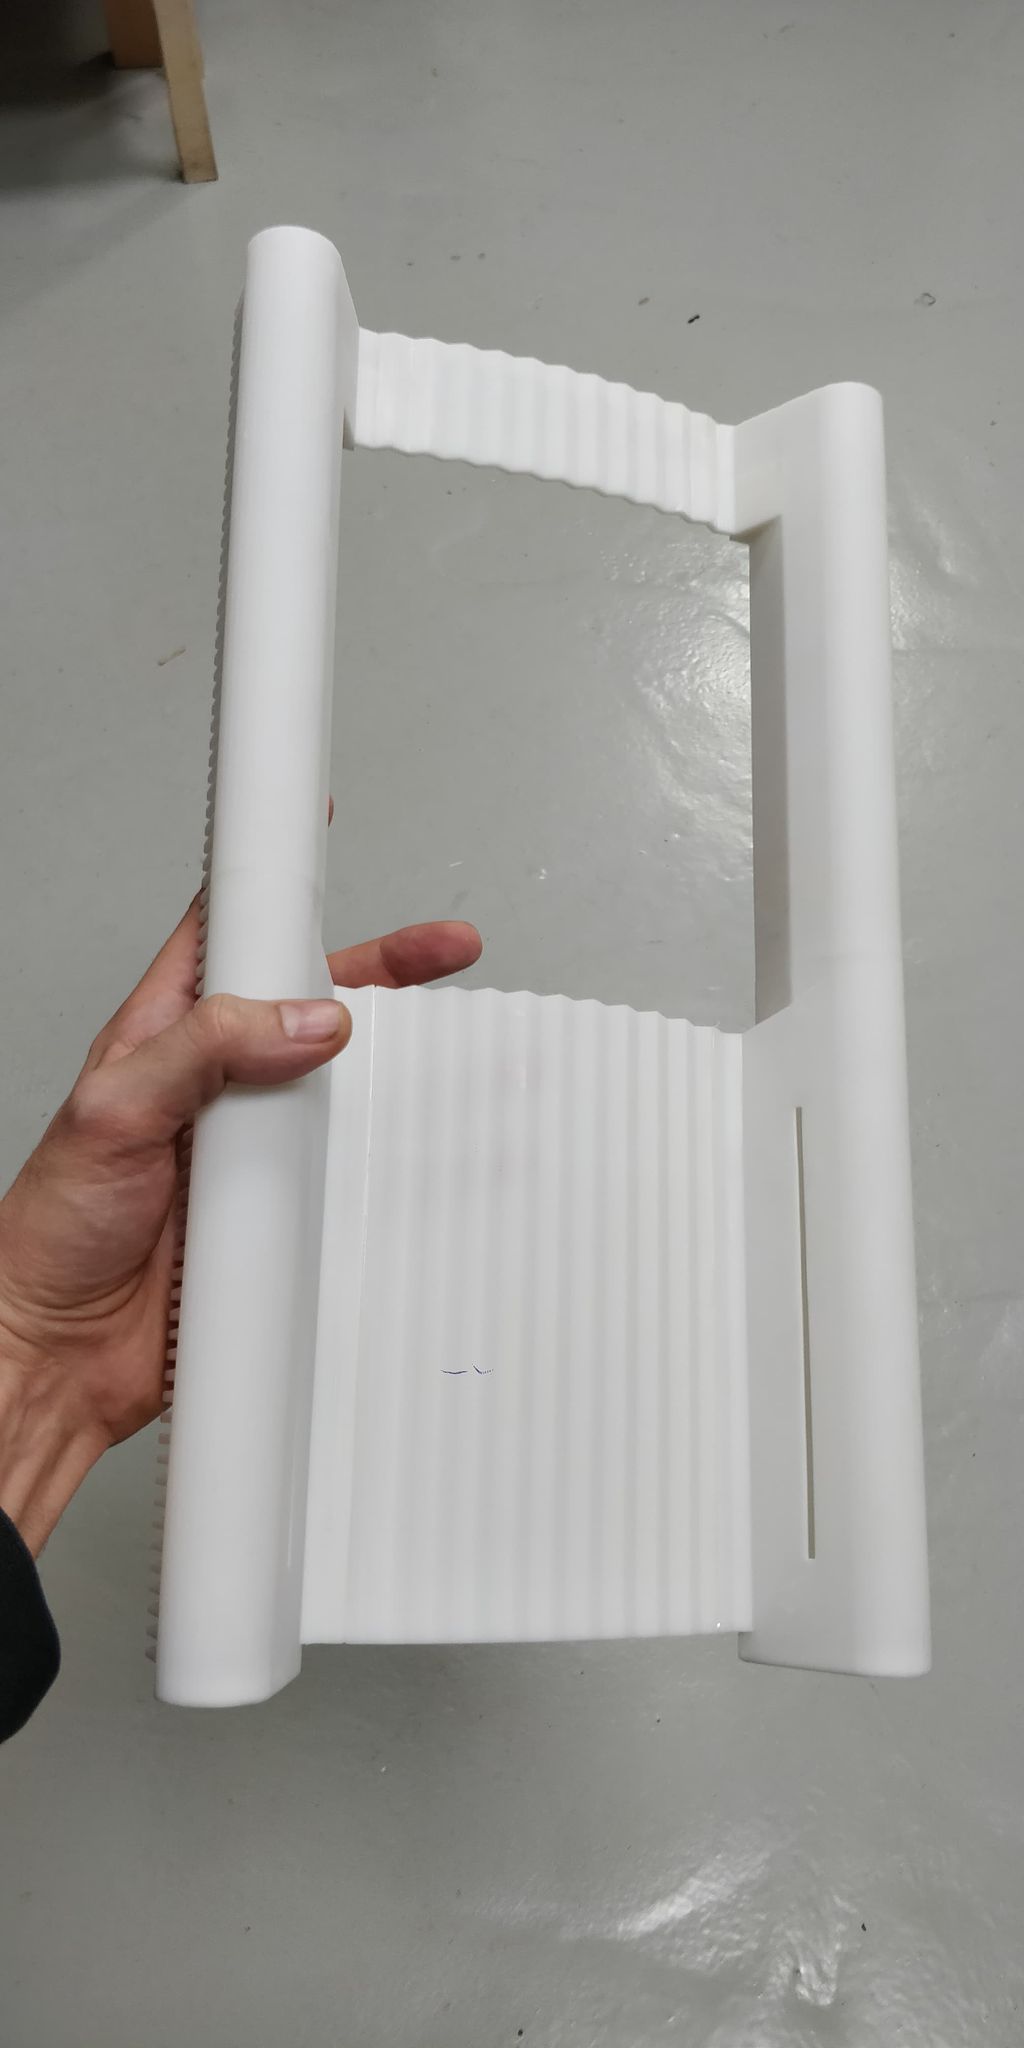
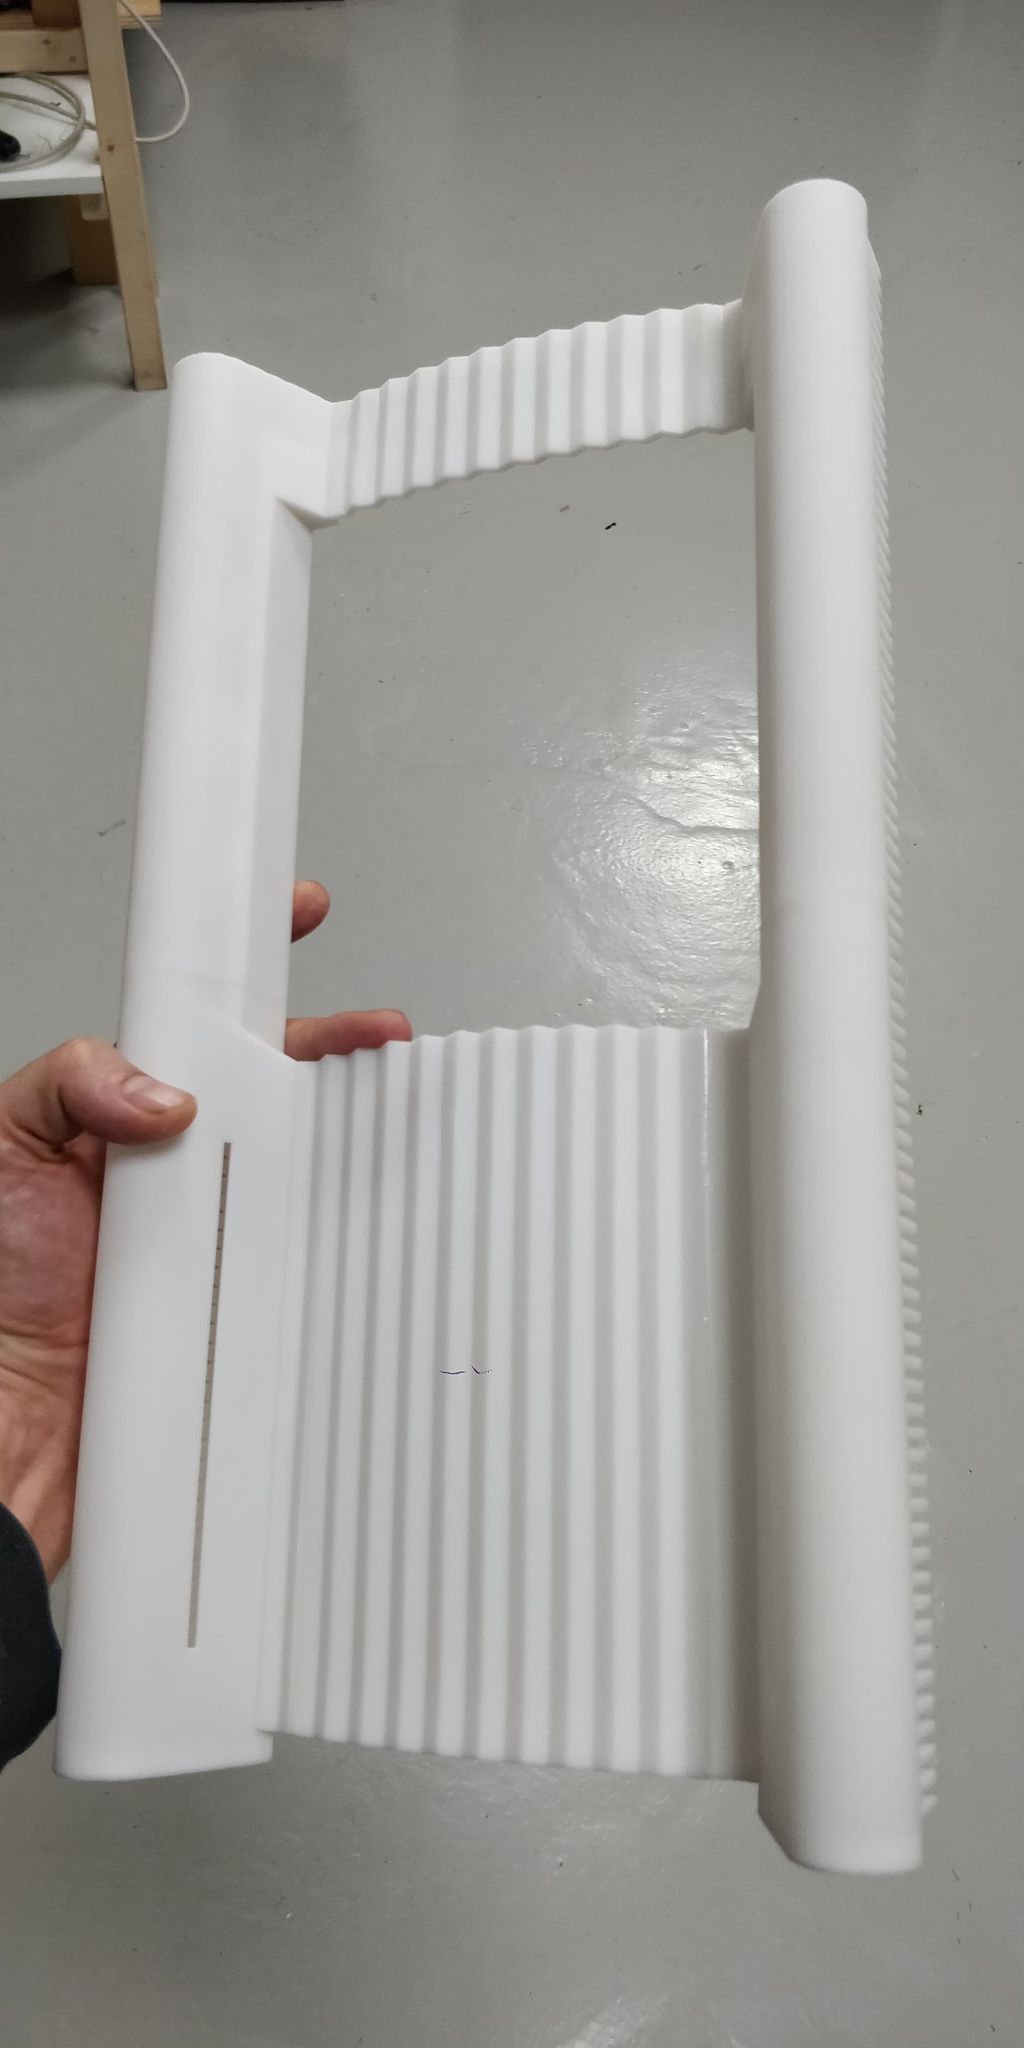
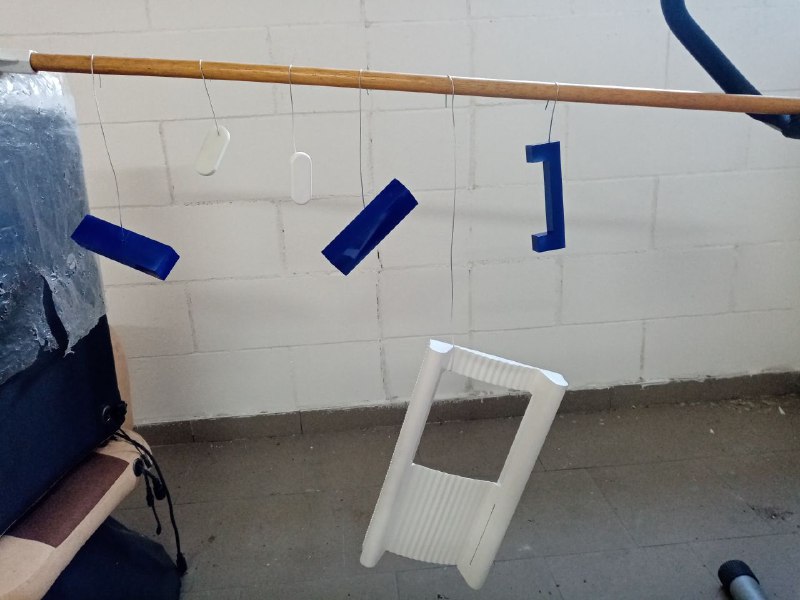
I wanted to show you the prototype with the changes written above … I made the corrections to the STL model and passed it to those who deal with resin printing … in the next photos I will show the progress of the press … I have already mounted the geeklights on the led columns, which will then be inserted in the appropriate compartments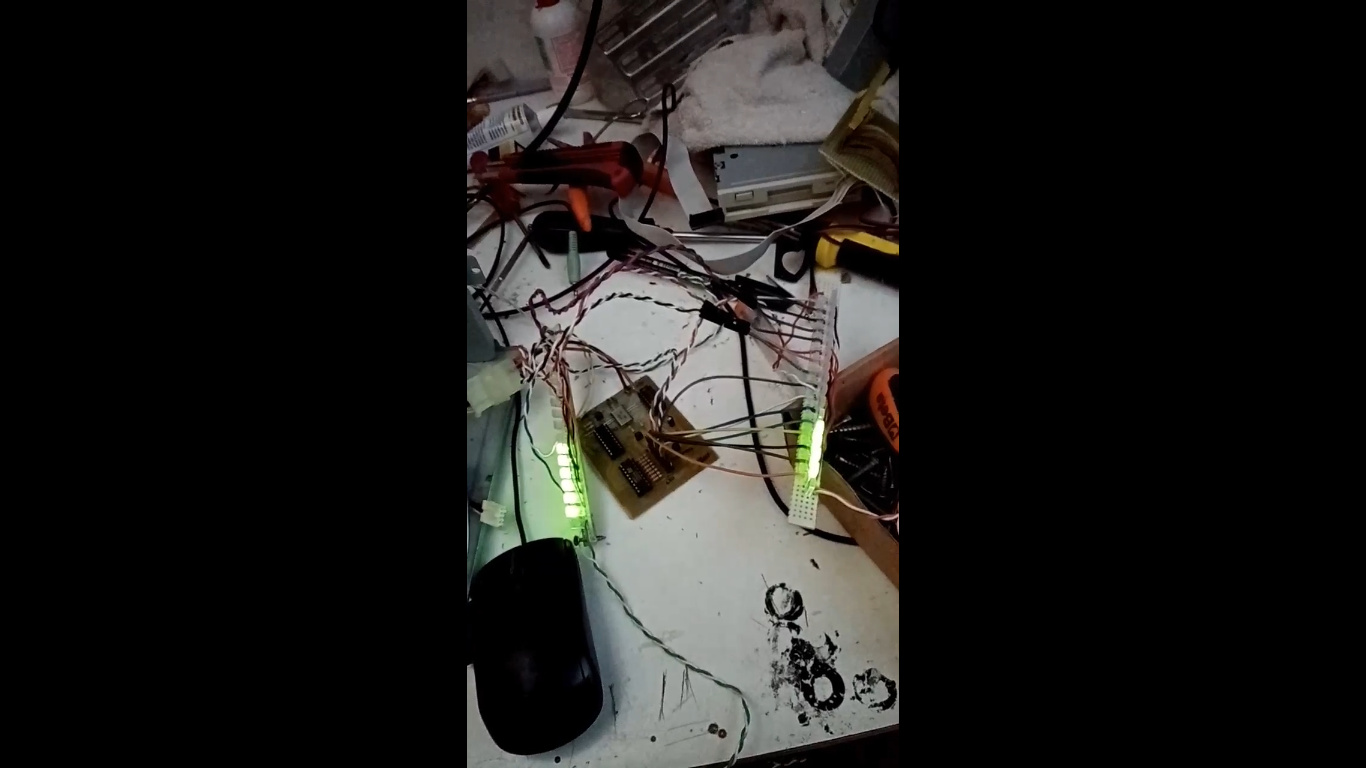
4 Likes
Keep up the good job man!
1 Like
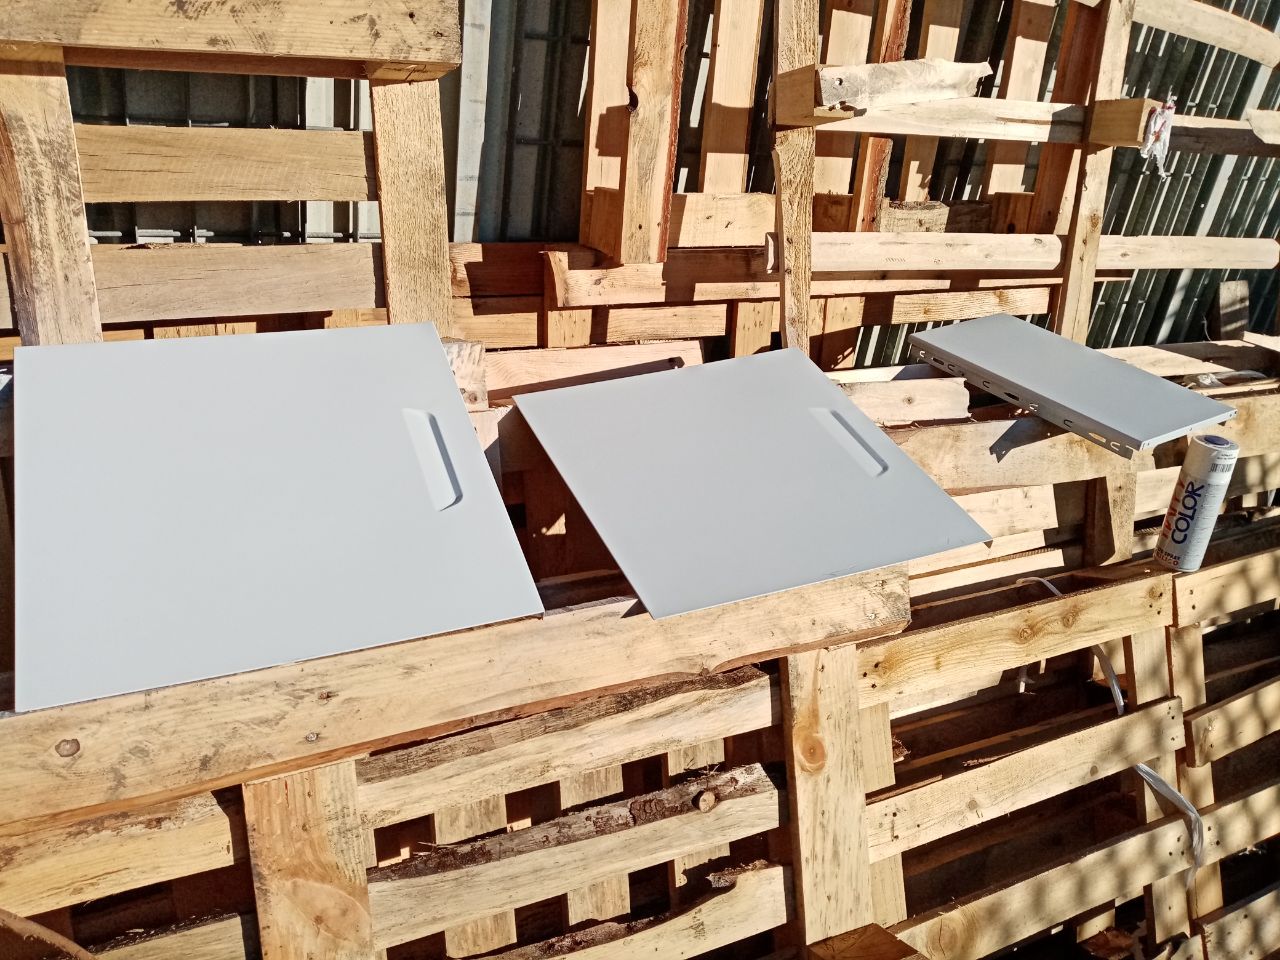
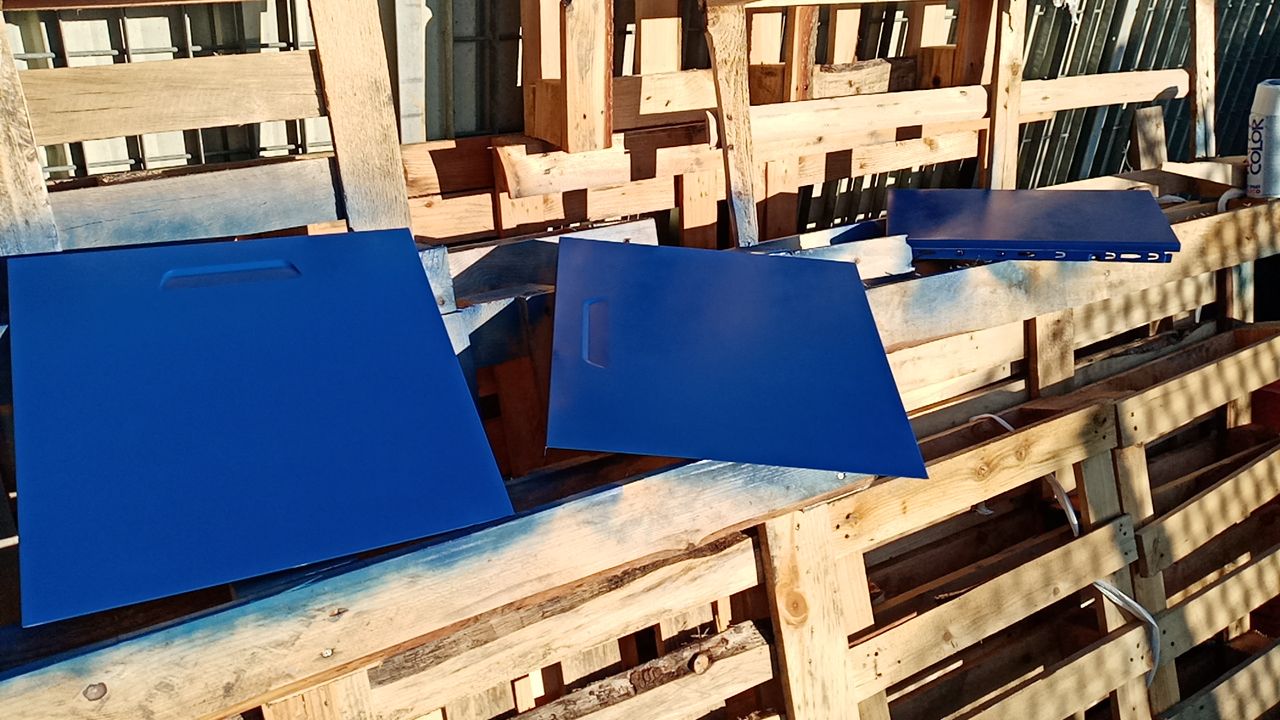
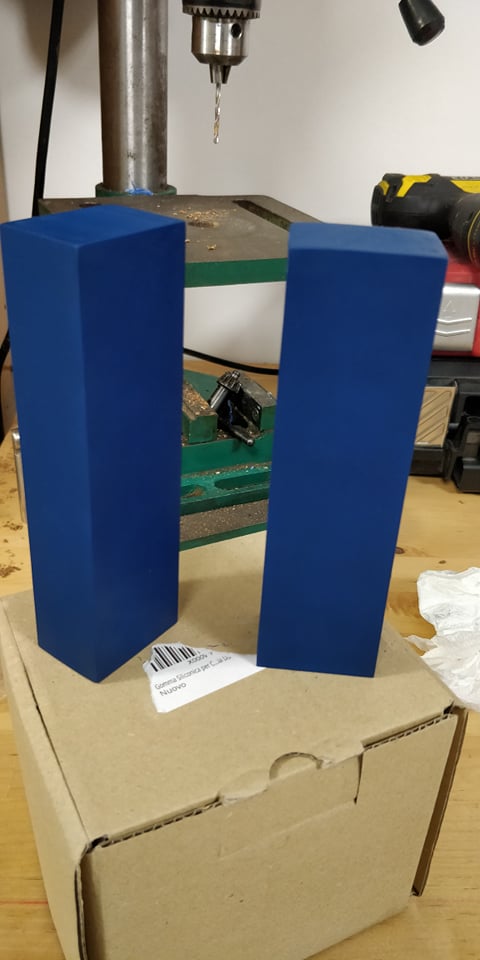
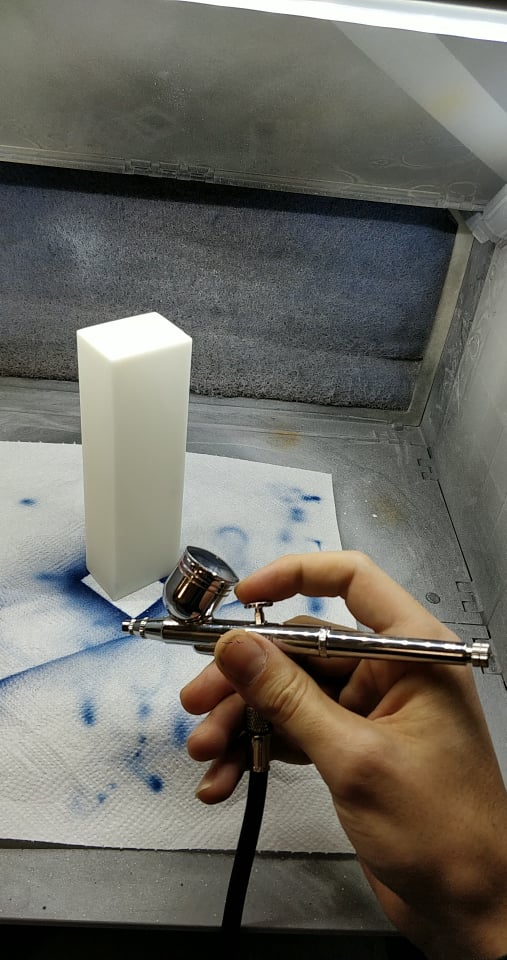
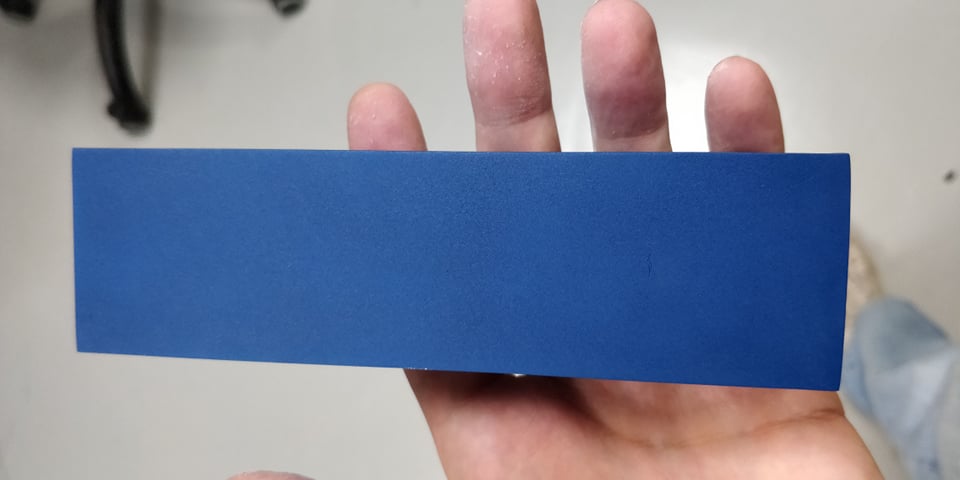
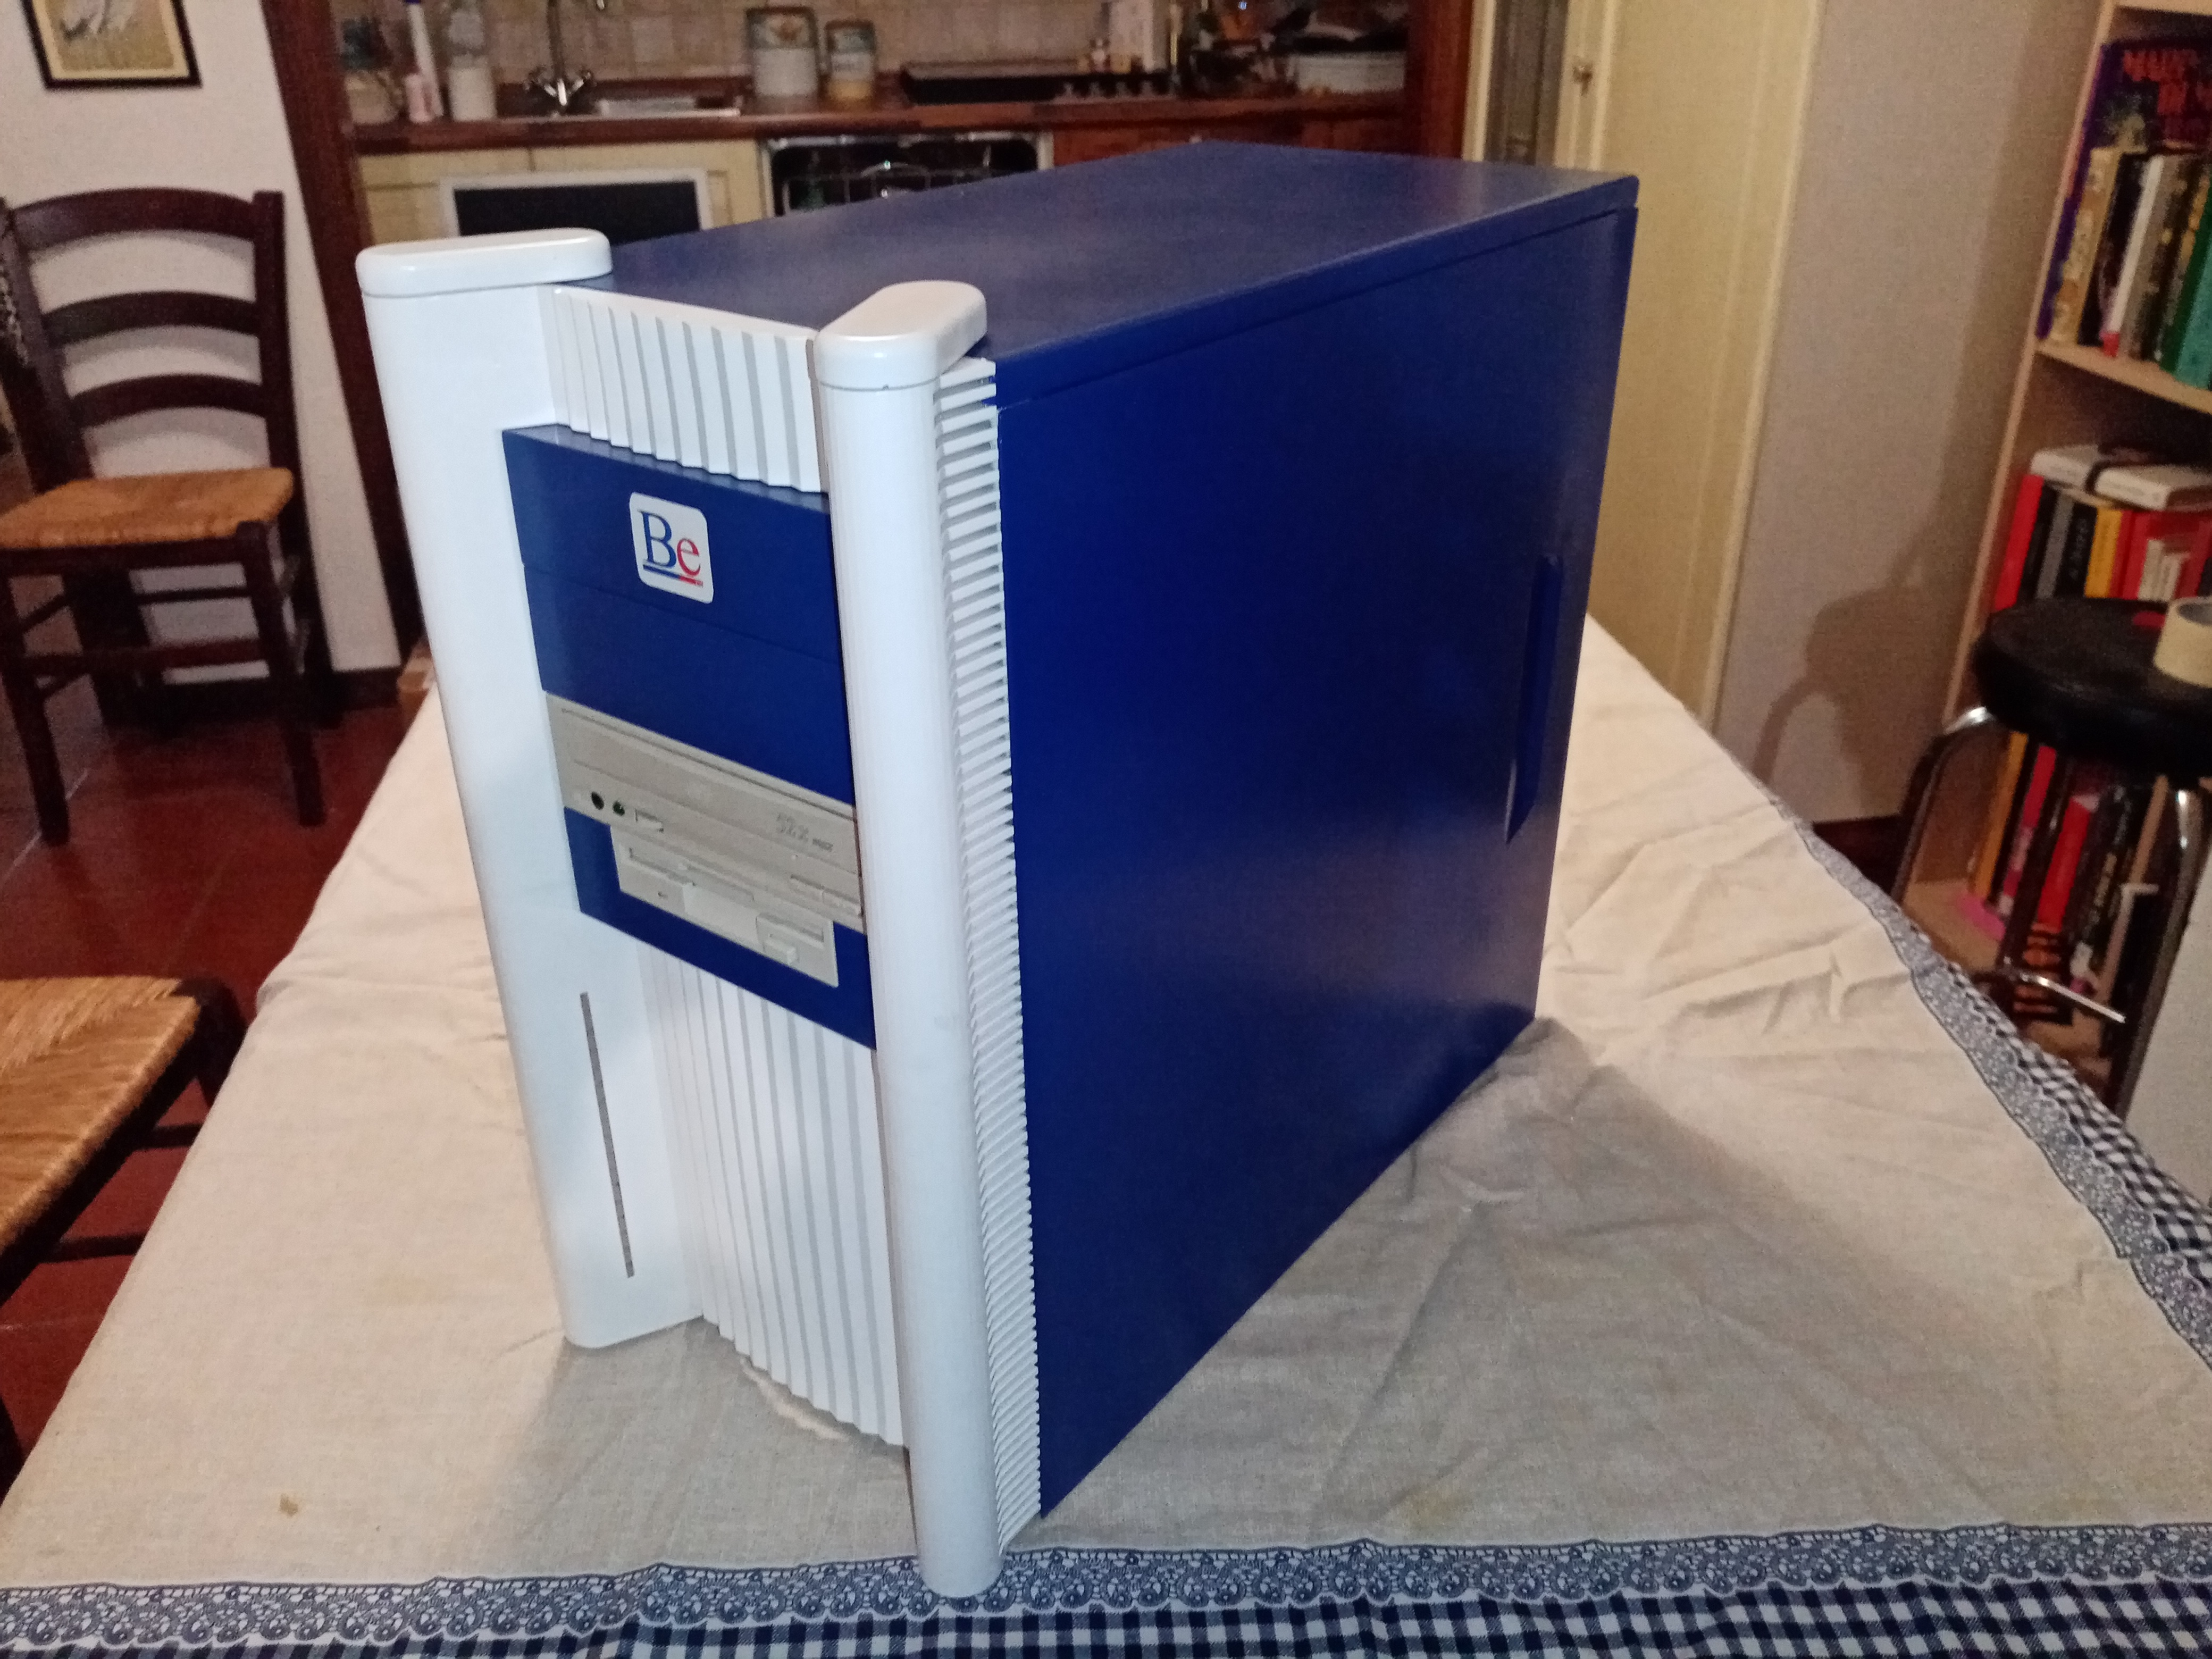
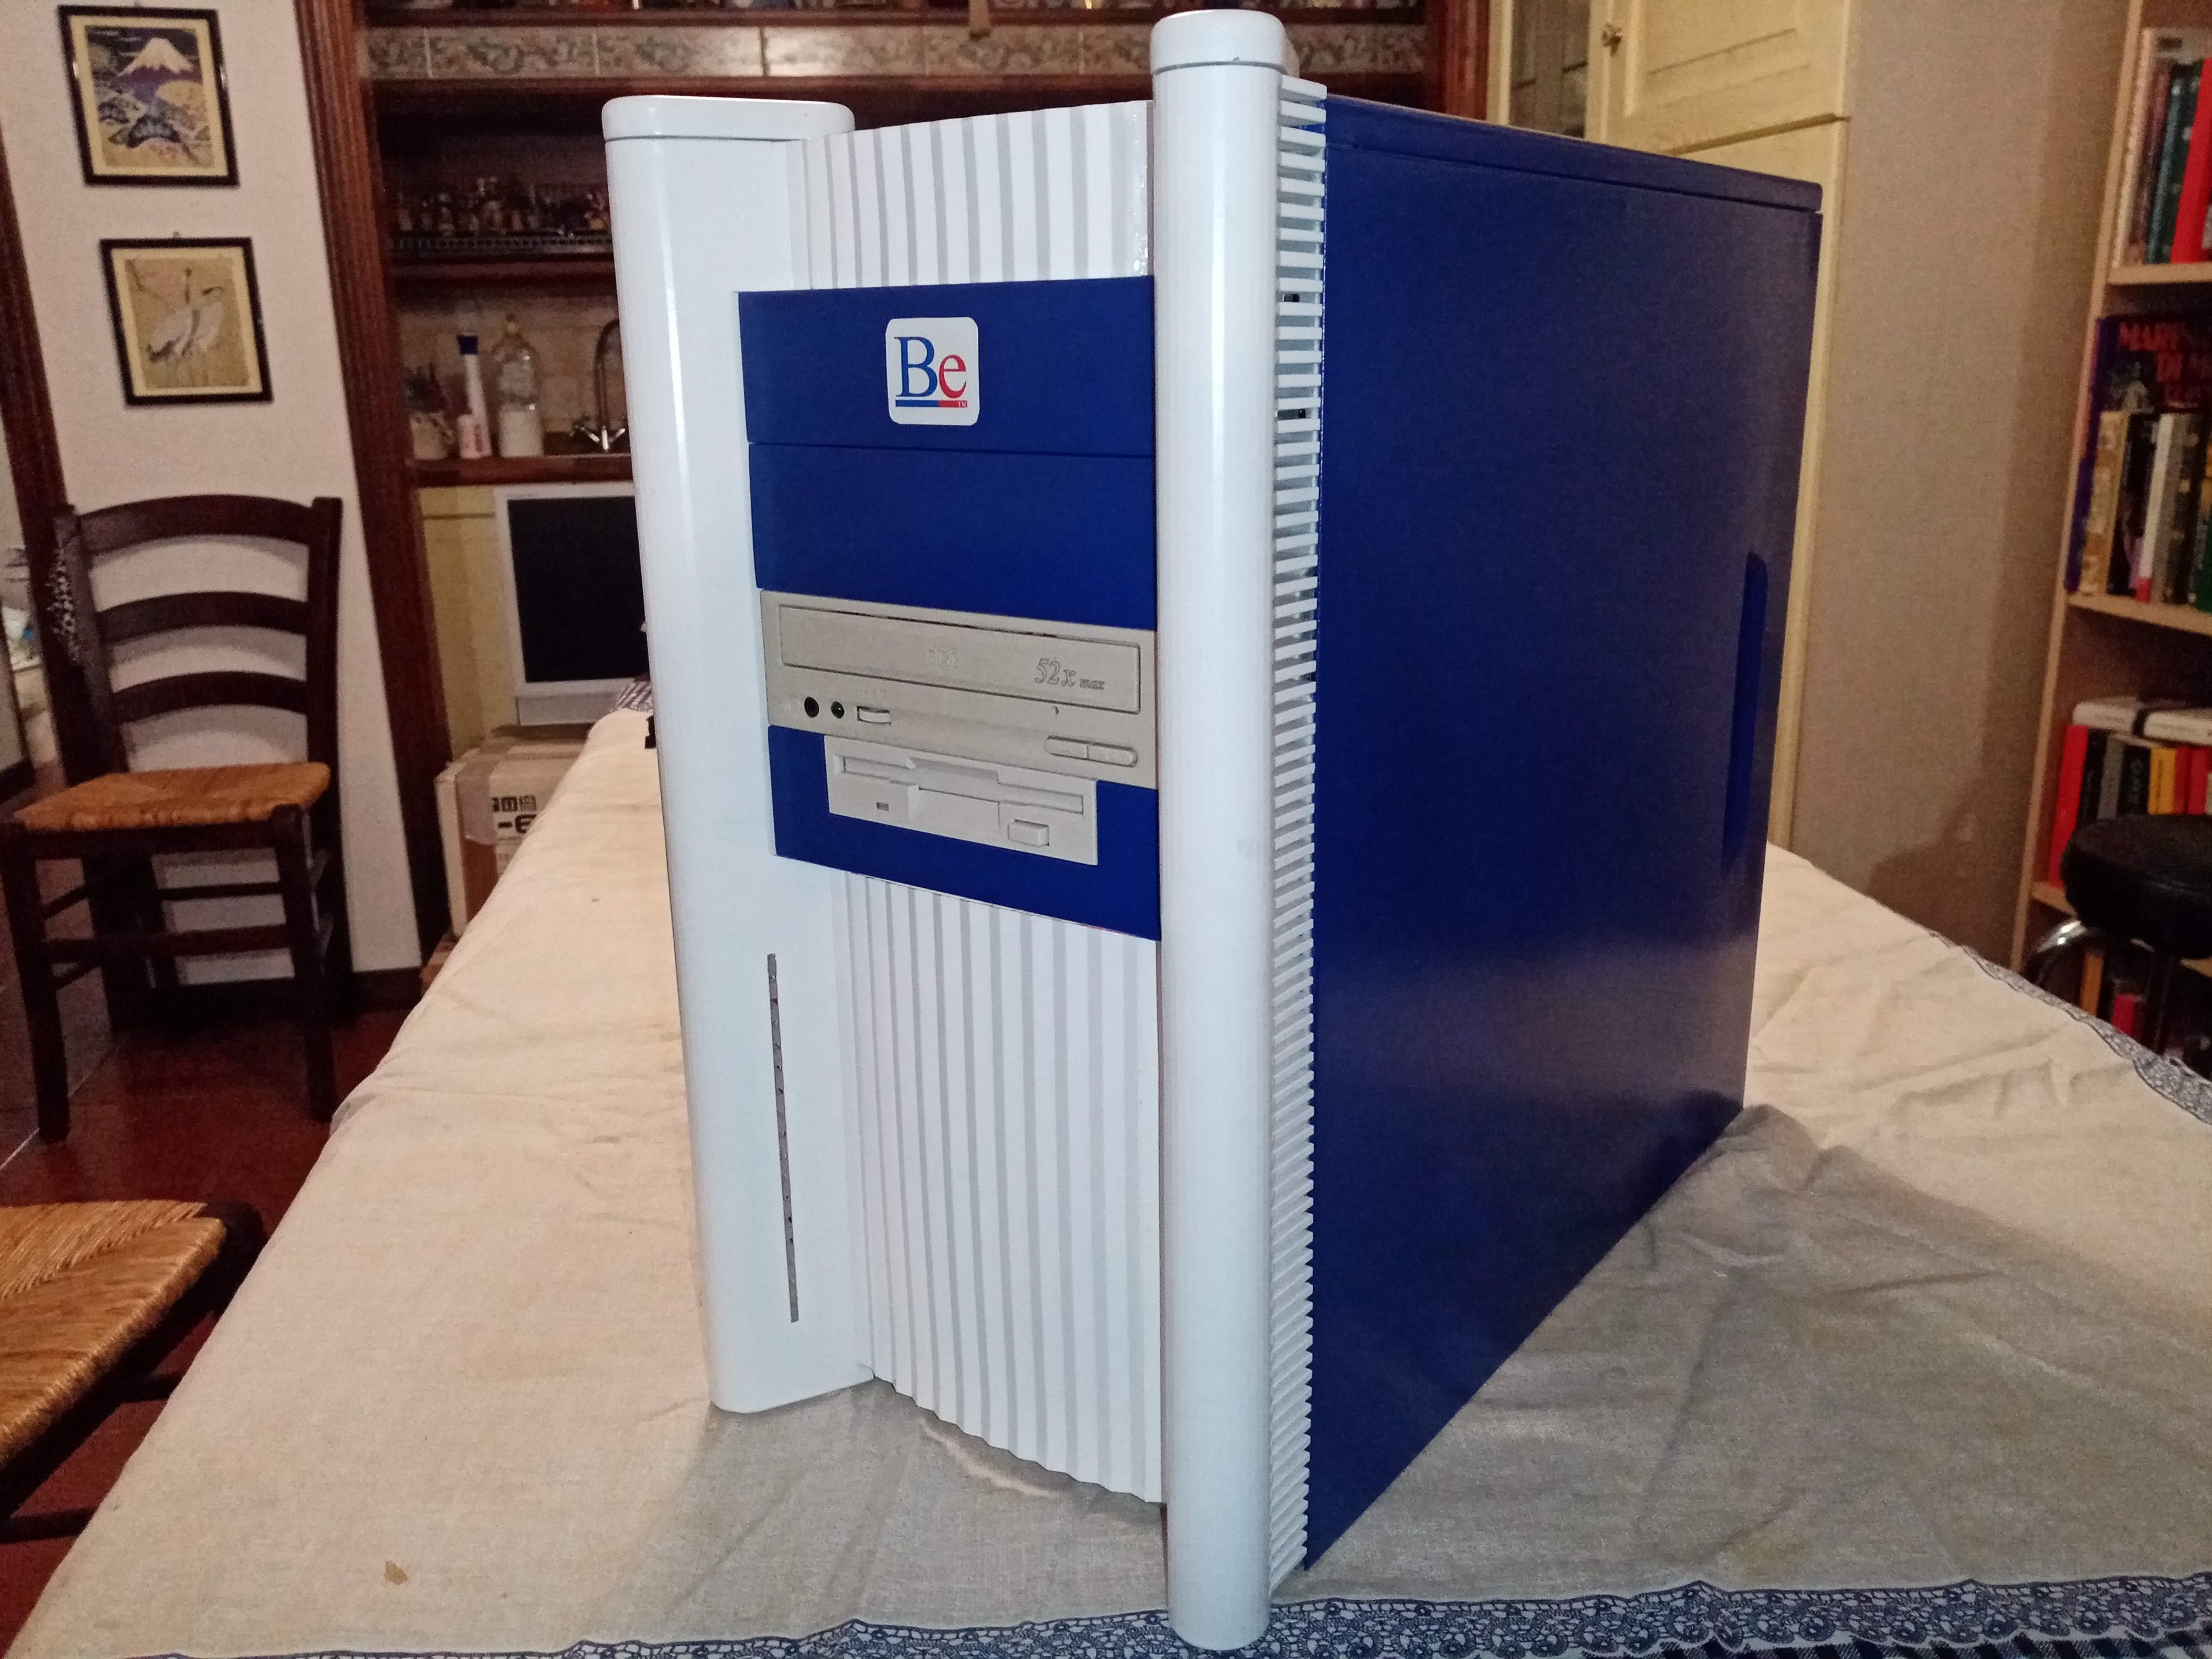
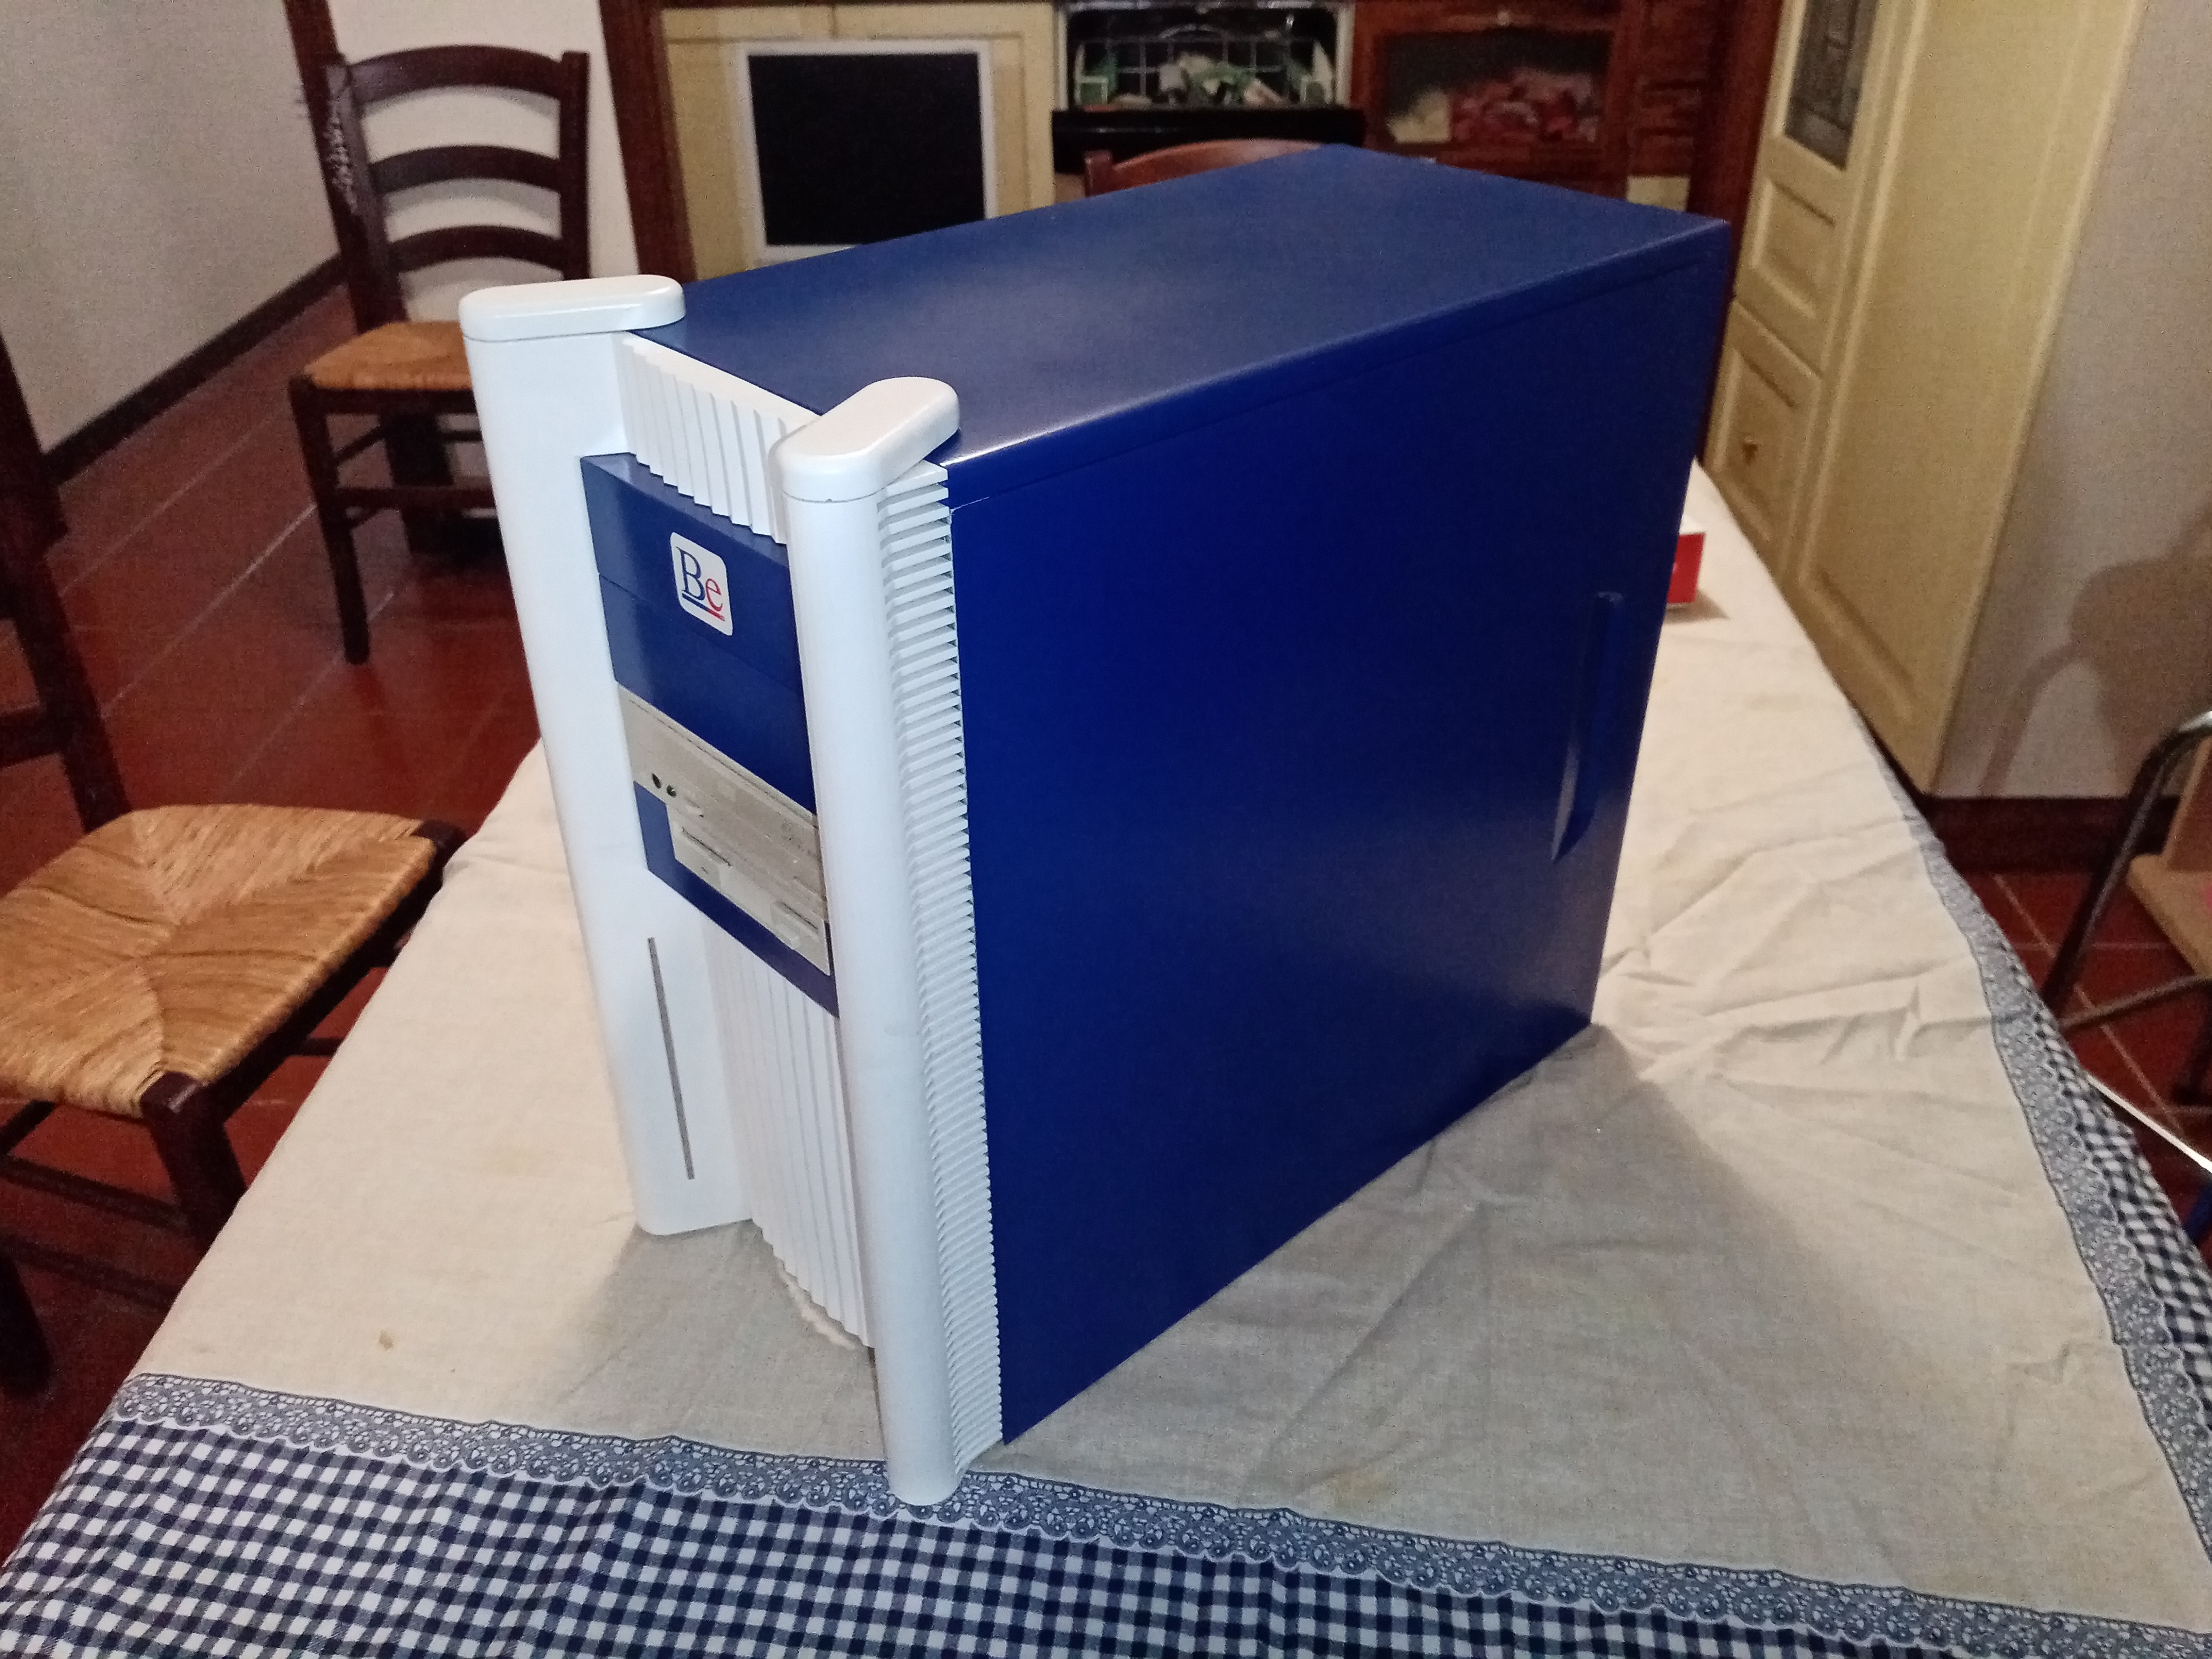
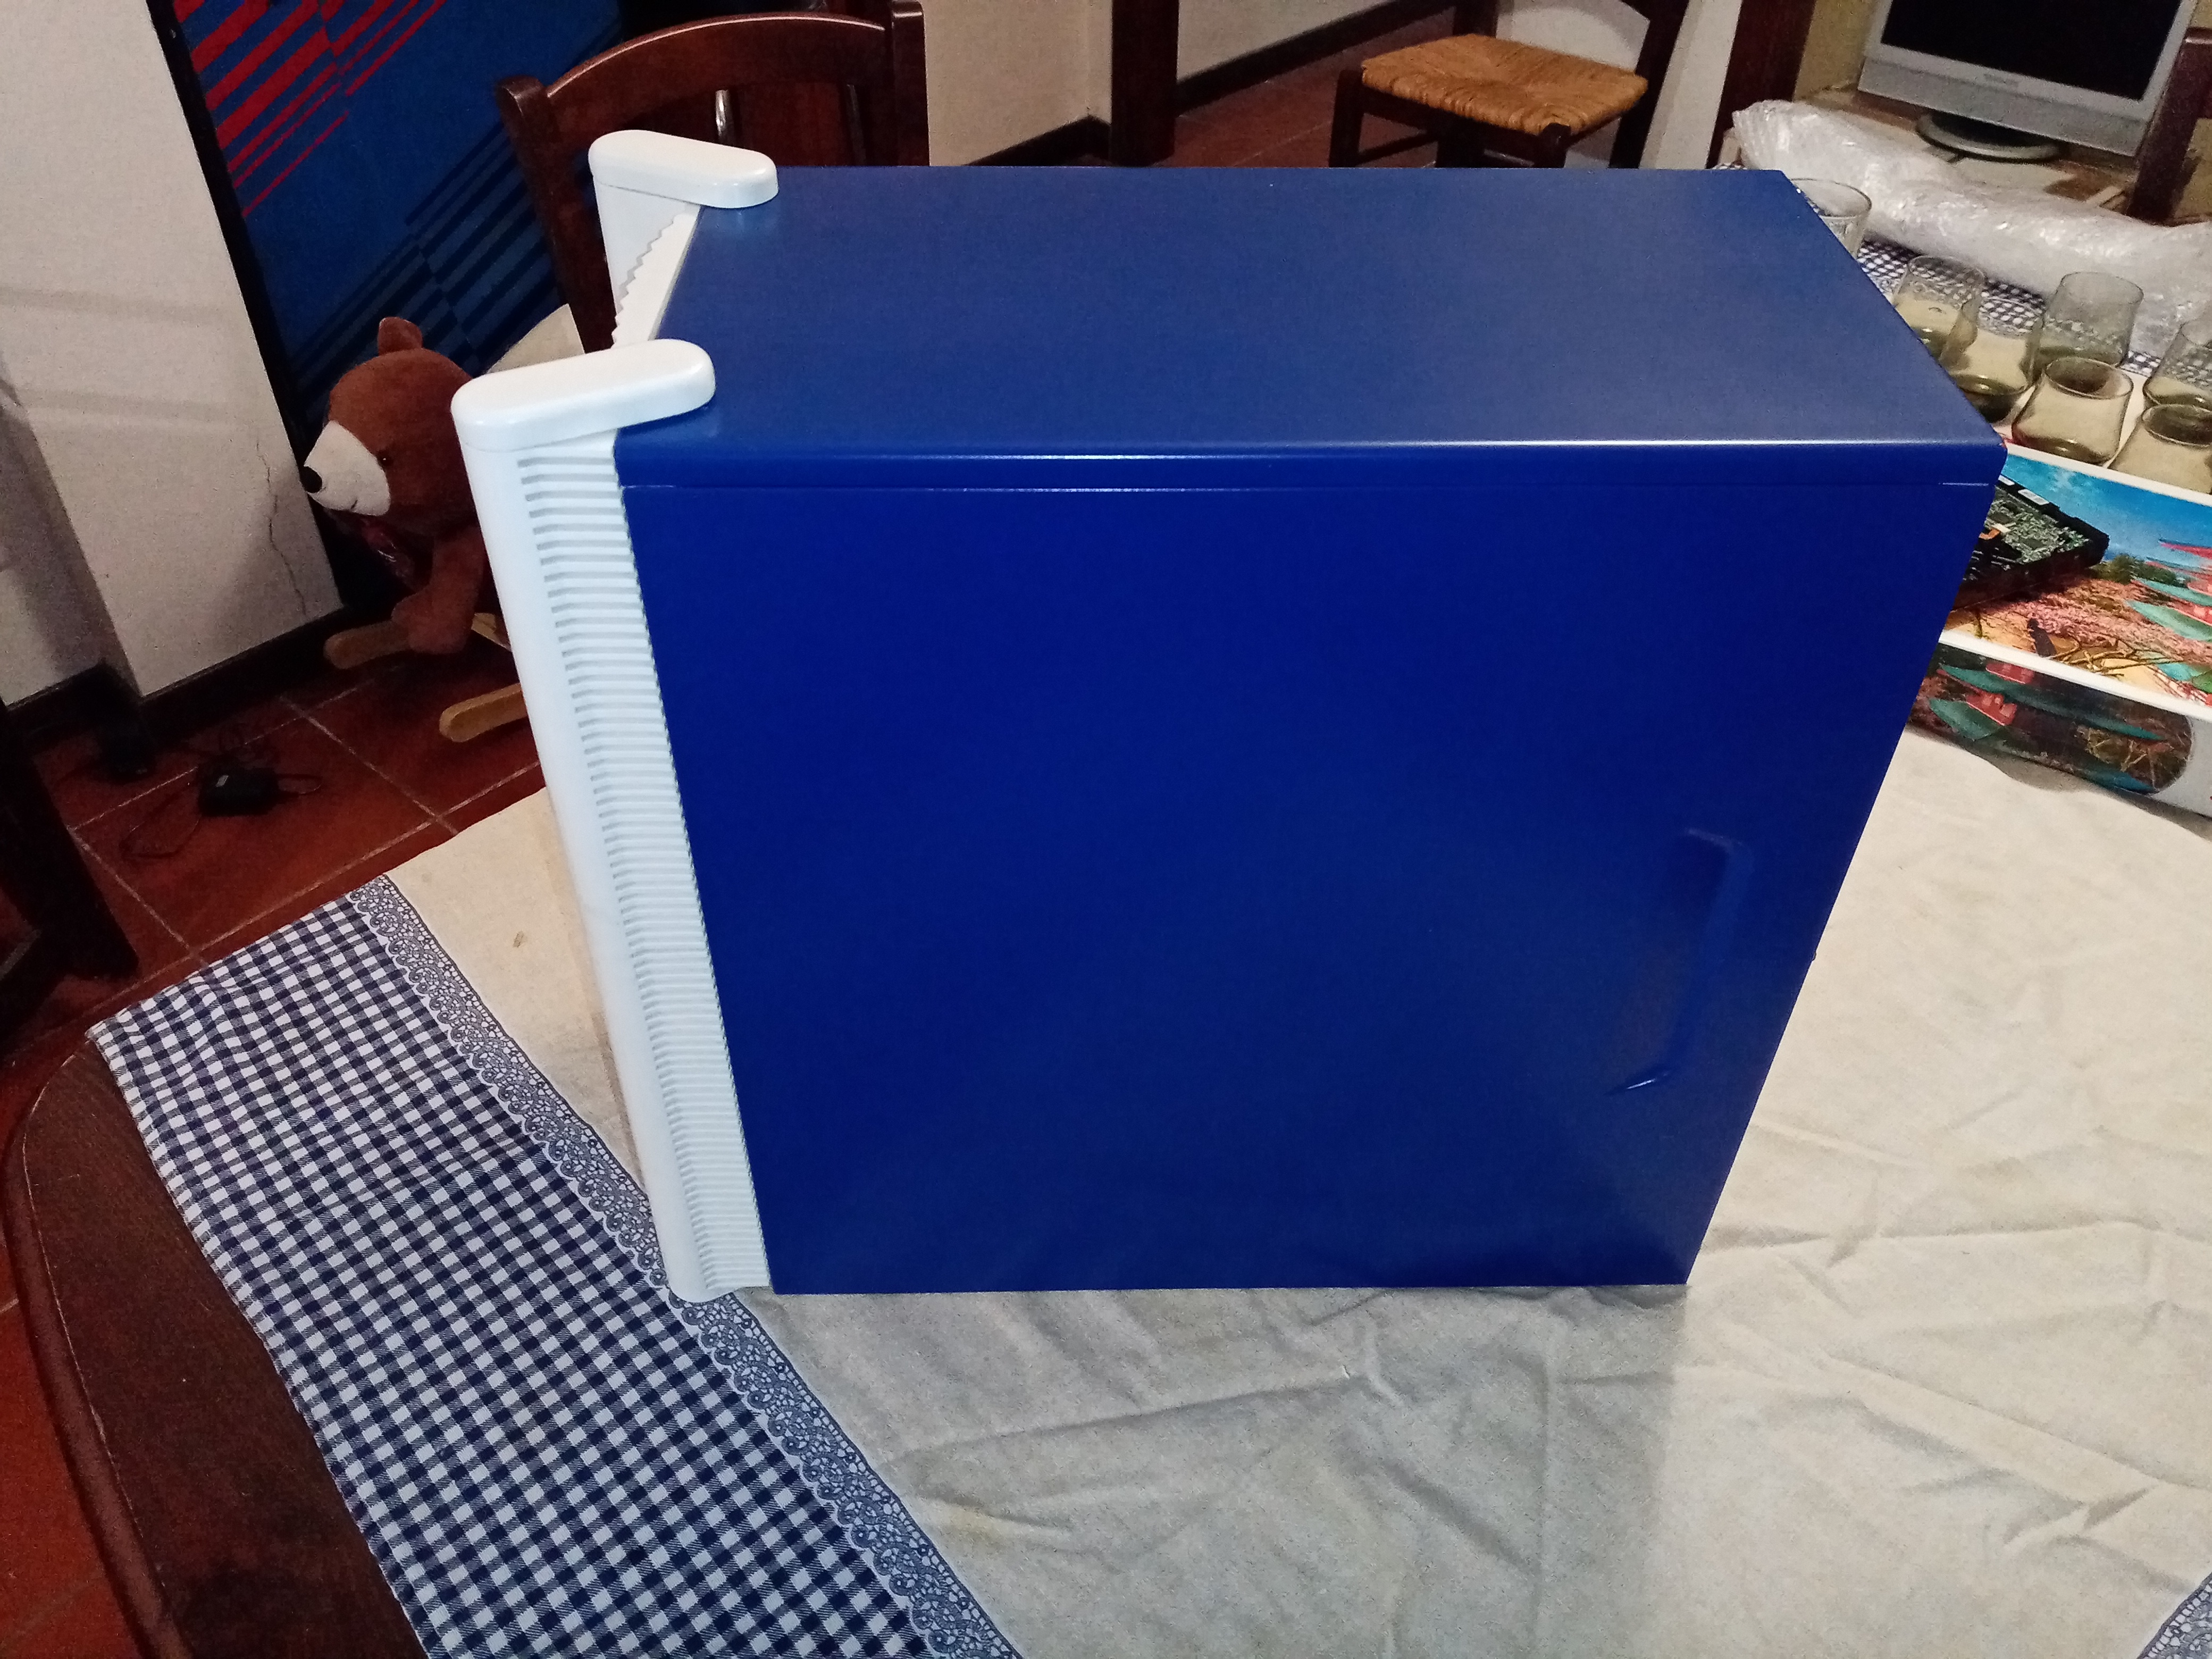
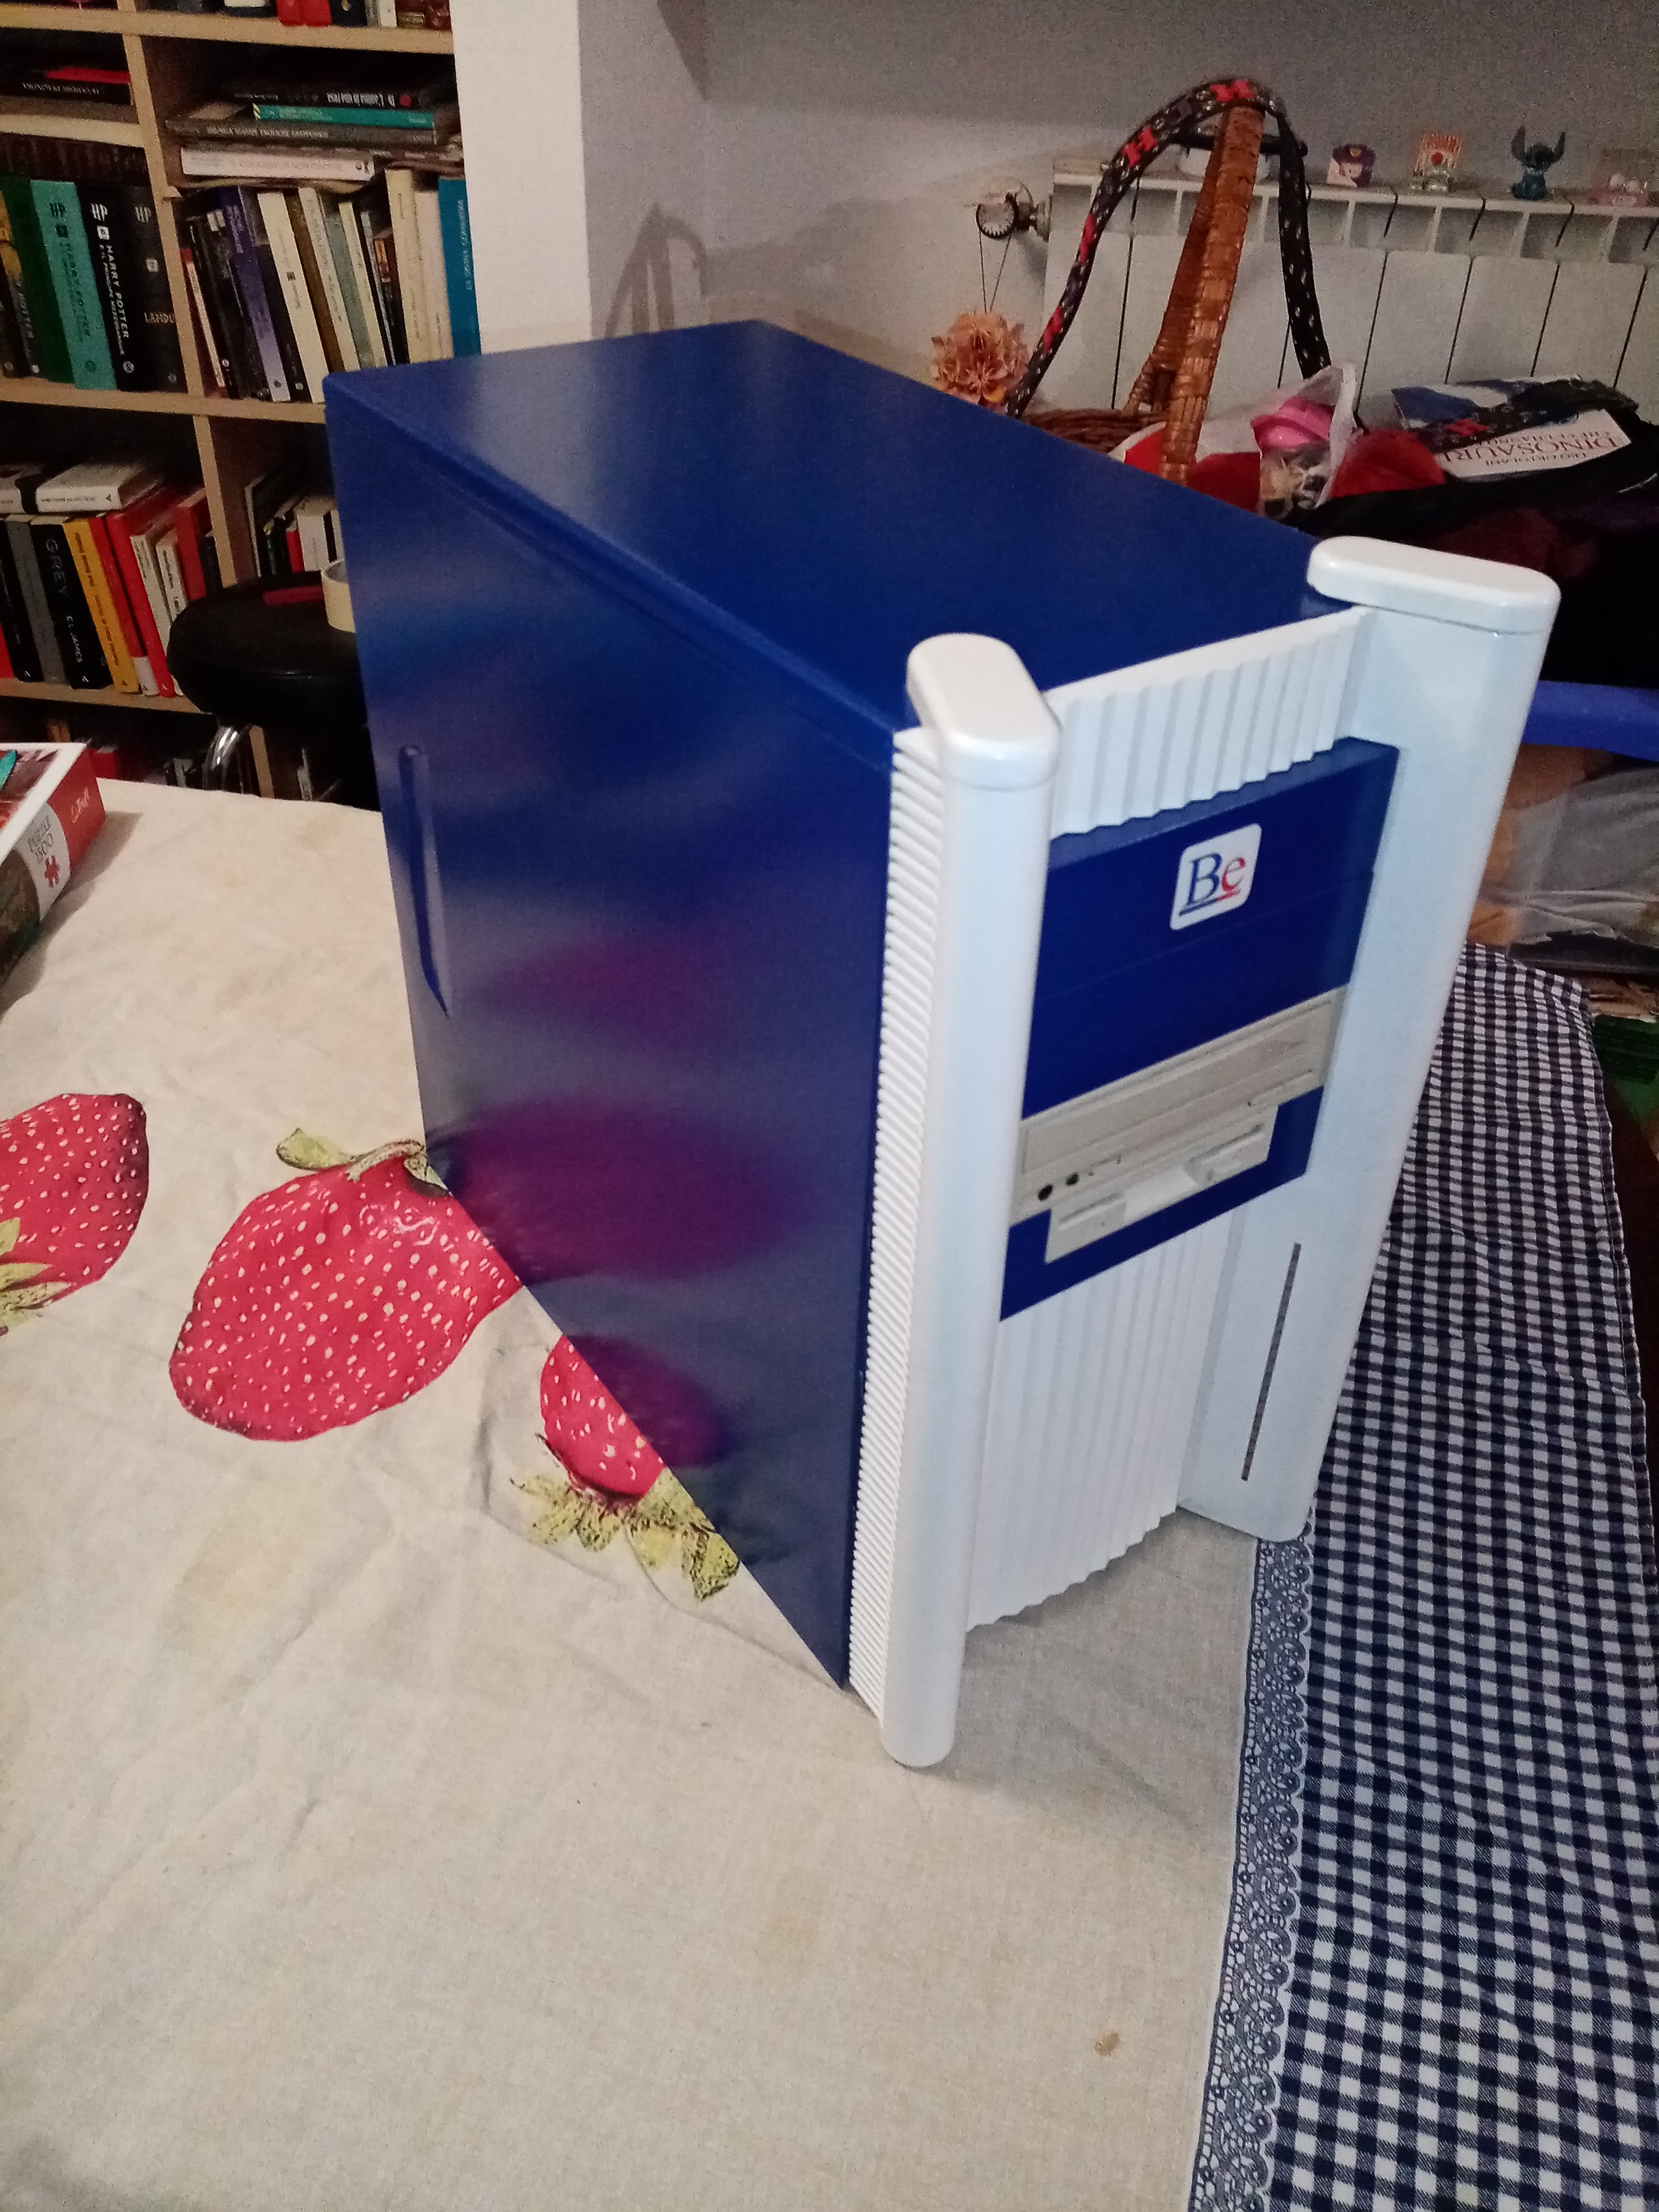
while waiting for the print of the front of the bebox to be completed, I go ahead and paint the side panels of the computer with RAL 5002 `` ultramarine blue ‘’ … first an anti-rust covering primer was given
9 Likes

dear people
we are at the final stages regarding the resin printing of the pieces that will then be assembled in the bebox.
the front was printed in 6 pieces and then reassembled with resin and uv light … they were airbrushed with the same color as the metal case panels.
13 Likes
the resin print is finished … all the pieces have been painted and will be sent to me in the week
Photos of the assembly will follow
7 Likes
This is looking amazing!
Awesome!!! Hope we can buy those cases from you somewhere down the line. Looks amazing mate, very nice. 
Thanks but I don’t sell these case
… I can make the STL file available so that you can print them with the material you think is most appropriate … mine was just a `` style exercise ‘’ or in other words, a momentary desire because I had found the files and I wanted to reproduce it in all ways
2 Likes
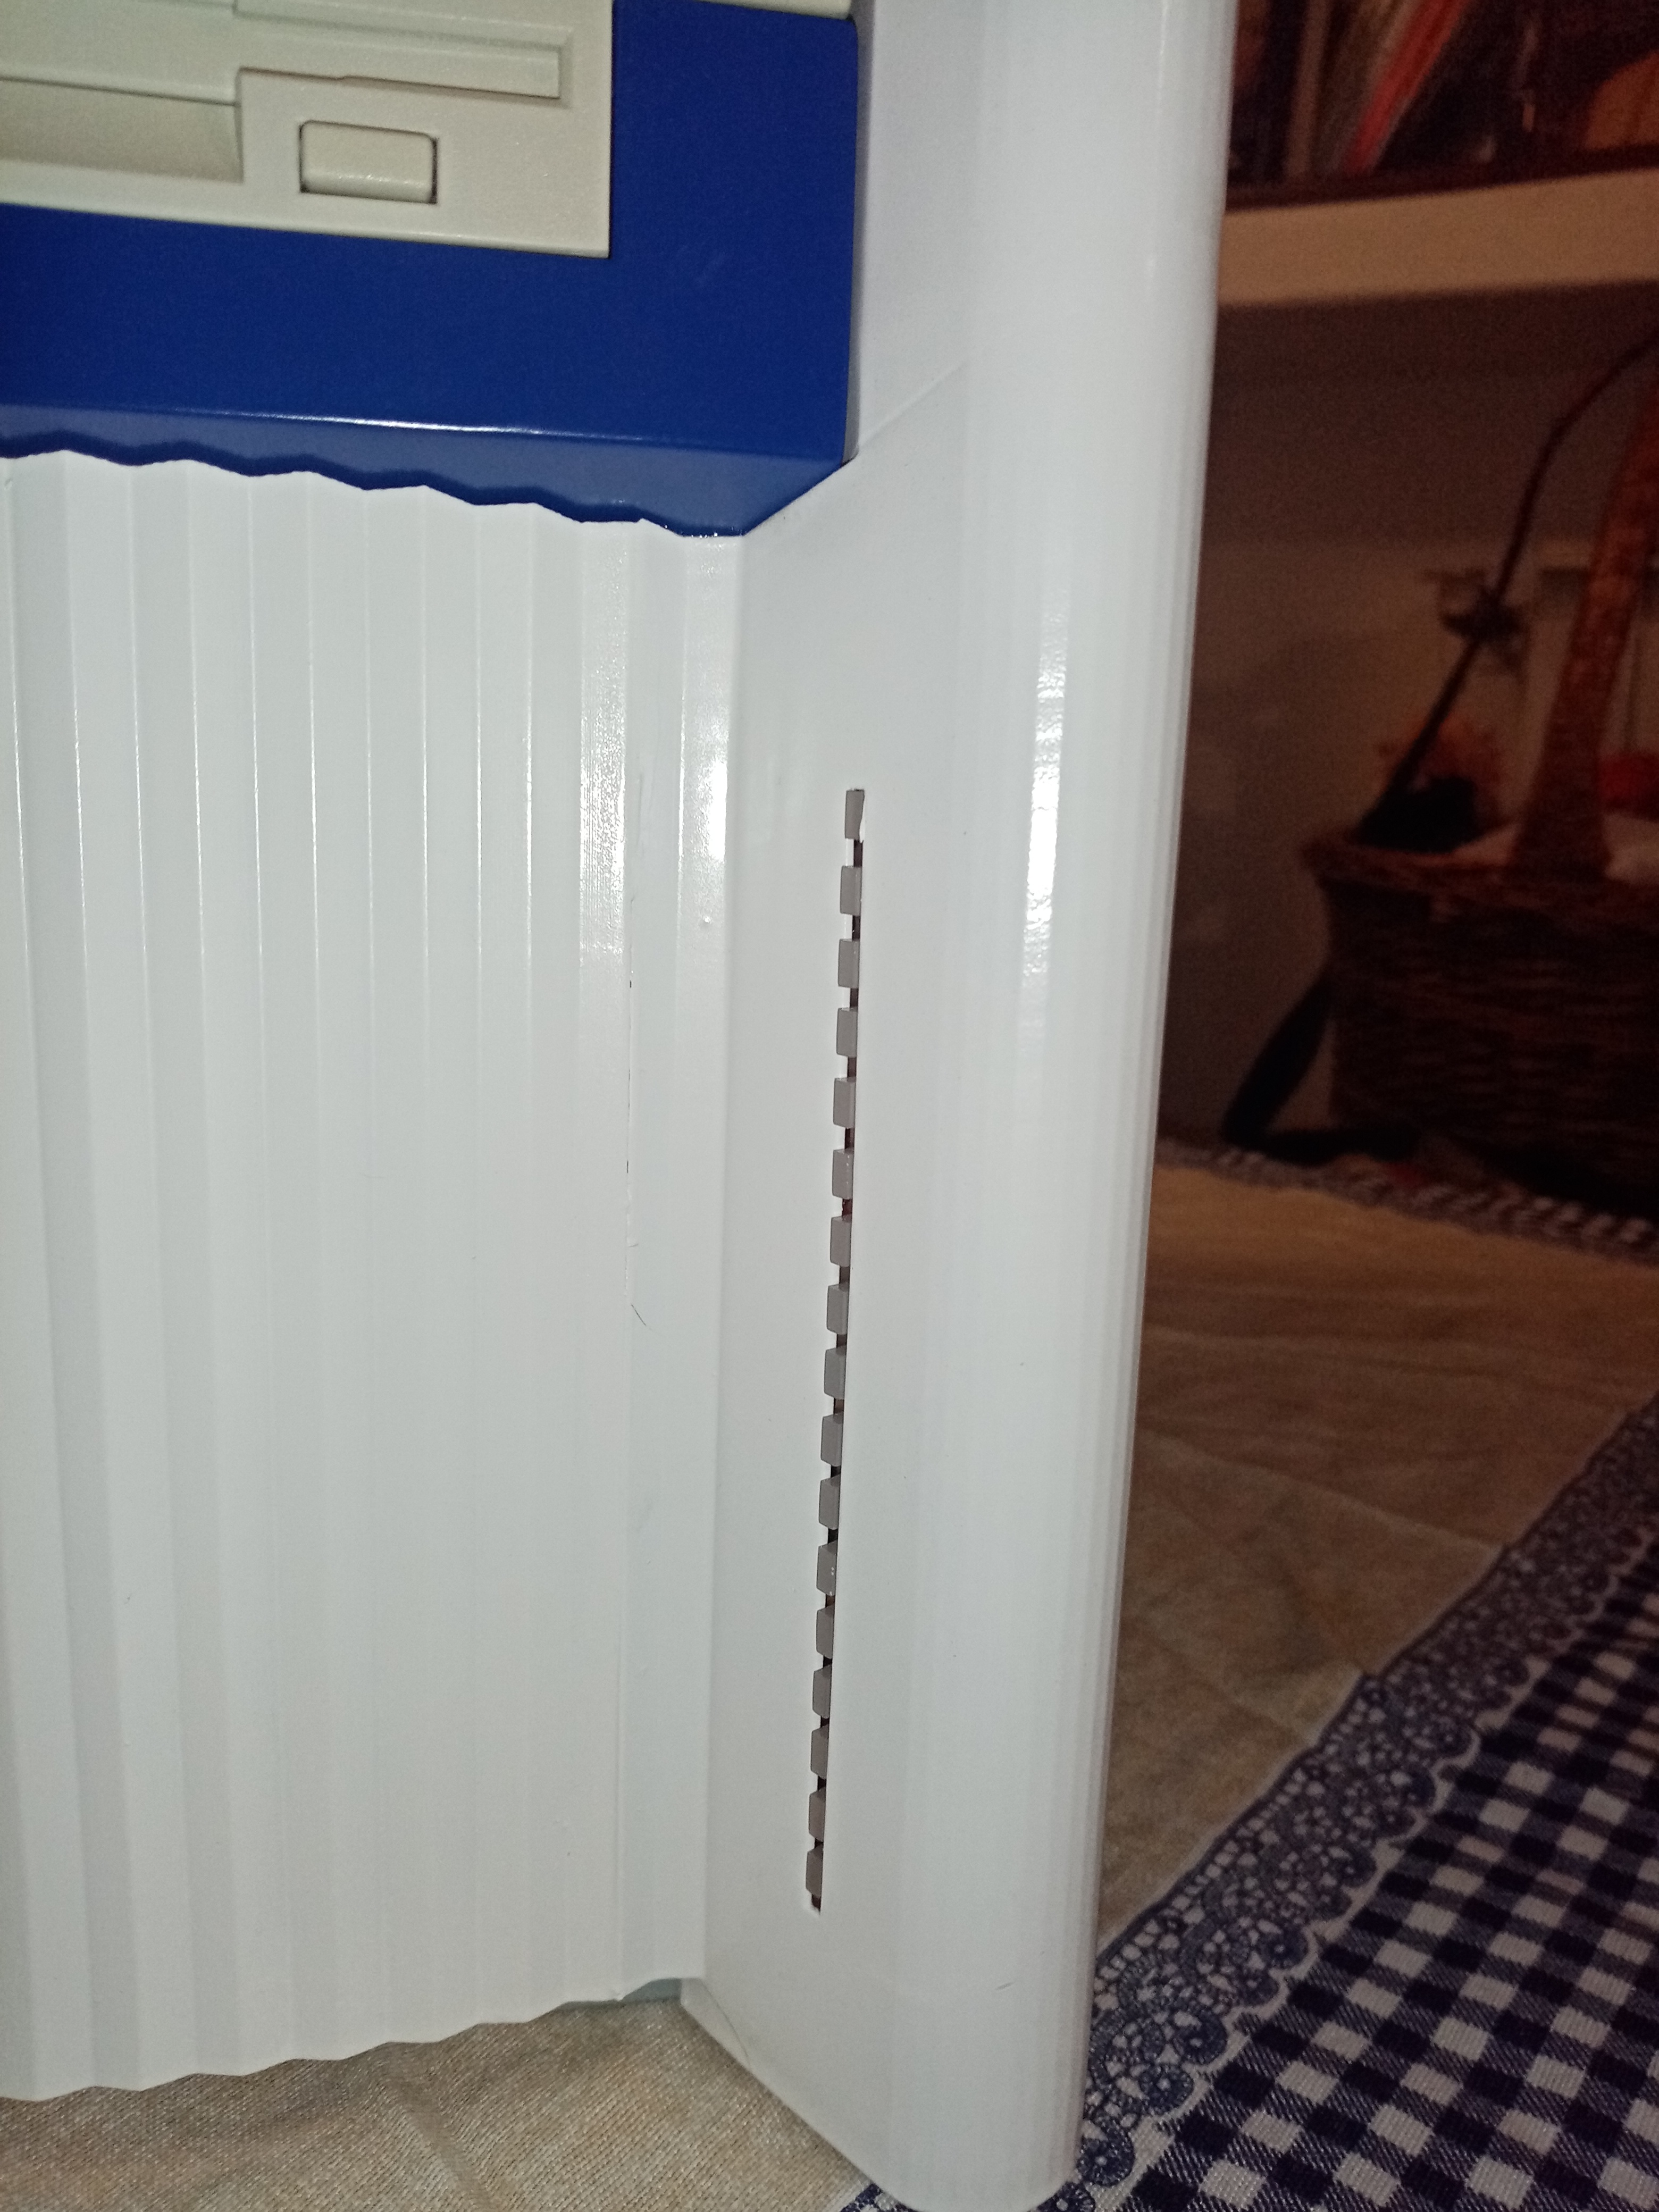
The pieces arrived but unfortunately even if I had asked for a certain color this was not done well … so I had to recolor everything … unfortunately it gets dirty easily and the resin, if not painted, (even if it is white) nevertheless slightly tends to yellow
2 Likes
Dr, its a masterpiece!
1 Like
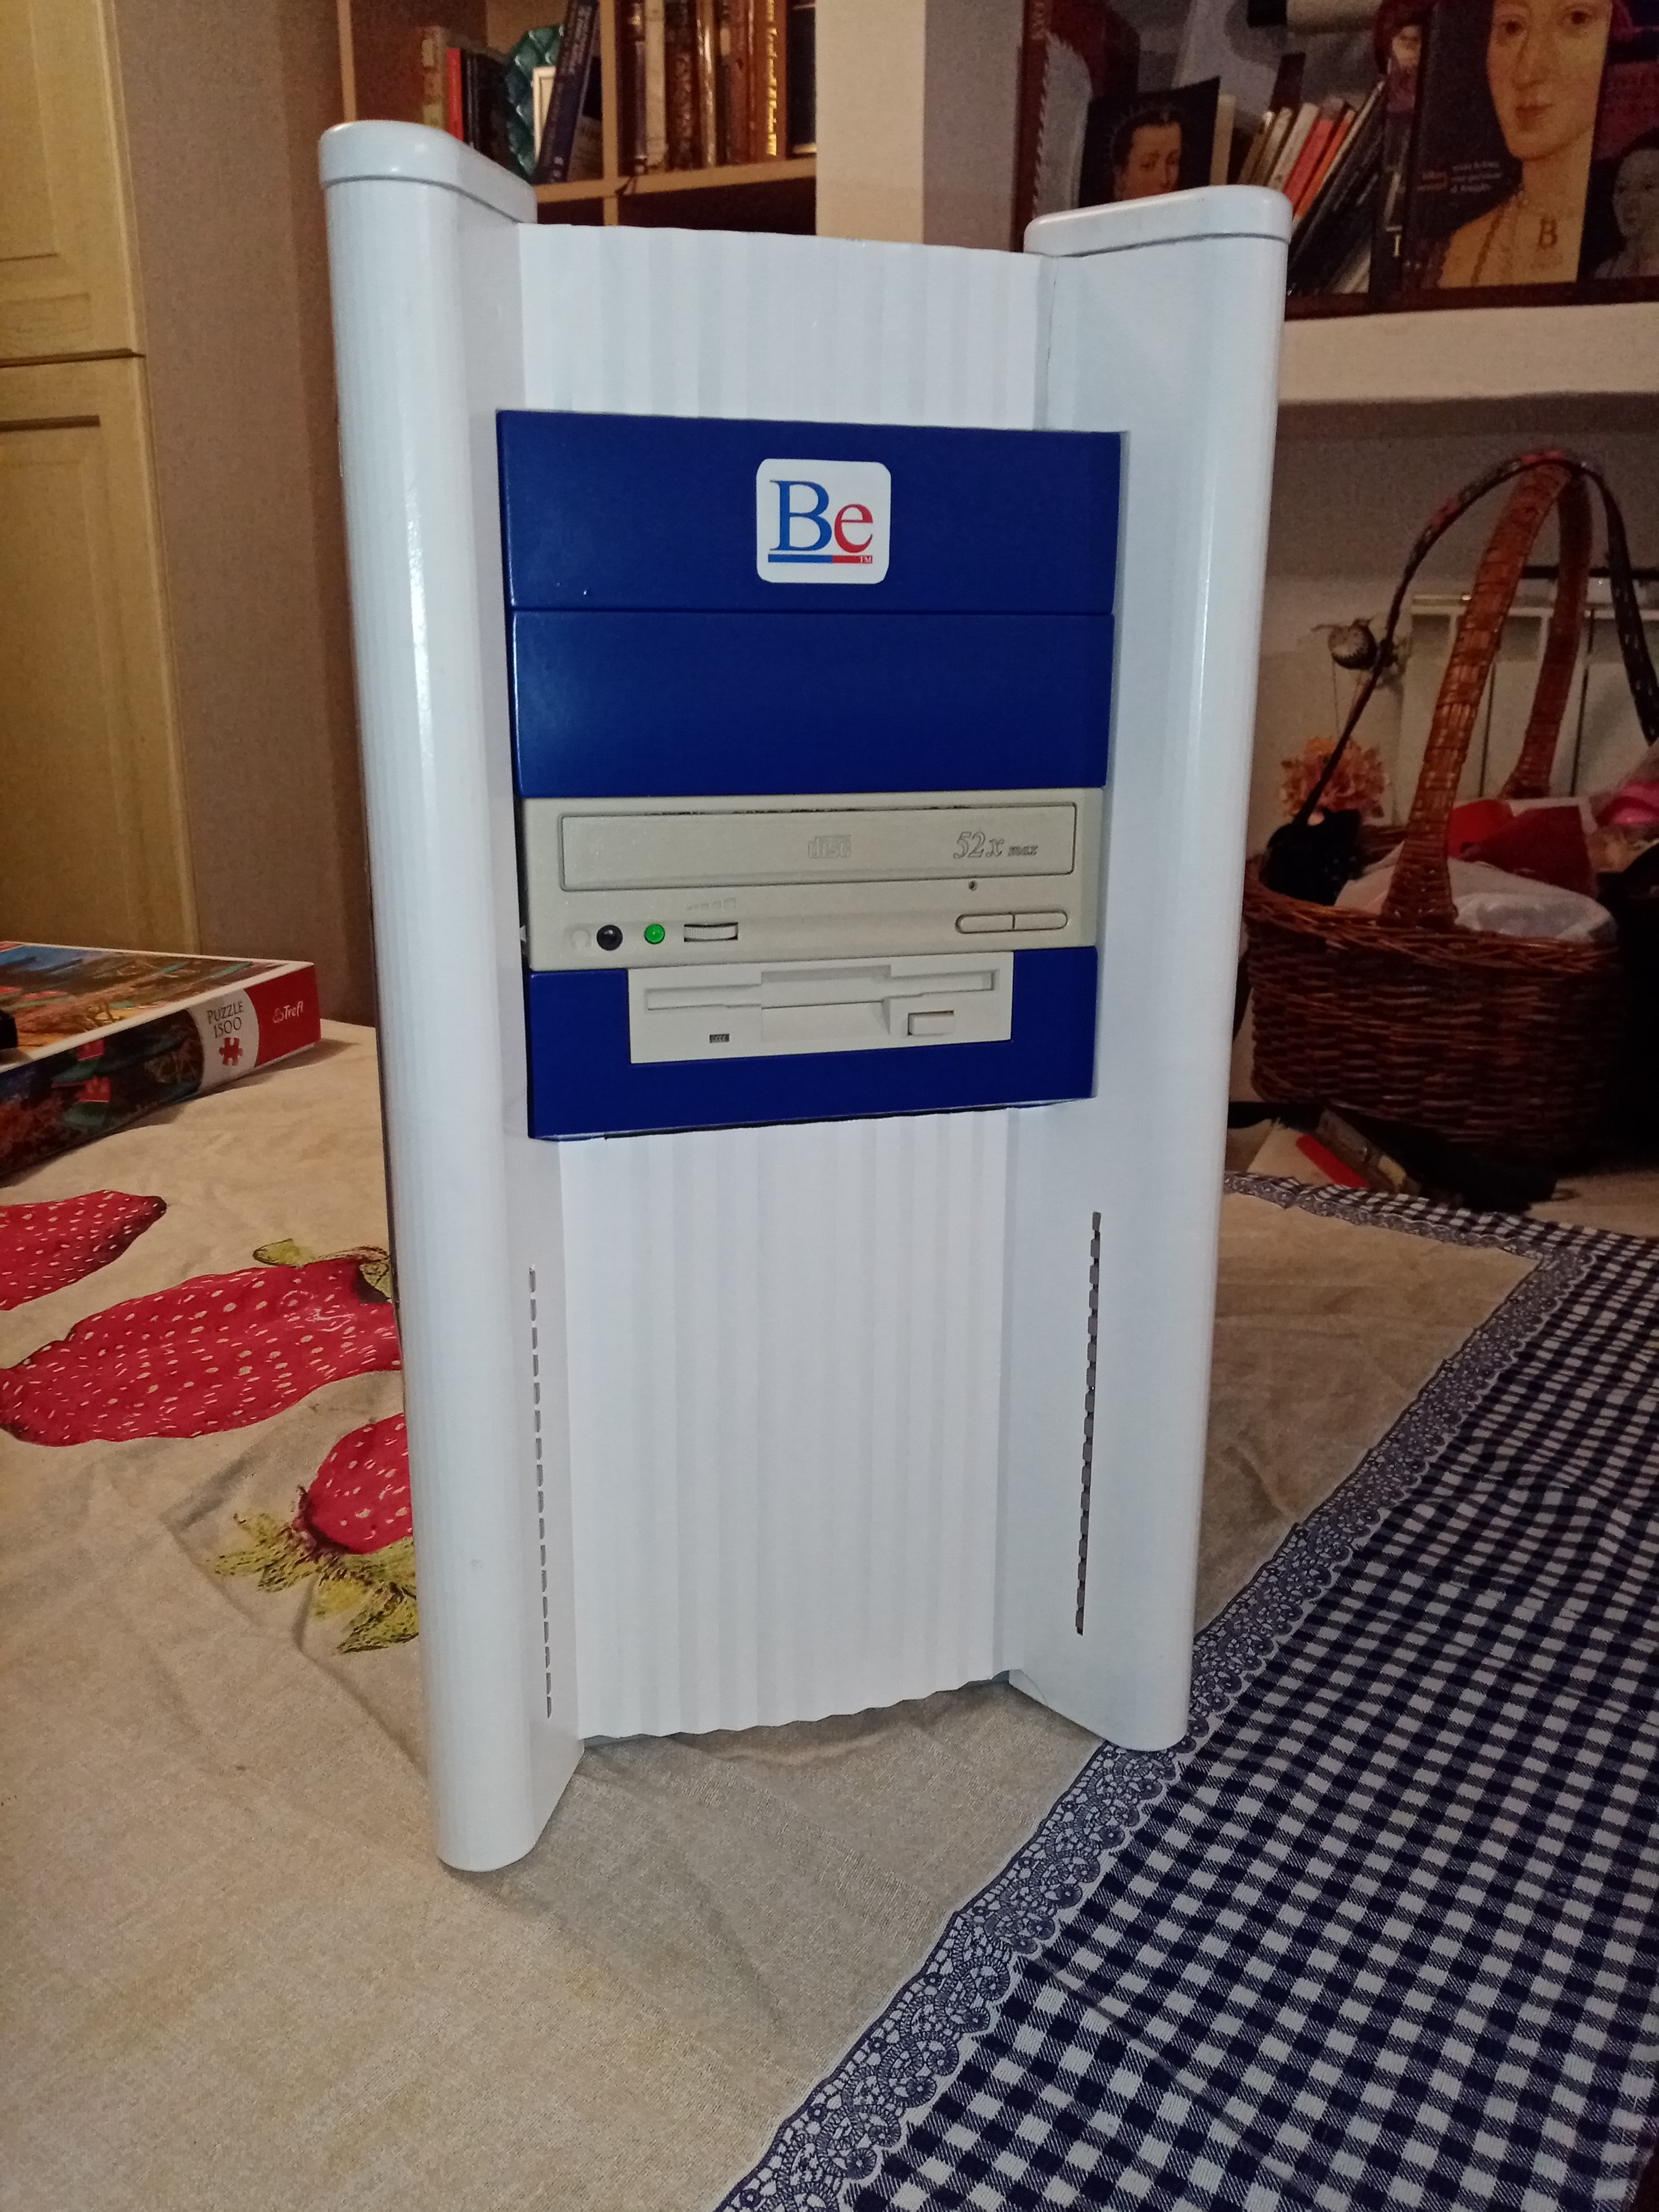
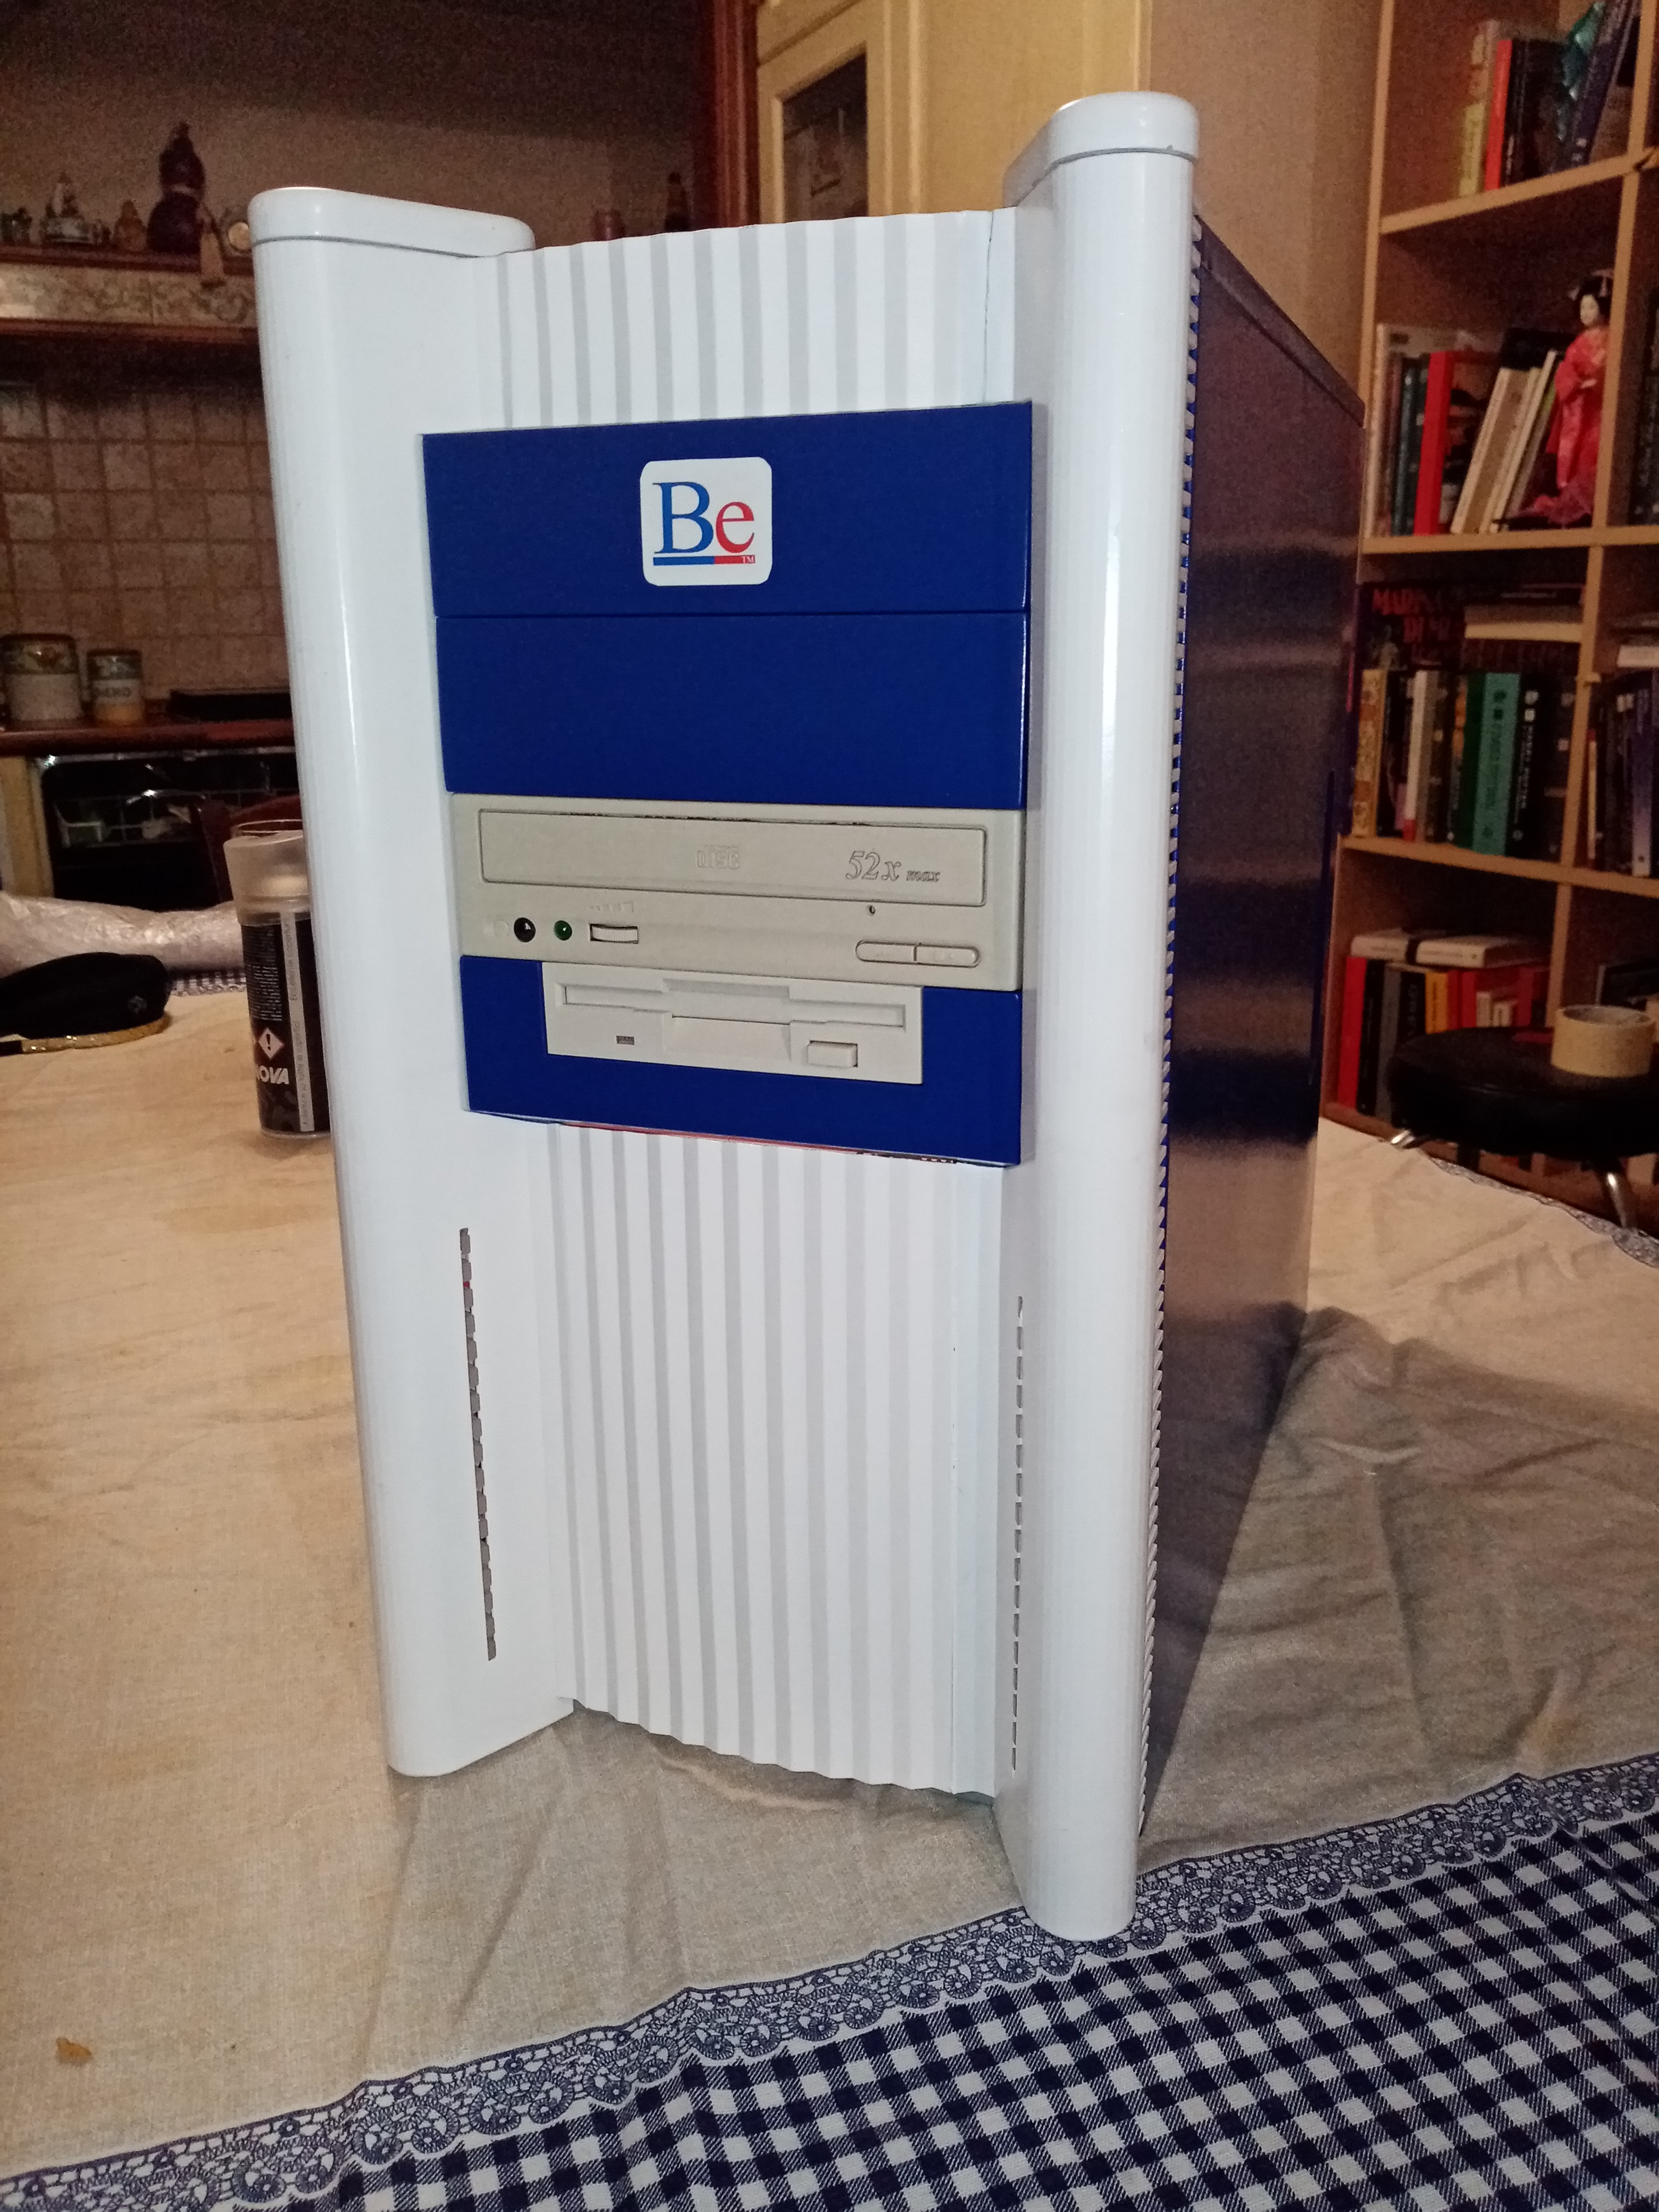
I would say that we are in the final stages … I have glued everything and I think that before the end of the year I declare everything finished
14 Likes
That looks pretty nice!
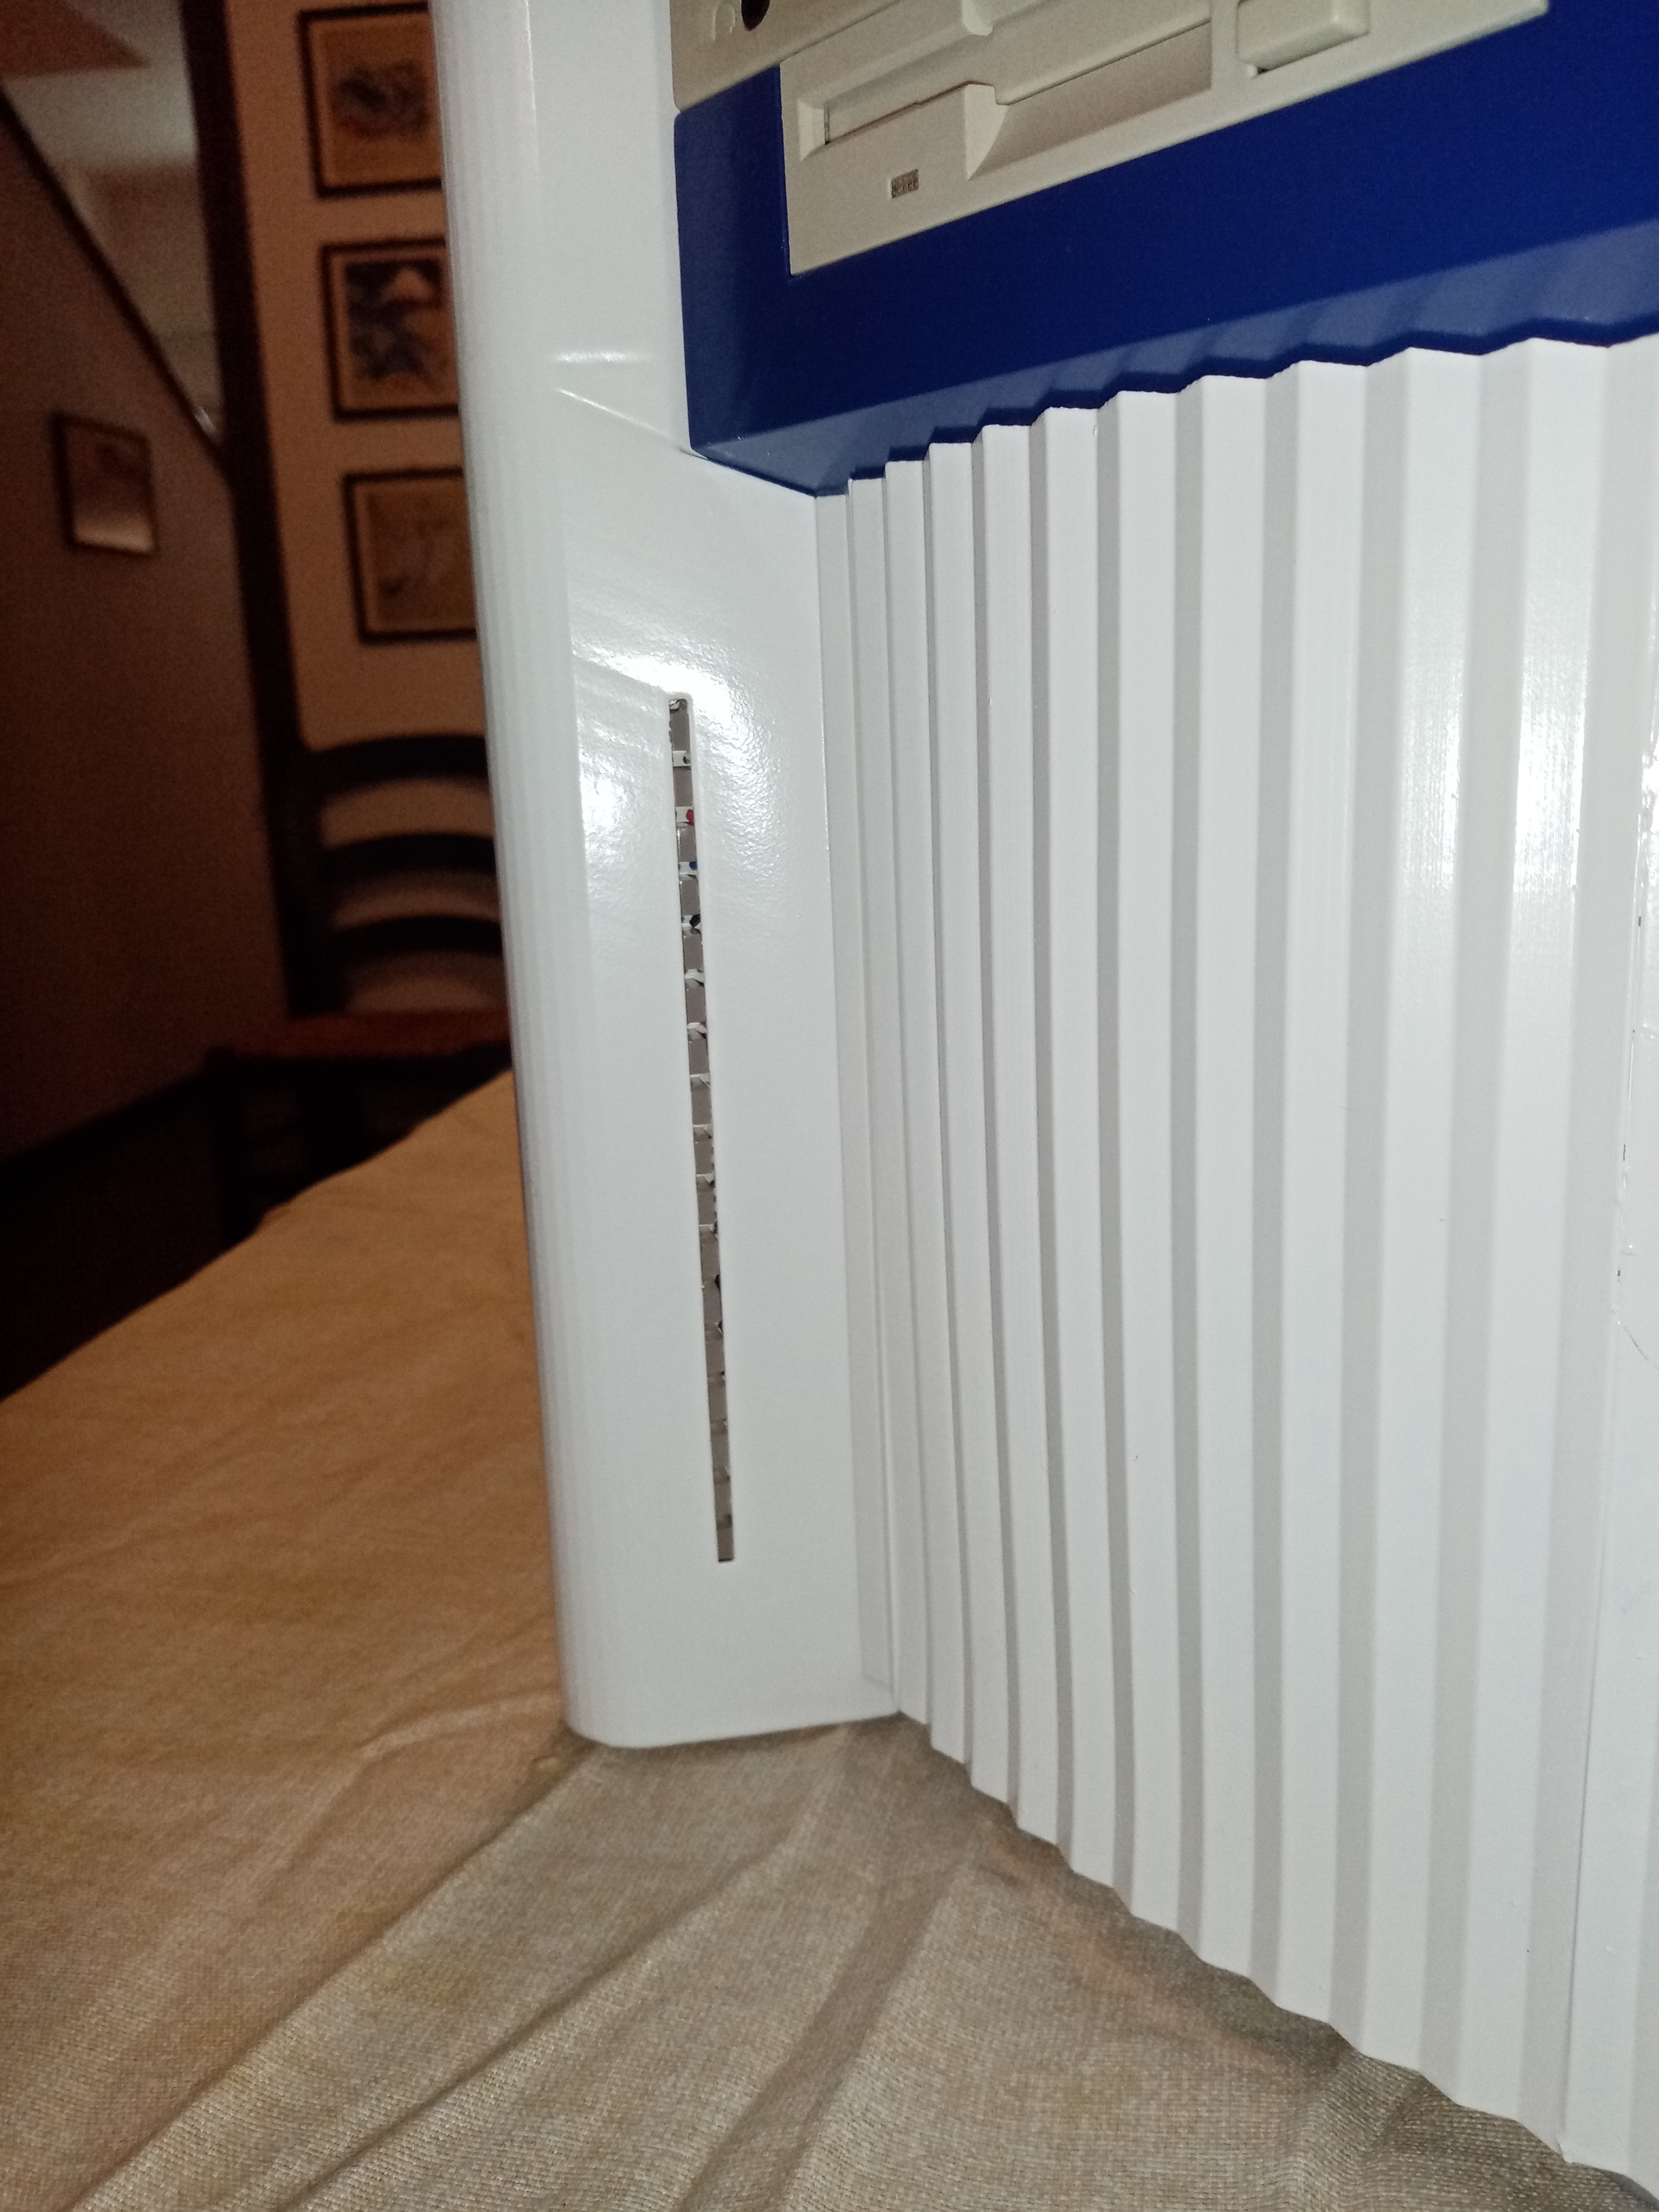
The end caps at the top of the pillars are meant to clip in and turn to allow the top case to come off. It doesn’t look like your end caps are going to do that. I know this as mine were broken off when I got my BeBox, and so you ended up with a hole on either side where the cap would have attached.
The colour looks pretty close, but the blue might have been slightly darker IMO.
You are missing the sticker with the Be Logo obviously
I would probably make one of these, but use a Mac old motherboard and make it a PowerPC machine, as I still think that using a PC was kind of sad. But kudos to you for making it happen.
We moved house (with another move shortly) and work became crazy, so I never finished my blinken lights. The parts are currently all in storage. I will get back to it after we settle in. Hopefully also be able to see if my PowerPC hardware survived being in storage for 4 years.
Not sure I get exactly what you’re describing, but my caps just pop off, and back on - there isn’t any swivel to them. I suppose mine is a fairly late model.
unfortunately in the stl model that I found there was no type of joint between the caps and the main body, so to lock them I had to give a bit of glue (a minimum amount)
I don’t think I have to reopen the top cover of the case, also because the system of joints is different from that of the original bebox … anyway that’s ok
I always liked it as a machine when it came out in the mid-90s, both for the powerful operating system versed in multimedia (BeOs, which at that time made shoes for everyone, both Apple, both windows, and Amiga), and for the aesthetics (the case really had a unique design), but above all for the LED bars (called Blinkenlights) that made you see the CPU workload.
To look for them on the internet you don’t even talk about it (the last one I saw it go away 5 years ago at an out of this world figure and never seen for sale again).
… Wandering on the internet at the end of April 2020 I found the STL file to be able to make a real copy.
There for them I thought “But yeah, who knows how it would be printed in 3d” … After giving the STL file to a friend of mine and seeing that it was actually possible to create a replica, I immediately fell into this project with all the legs.
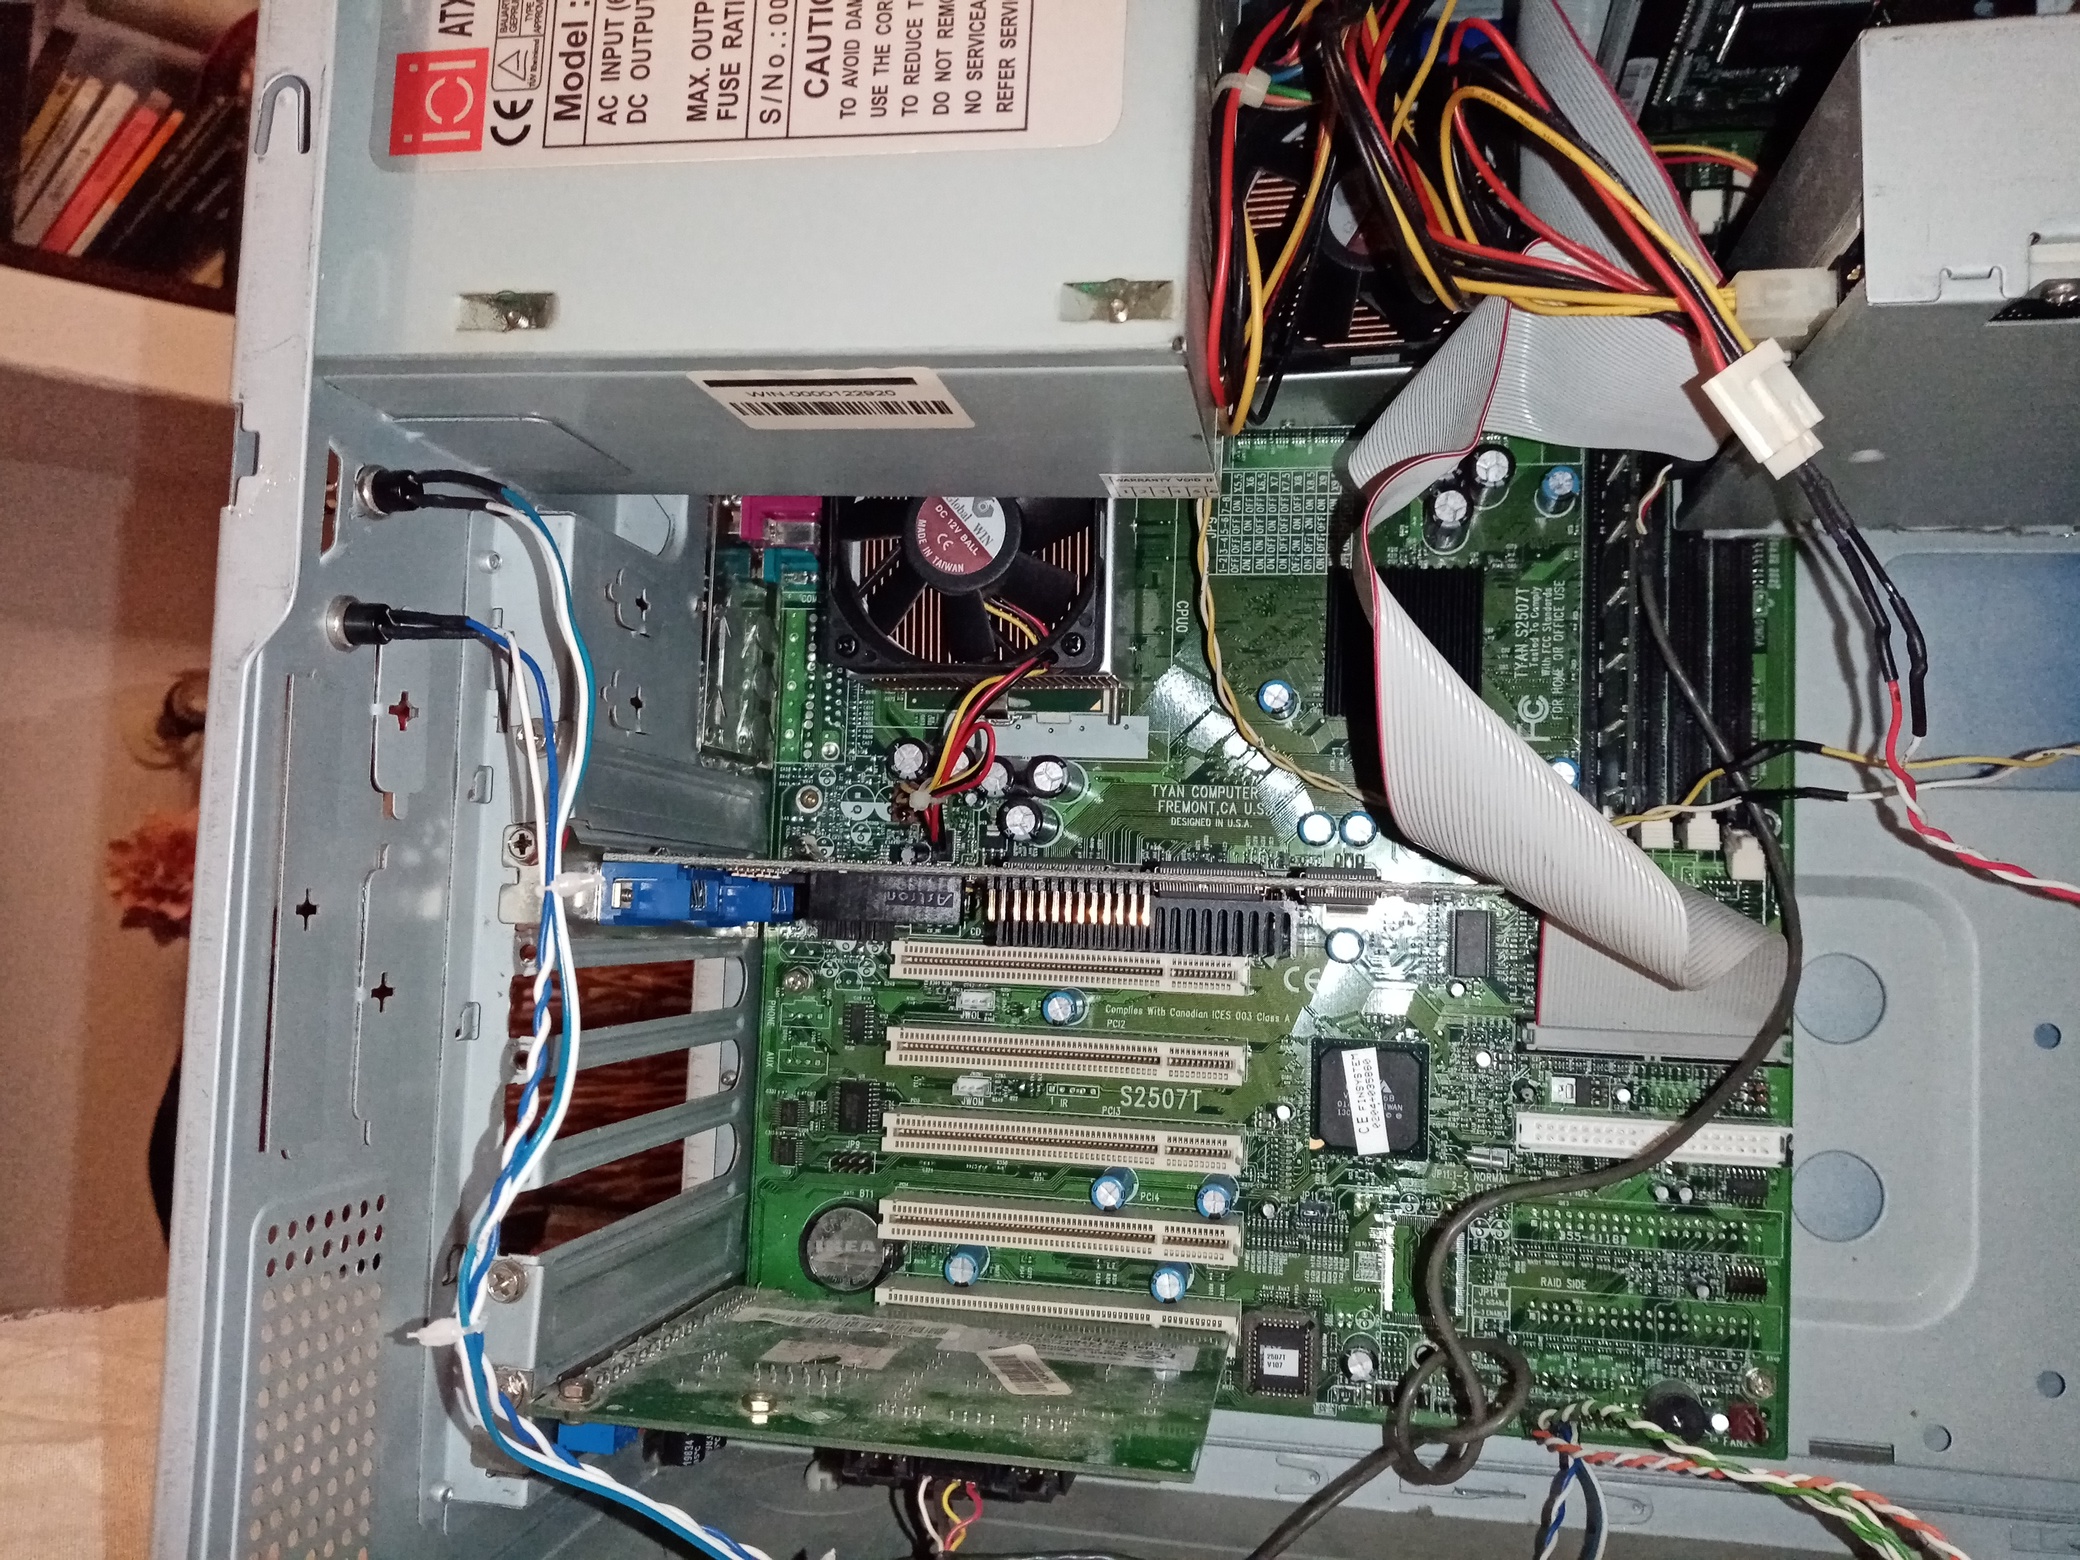
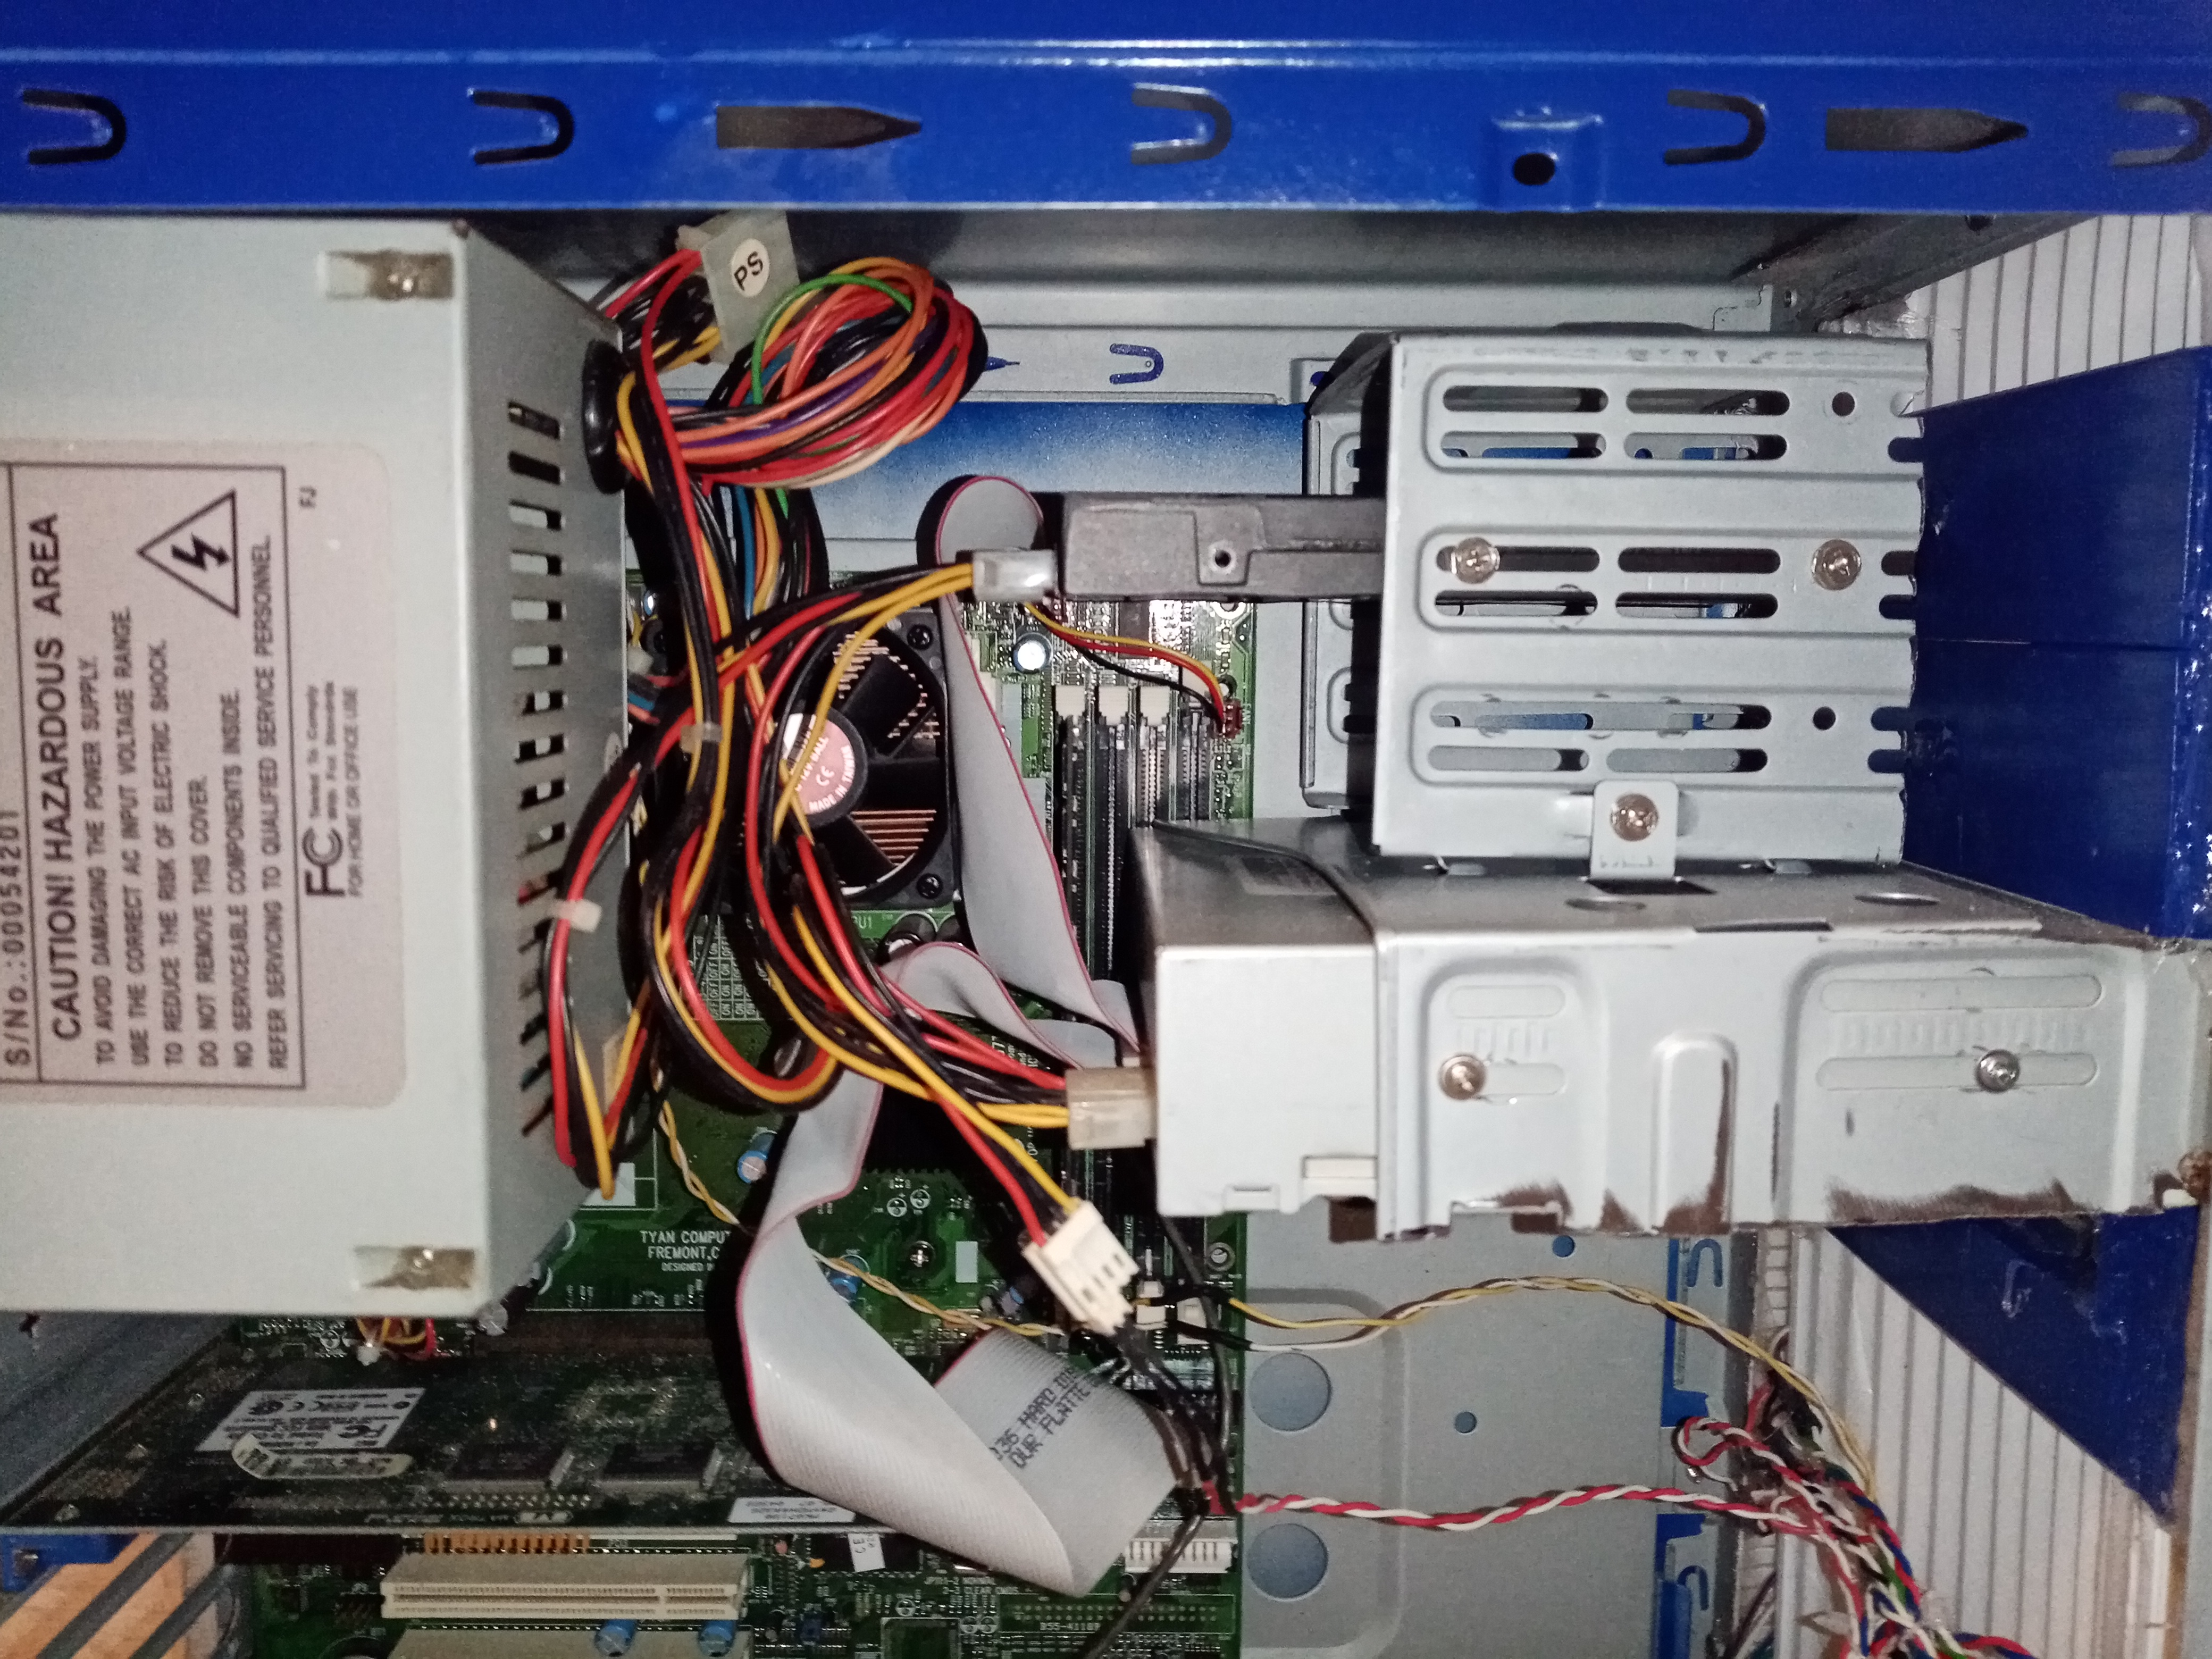
What you see is an aesthetic replica of the famous (for those who know it well) BeBox, equipped with TAYAN motherboard and TWO Pentium III @ 800 mhz processor, 512 Mb of ram, Matrox G400 video card, Sound Blaster 16 compatible, working blinkenlights, and it is the result of 8 months and hours of work on my part, but also and above all of the time of the people (known and complete strangers) who gave me a hand where I could not reach.
So I’m going to list all the people who have contributed to this project which, I believe, is unique in the world
STL adaptation - Fabio Longo and Alessandro
STL molding - Giovanni Scolari
Case and computer supply - Antonio Capone
Painting - myself
Assembly - myself
Stickers - Manuel Pace
Electronic components - ElcoTeam
Electronic small parts - Iacopo Ingrati
Various small parts - BricolaRge Grosseto
PCB Blinkenlights and consultancy - Massimo sernesi
Original Blinkenlights project - Andreas Kaenner
Software help and support 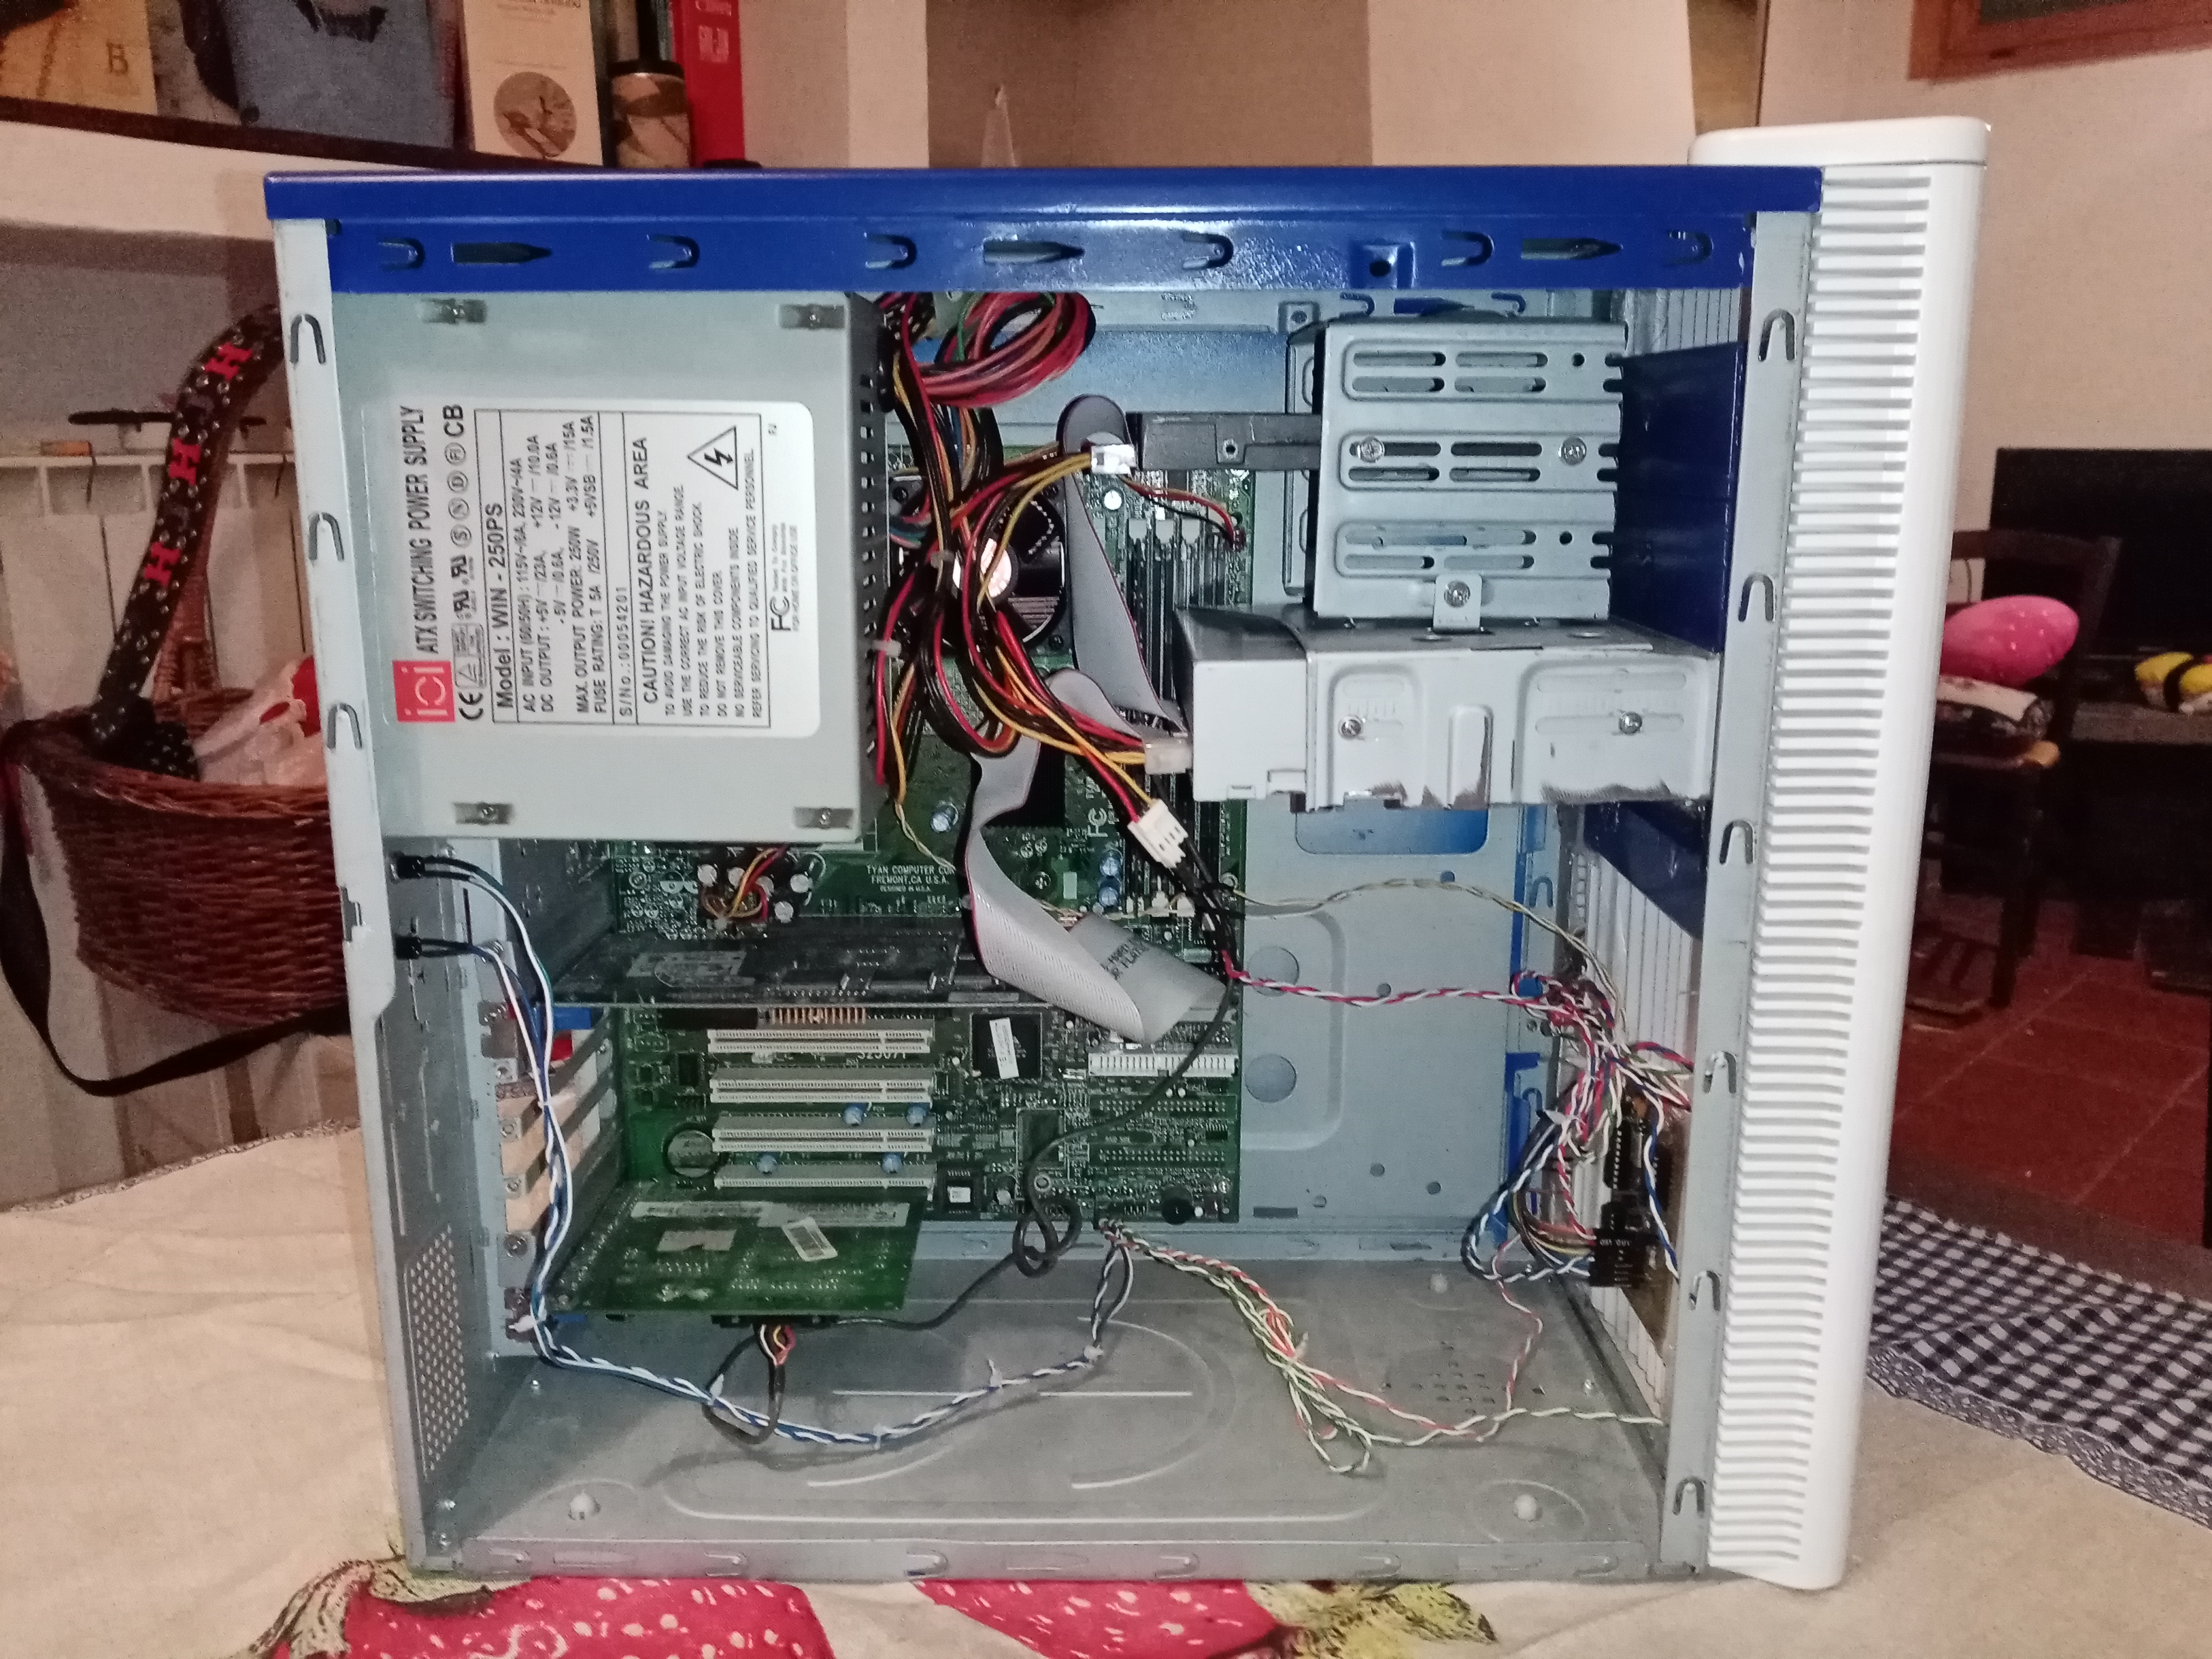

 Uploading: IMG_20201229_073101.jpg…
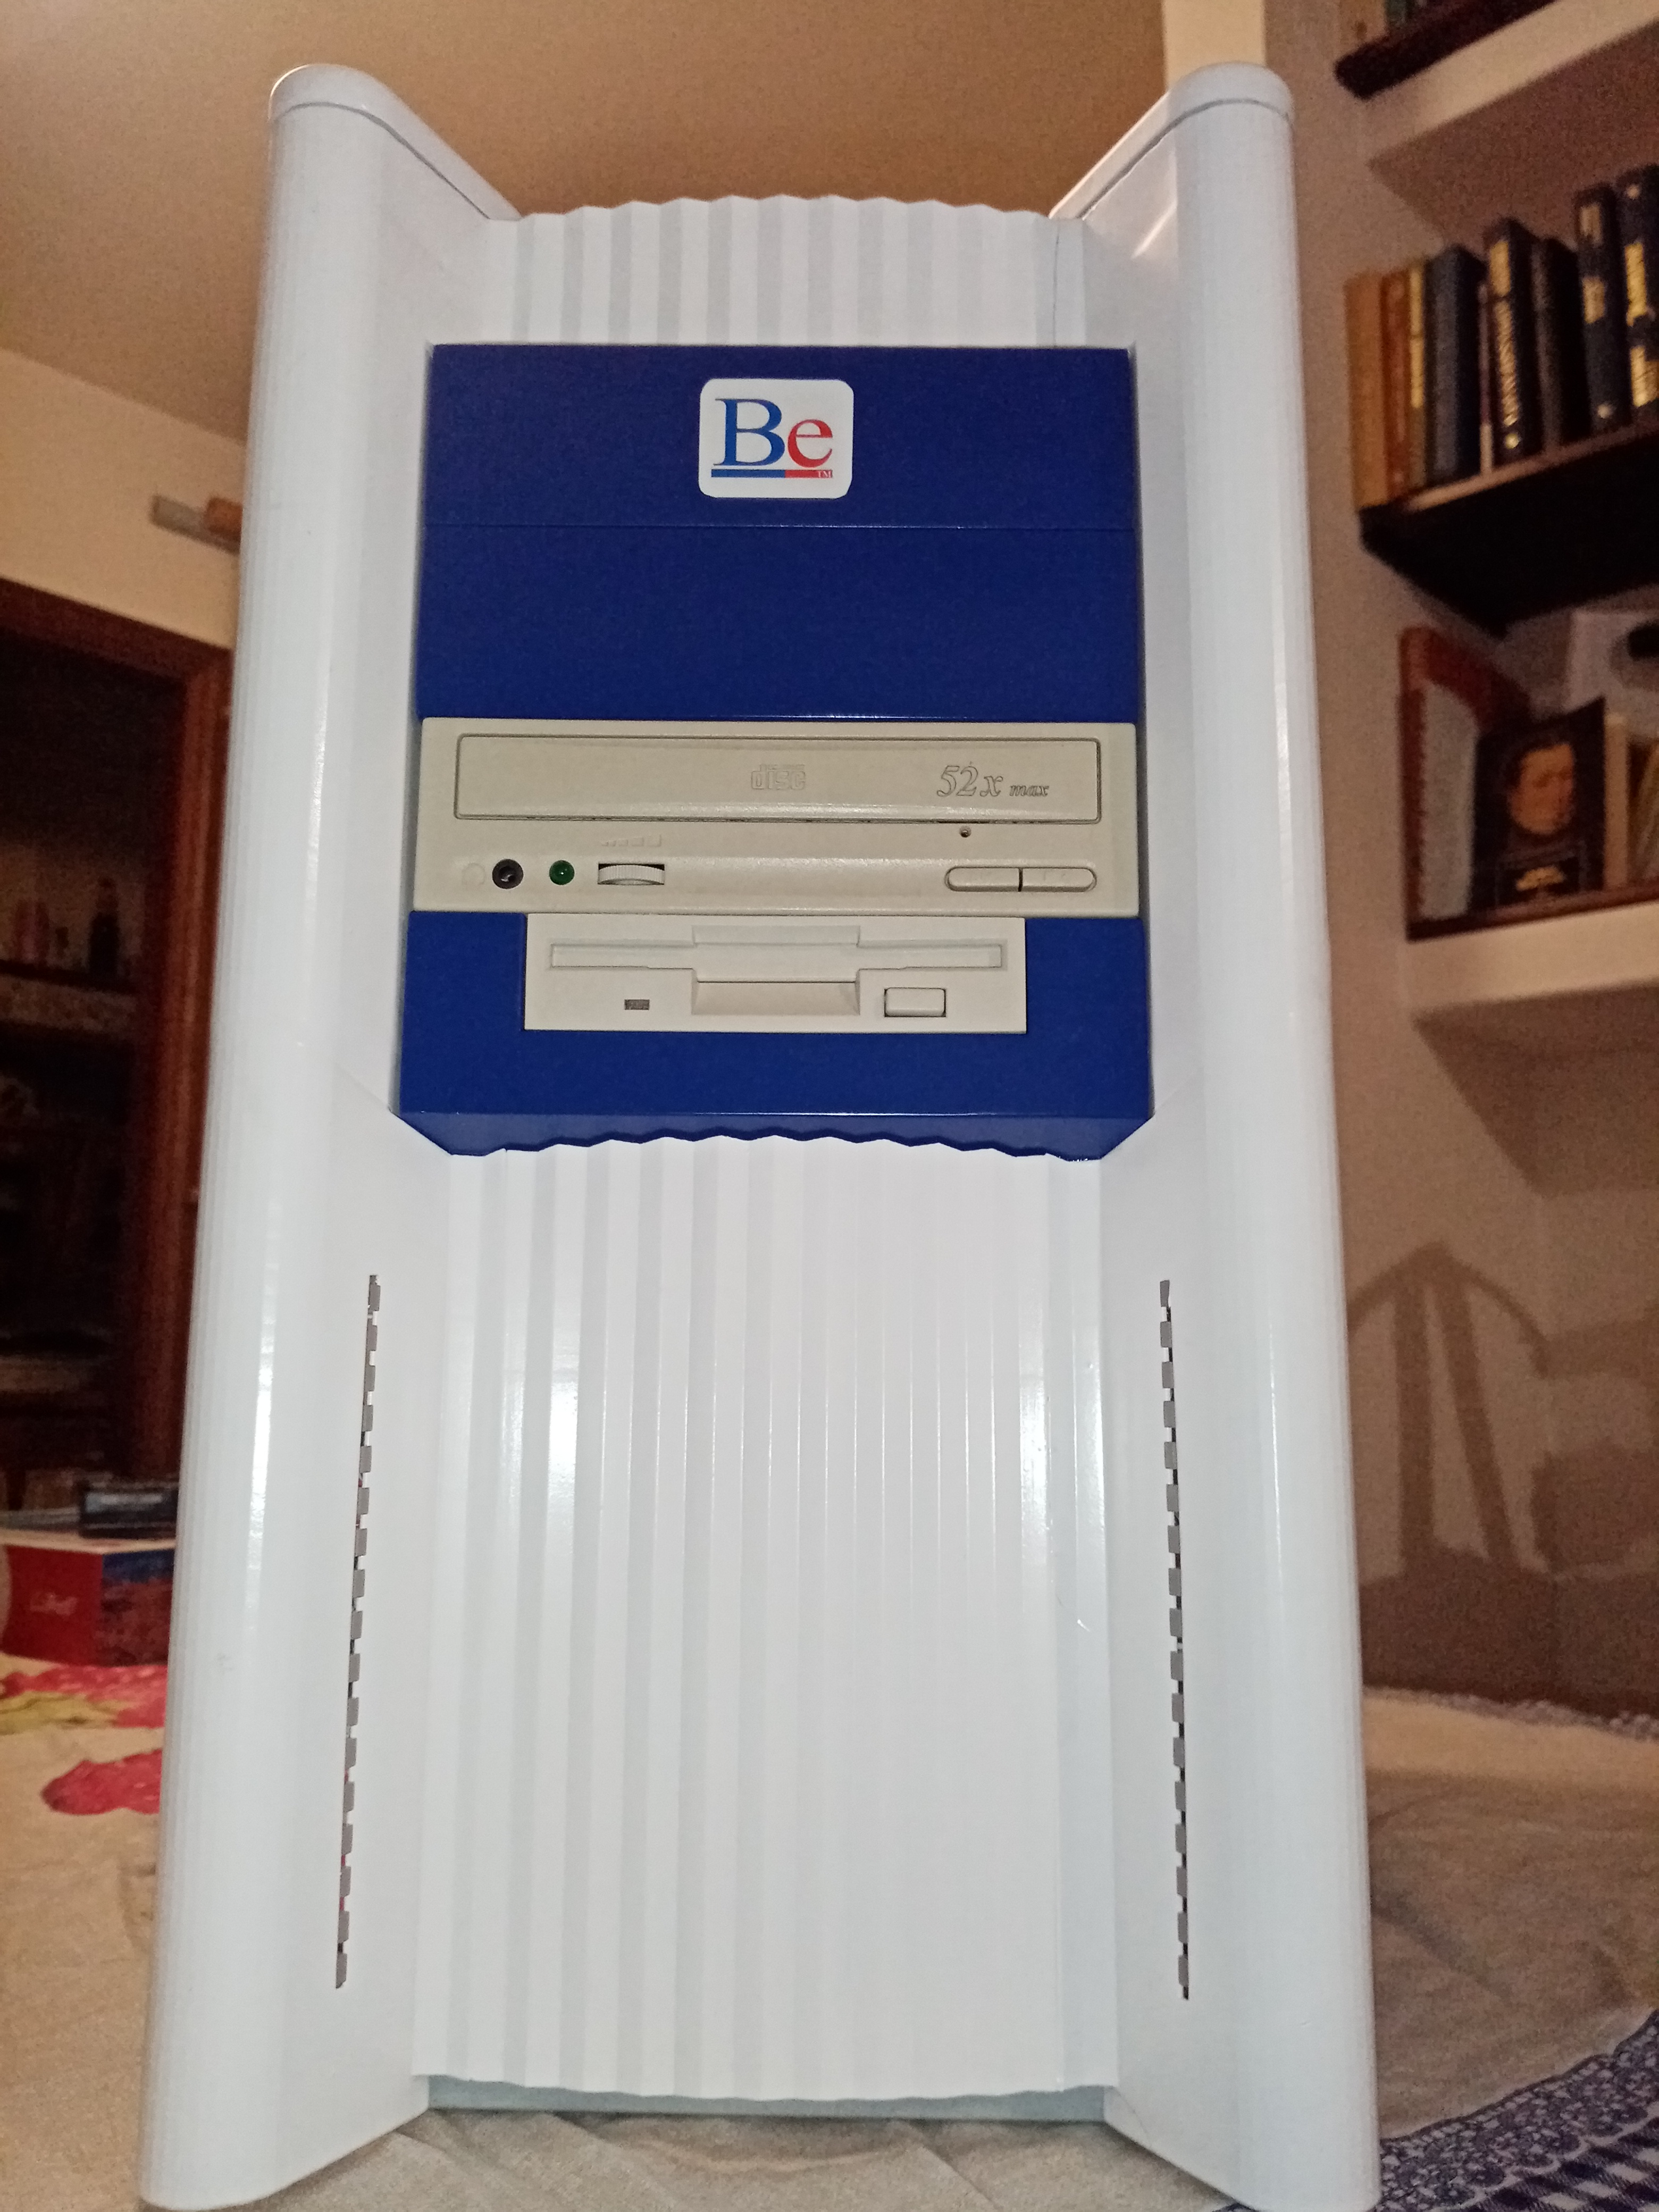
20 Likes
Wonderful! Respect!
1 Like
Nicely done!!! Looks great!!
1 Like