forget it … I don’t want to waste time anymore … instead I found the “pulsebox” project that works perfectly on the software side … I launched the program and on the serial it gives me a train of impulses if listened to on 9600.8.n.1
I therefore consider him skilled for the next step, that is, to build the base of the printed circuit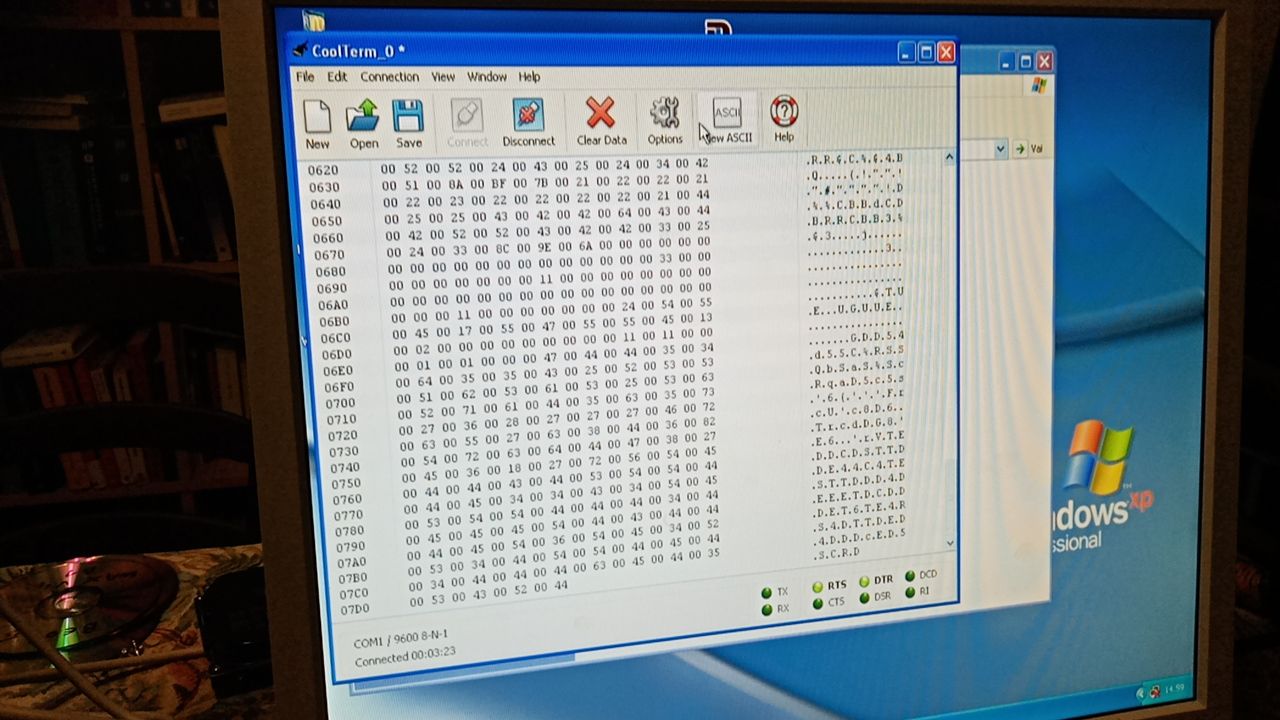
Finally, after days of testing and varied anger, we managed to make a prototype of flashing lights work … If you want to know the rest of the story go here
or if you want to see step by step, all the steps that I will do for the construction of the bebox replica go here
unfortunately it’s all in Italian but I think you use google traslator you read it quite well (there are also many images that are good for you)
https://www.youtube.com/watch?v=inHA2ALkzDg&feature=emb_logo
2 Likes
There is a good chance that program only ever worked on one PC… the guy’s that wrote it due to however his parallel port was setup in the BIOS.
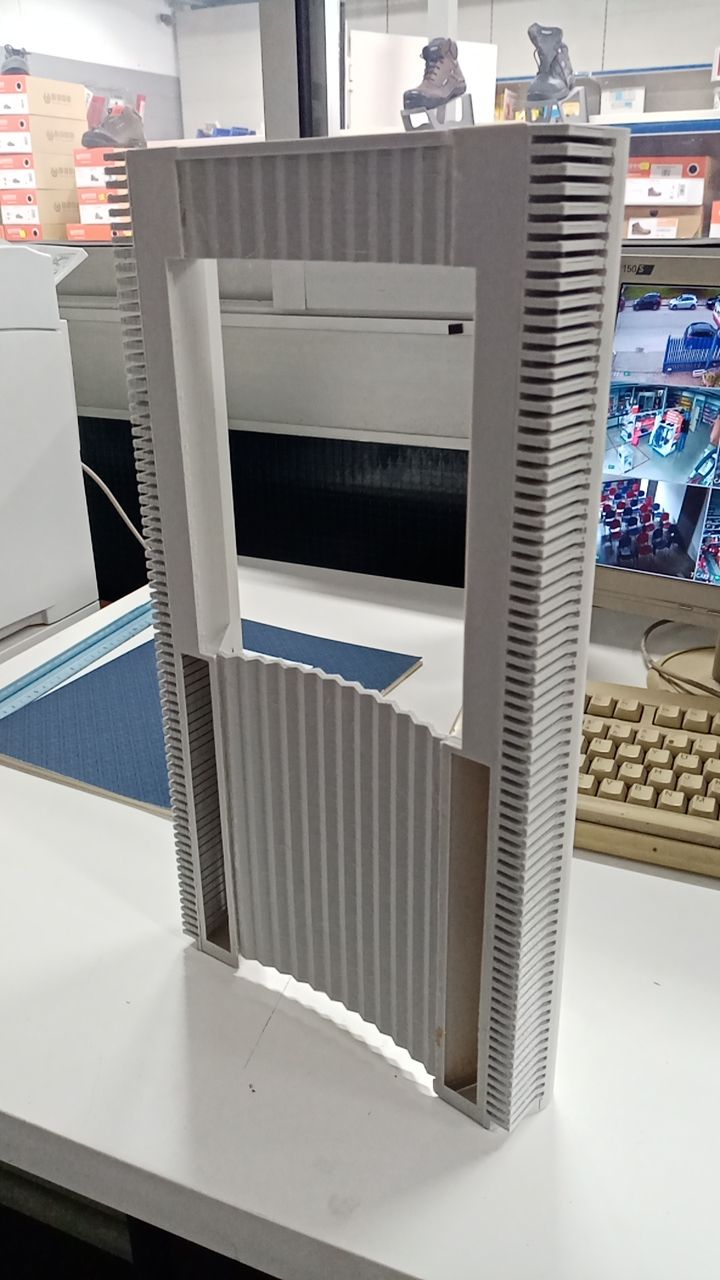
hello everyone again … the replication project continues … unfortunately I was stopped because I had to get quotes for the plastic or nylon printing of the front of the bebox case.
I am agreeing with a company that makes great prices and should give me a great result … I keep you informed as soon as something arrives I put more photos
1 Like
Hello everybody
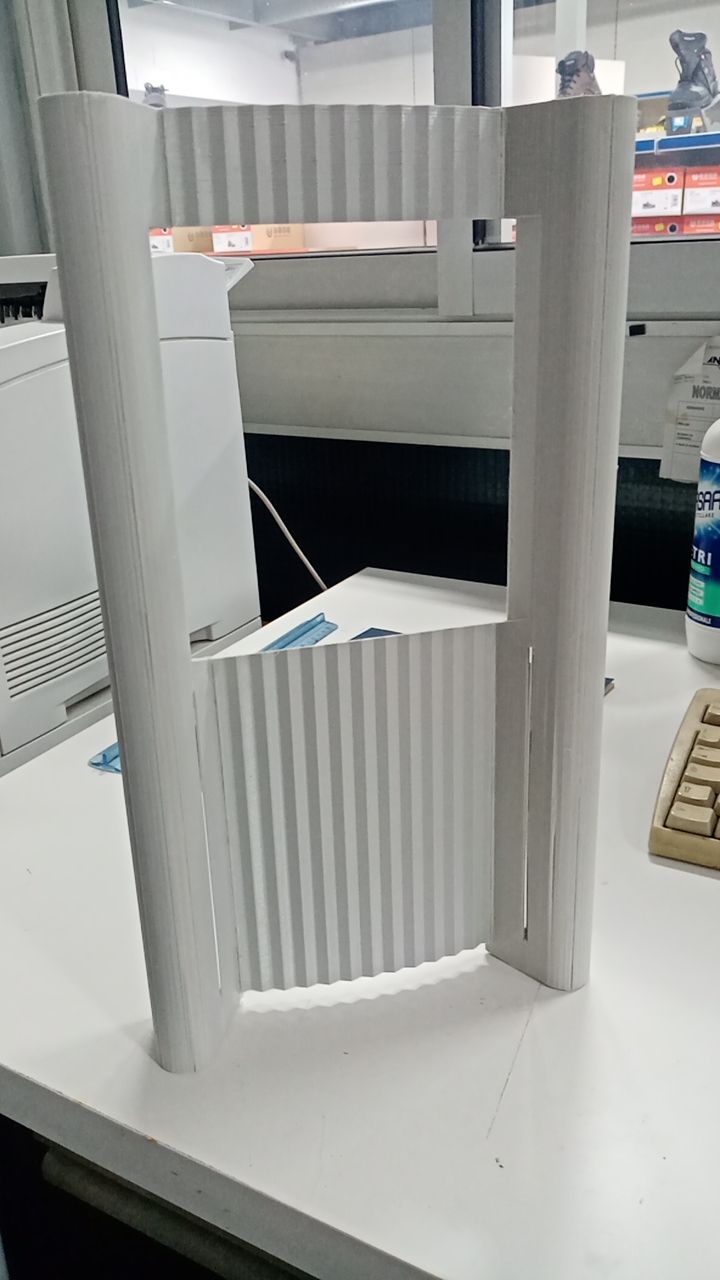
after a while I come back to update you on the project status … we still had to print the STL files I had to see what the front of the BeBox was like … I must say that the result is amazing. … clearly you can see the layers and then I’ll have fun doing some post production on the piece … soon I’ll give the base and then the smoothing putty … stay tuned
13 Likes
Looks great! Is there a plan to offer a complete BeBox computer case that includes the geek lights, etc.?
I am not following any plan for the construction of the bebox case … I am browsing in sight … I found the STL of the case and I had it printed, the geeklights are already working … now I just have to finish the piece with primer and spray putty, then paint everything … but you still have to wait before seeing the finished piece
looks good, keep up the good work.
This is simply amazing. I have been thinking about how a modern Haiku case could be designed. Probably instead of just two lights, we’d need to put an OLED screen that only lights the number of active cores/threads.
1 Like
I like old-fashioned things so I’m building the bebox EXACTLY as it was
3 Likes
It looks awesome! How much does it cost to print such a large piece?
Will you share the files and schematics for the case front, geeklights etc?
The printing of the prototype cost me little as it is very rough and unfinished … I needed it to calculate the connection points with the front metal case … if all goes well I do a resin print, so when it comes out there is nothing to do as I do it directly white … Once the project is finished I share everything (diagrams for the lights, STL of the case, etc. etc.)
1 Like
What metal case are you using?
I used a case of an old pentium II and since in those days they made them wider than now (because they had a plastic bar where the LEDs and other things went) I took advantage of this
I wonder if any metal cases made today would be a good candidate?
I’m wondering if that place could print out a replica Atari TT030 case.
I’ve just ordered an addressable led strip and a Arduino micro, its fast led library seems easy to use, probably I won’t get nothing but it would be fun to try
Having done it the “old way” with shift registers, I think this is the way to go.
After recapping my BP6 board, I looked at the box and the front has 2x20 vents at the bottom that would nicely be retrofitted with some SMD LEDs I actually happen to have.
Since the dimensions are very small I can’t use an LED strip there…
The BP6 has 2 USB ports but only as external connector, no internal header, but it has an SMBus connector for which I think I found the pinout.
There are many I2C LED driver chips like PCA9956B but they seem complex and overkill for what I need. And don’t have enough outputs (I’d need 40), but I think I could use 3 MCP23017 (address is selectable).
That would be a good motivation to properly support SMBus in Haiku I suppose.
Korli already added some drivers lately, but for more recent machines. The infrastructure is there, so it should not be too hard to complement it with more drivers ![]()
1 Like