Here is a “lost” guide on how to virtualise haiku with the now discontinued Parallels Workstation for Windows.
This guide describes how to create a Virtual Machine and Install Haiku from an ISO file. The ISO file can be found here in a zipped file. The operating system being used in the tutorial is Windows 8. All other operating systems that support Parallels workstation can run Haiku in a similar way.
Part One.
First, Launch Parallels Workstation by Going to Start > All Programs > Parallels > And clicking on Parallels Workstation (On Windows)
To install Haiku on Parallels Workstation, proceed to Part Two
Part Two: Creating A Virtual Machine
Step one: Upon Opening Parallels Workstation 6, The following Window will show up.

Step two: To install Haiku on Parallels Workstation, first, Click on Create a New Virtual Machine.
Step three: Upon clicking, A Wizard will show up asking you the Type and Version of Operating System to install in the Virtual Machine. Since Haiku is built upon the NewOS Kernel, we will select the Option Other. And Click on 'Next'.

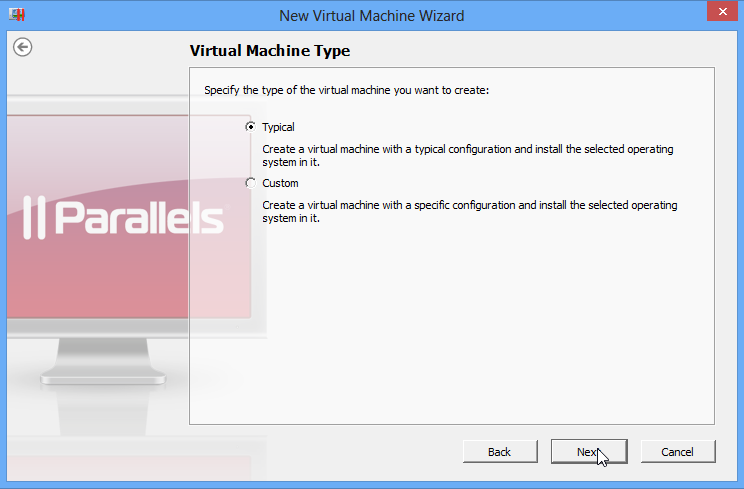
Step four: In the window that shows up, we see an option asking you for the Type of Virtual Machine to be Installed. Choose "Typical" and click 'Next'.
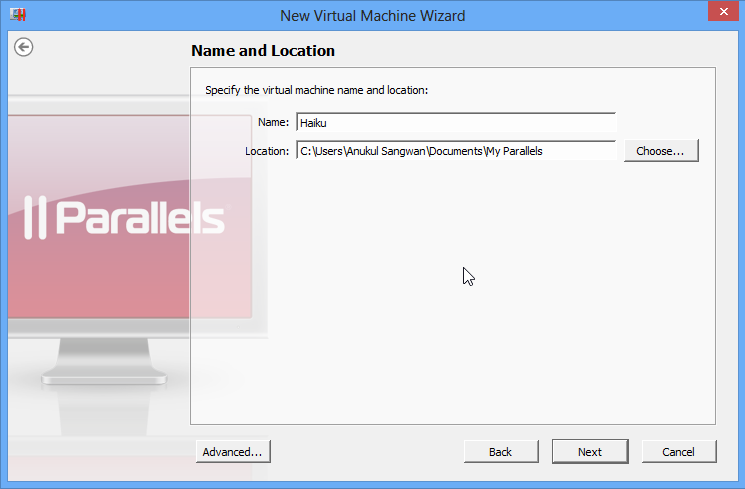
Step five: Now, specify a name and location for your virtual machine and hit 'Next'.
Part Three: Installing Haiku
Step one: After the Processing of the Creation of the New Virtual Machine, Parallels Workstation will show a new Wizard for the Installation of Haiku.
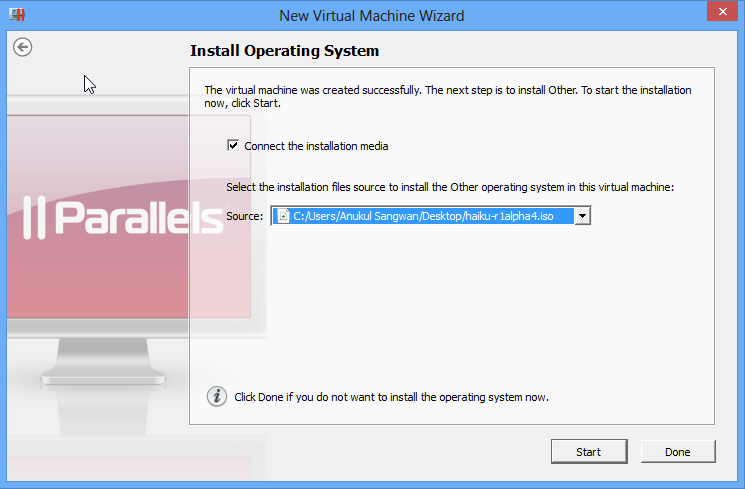
Step two: Point to the ISO file that has been downloaded, after selecting Choose an Image File from the Combo-Box, and click on 'Start'.
Step three: Now just wait while Haiku boots up. From here you will be able to Haiku to virtual disk

Congratulations! You have successfully installed Haiku in Parallels Workstation 6.