Hello. This is (at least for me) a little strange. I have an old laptop with some temperature issues. Under linux, I don’t get any issue. But under Haiku, if I have heavy cpu usage, the laptop clearly overheat and shutdown automatically.
I set the option at the Process Controller to “low power usage”, but apparently don’t change anything. Also, I had the option “Fans always on” at the BIOS.
There is some reason for this behaviour? Is because somer “power management” lacking in Haiku?
Theoretically all hardware should have hardware safeguards to prevent overheating. Older systems might simply “shut down” and a lot of newer systems have forced CPU throttling.
I suspect we are doing something to aggravate an existing problem. Since we don’t have GPU acceleration (and do everything CPU-bound), we’re harder on the CPU than a lot of other operating systems.
Just to eliminate one possible cause, have you cleaned your CPU fan lately with a compressed air can?
Hello kallisti5. Thank you for your suggestion. I will try it. I’m pretty sure that the cooling system is not working as it should.
My question was more related about what could causes the (probably) 10 or 15 celsius extra in Haiku. Your suspect about lack of GPU acceleration makes senses. Also, in the listdev output I found something related to Thermal System:
Normally the ACPI system handles this on its own. However, I wonder if the “fan always on” mode in the BIOS just disables that, and lets the fan always run, but also always at the minimal speed, instead of spinning faster when there is too much heat? Did you try without that option?
No, usually this option is intended for liquid-cooled systems, which need the power supplied to the “fan plug” to always be at maximum, as it will be running the liquid-cooled pump. So that should not be the case.
It’s a laptop…not sure it has anything to do with liquid cooling unless they just forgot it in there. I had one laptop that had such options but it was mainly as it had a socketed CPU that could run at higher TDPs… and you’d prefer it to run untill thermal thottling against the cooling solution instead of self limiting at a lower TDP to keep fan noise low.
Probably the ideal thing to do is take the back off the laptop and repaste the CPU with a pea sized drop of thermal paste… some Artic MX-4 is cheap and will last the rest of the life of the laptop it’s also non conductive so, low risk to apply.
Old paste from the factory often goes bad after some years… and causes it to hold in the heat more than it should. As far as why it doesn’t do this on Linux… maybe power manangement is just good enough there that it isn’t noticeable, it would be noticeable if you ran a long running task though it would stay throttled.
I tried with the “Fan always on” BIOS option disabled, but the result are the same. Also, in Linux the temperature ranges doesn’t changed after disabling that BIOS option.
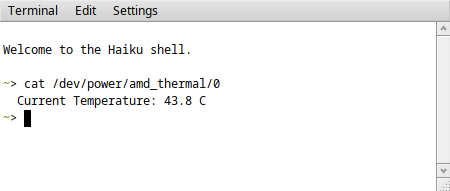
There are some thermal-reading drivers in Haiku source I don’t see it in nigthly builds, but you could to build it from source. Usage by cat /dev/power pseudo files.
Temperature of my AMD Rizen 9:
Hey! someone found my repo without me advertising it! NOICE!
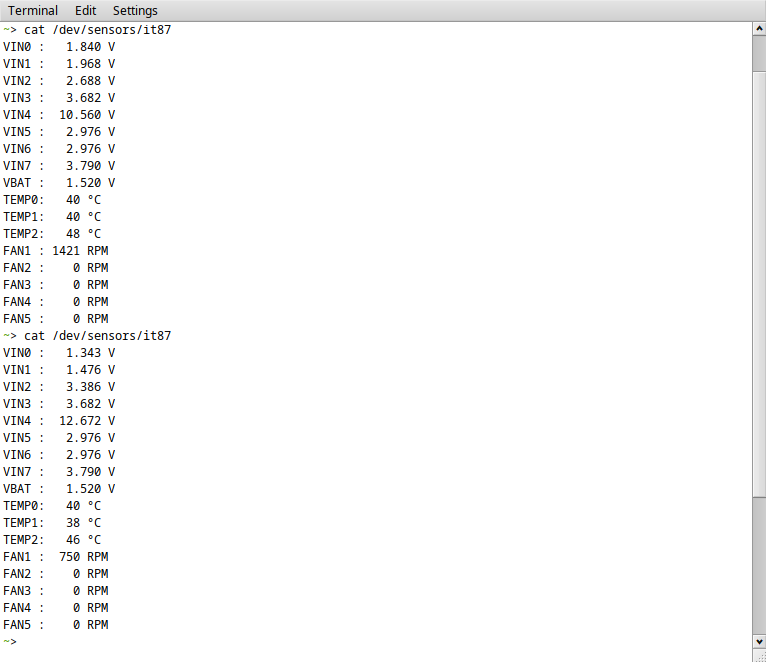
BTW, for older motherboards that include an ITE IT87xx “Super I/O” low-pin count chip (which include hardware monitoring capabilities)… there’s also my older it87 driver.
Also for other older motherboards, but the one with a Winbond Super I/O LPC chip, I have a working but still not published driver (wbhm) which should support:
W83627EHF
W83627EHG
W83627DHG
W83627UHG
W83667HG
W83627DHG-A (tested on an ASRock N68S-UCC motherboard.)
Wish I wasn’t so easily distracted. My intention is to get my (currently) 3 “hardware sensor” drivers more or less in-line with each other, and try to revive/update my “Hardmony” app enough as to be able to use whatever sensor is available.
I suck at GUI work, but if I manage to learn enough about BLayout… one can dream!
About point 1: yeah, at some point I wanted to use /dev/sensors/, because while currently Haiku has /dev/sensor/, in other places it uses plural form (as in /dev/ports/, but on the other hand… it has /dev/disk/, so… I don’t know ). In any case… app and drivers need to be in sync, of course.
About point 2: yes, ideally we should be able to select what is shown, and also to change the labels and offsets for each sensor (and ideally, provide some pre-made setups for different known motherboards).
About point 3: welp… that is unexpected… but given how bad of a programmer I am… I’m actually impressed that it didn’t just set the computer on fire instead of just crashing .