Hello all! I lucked into an original 66mhz machine a few months ago and am just now getting around to putting it together. So far I’ve put two 64mb SIMMs, a 250Gb HDD, CD-R drive, and an ATI Rage II+ into it. I can tell it’s getting power and the Blinkenlights show that it’s POSTing, but I have no video output. Should I have gotten a Millennium instead?
2 Likes
The faq lists the fully compatible graphic cards:
https://web.archive.org/web/19990202093201/http://www.be.com/support/qandas/bebox.html
If you have a null-modem serial cable, you can get debug messages out the serial port 4.
Millennium only gets video on boot with the pr2 boot rom
BeOS can be quite picky about which pci slots you use for video. I think the top most slot is safest. ATI rage is supported as I have something like that in my Umax. But, depends on the exact model.
The serial cable is a good call…. You need to press a key to get it working though. This article will save you a lot of hassle.
Also, which version are you trying to install? Your user name is quite interesting, so it did have me wondering.
If the plain 603 will install v5 then that’s what I’ll go with. As for the username, that has to do with my location. It’s just coincidence in this case.
1 Like
It will be slow. R4.5 will be a better experience on a 66MHz BeBox
Noted. I ordered a Millennium II last night so I’ll update in a few days.
You need the PR2 boot ROM to get video on boot or that card, otherwise it will only start the graphics at the point the desktop starts. I had one of these on my BeBox and it is a nice card. It’s also worth mentioning that you might be able to flash it for MacOS and that might avoid the boot issues. I had 2 and flashed one for Mac, and left one stock. The BeBox, iirc, booted with either. I don’t think I ever flashed the boot ROM, so can’t tell you if it being a Mac card made any difference, but it is the X86 bios on the stock card that causes all the drama.
The other bonus is that I believe the Matrox cards are “accelerated” and can do full BDirectWindow and Game kit. The ATI Mach 64 etc are not.
How it initialize graphics card? Maybe some generic interfaces exist? I have similar problem on RISC-V.
Video BIOS is often x86 so it will not work on PPC or RISC-V.
On PowerPC Mac (and SPARC), the BIOS for the video card is replaced with forth bytecode that can be run by OpenFirmware. There were specific versions of the cards for these machines, but usually it’s possible to find the BIOS image and reflash it on another similar enough card. Unfortunately their respective implementations of OpenFirmware are too different and the cards for one machine are apparently not fully compatible with the other.
Not sure how that works on the BeBox since it isn’t based on OpenFirmware.
For example there is some info here for the Radeon 7000: mattst88's Radeon Flashing tools and ROMs for Mac/SPARC
Another option is to emulate an x86 CPU and run the BIOS inside that environment. We already do this to run the VESA driver on x86_64: x86_64 port: three quarter term report | Haiku Project and I see no reason this wouldn’t work on other machines as well, but you will need to provide a BIOS image instead of using the system one, I guess? Currently it uses the system BIOS and this wouldn’t work on machines that don’t have one. I think you could use SeaBIOS.
Implementation is here: bios.cpp « bios « generic « kernel « add-ons « src - haiku - Haiku's main repository and x86emu « libs « src - haiku - Haiku's main repository
A similar solution is used in the Pegasos II firmware (it is a PowerPC machine mainly running MorphOS) to allow PC graphics cards to be used. However, their implementation is closed source.
The last version of BeOS you can install on a BeBox depends on the motherboard revision/size of the rom.
True. If your BeBox is not bare bones and has the blinkenlights, it is likely able to run R5. But check what it says n the logic board.
The BeBox has some kind of interpreter that executes the x86 bios. But I believe each card has to be added manually and it is not generic. I think there is a component in the boot Rom and this initialises the card for the boot logo and I don’t know much more than that.
Alright, so I got that Matrox in yesterday and tested it last night. Still no video. It also seems my optical drive isn’t spinning?
As for the revision, is that printed on the board, or is it only in BIOS?
It’s printed on the board, the last number indicates the revision, 6 and up use the larger size flashrom and can use every version of the bootrom upgrade/OS.
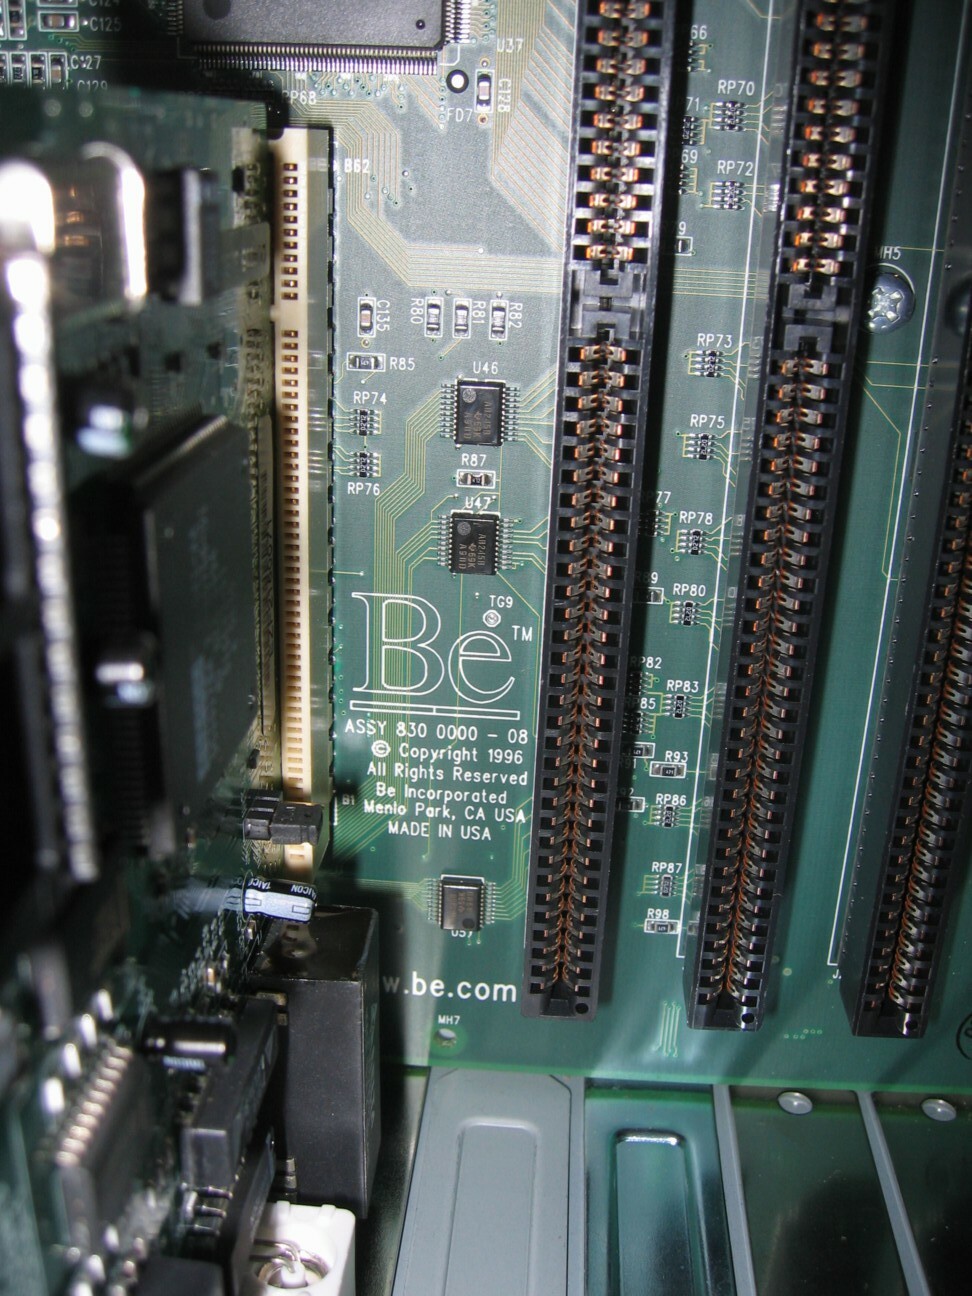
That’s a rev8 board:
4 Likes
Just in case that could be useful, here is the link to an old BeBox site:
https://web.archive.org/web/20130120220425/http://www.bebox.nu/
1 Like
Thanks again for the help everyone. It’s a Rev 6 board. I tested my optical drive to make sure it was working and confirmed that it is. I’ve tried placing the jumpers in various positions, still no good.
Try to get the serial port debug messages.
If you have an old version of the rom, you might need one of the graphic card listed in the old faq.
Alright, I’m back. Picked up a serial to USB cable and tried to get debug info through PuTTY but it came up empty.
I had a similar issue this week. I was doing some work on my Umax and it stopped booting BeOS. You need to ensure the serial port 4 is used and set the baud rate etc as the article I linked before states, and then (assuming you have a working video card, otherwise when you think) the boot logo should have appeared just hold down the serial debug key (F1, I believe) and keep it held down… it’s not one of those “press it and it will register” types of deals, you need to keep it pressed until the debugger starts spewing data. It it is set up right you will see a lot of data. For the Mac is does about half a page then hits the IDE/SCSI checking.
The timing is something like, after all the memory checks are complete the boot logo is shown, it goes: left side, right side for every stick of ram, then there is a brief pause and then the logo, then the drive access light will flash when it starts to access the drives.
My Umax apparently will not boot without the floppy cable connected. Not the Floppy… just the cable. I have no idea why. So I was looking at the debug output and couldn’t get that to work… so I discovered the “hold the button till it starts working” technique.