I use oh-my-zsh on my other systems and there is a oh-my-bash equivalent for bash. We will install that and some Nerd Fonts that work well with the custom prompts in oh-my-bash.
First, let’s install a Nerd Font. I like the FiraCode font, but pick whatever you prefer.
Nerd Fonts
- Once downloaded to Desktop, unzip the file.
- mkdir ~/config/non-packaged/data/fonts/ttfonts
- copy the downloaded .ttf fonts to that directory
- in Terminal settings, change the font to use the Nerd Font that was installed
- optionally, launch the Appearance Preferences app and change fonts to use the Nerd Font.
Now let’s install oh-my-bash from:
github-oh-my-bash
With BeOS it’s considered bad practice to pollute the $HOME directory with unixy dotfiles. As such, we will store these files in the Terminal config settings area (/boot/home/config/settings/Terminal).
To install oh-my-bash, run the following command from a Haiku terminal:
export OSH="/boot/home/config/settings/Terminal/oh-my-bash"; bash -c “$(curl -fsSL https://raw.githubusercontent.com/ohmybash/oh-my-bash/master/tools/install.sh)”
Move the .bashrc file that was created by the installer into the Terminal config settings folder:
mv /boot/home/.bashrc /boot/home/config/settings/Terminal
Edit the .bashrc file to select your theme. I like the powerline-multiline theme:
- change OSH_THEME to powerline-multiline
Now we need to create a new terminal profile to augment the system default profile. Optionally, one can also run the neofetch command (available via HaikuDepot) which is nice to see when a new terminal is opened:
Create /boot/home/config/settings/profile and edit to contain:
neofetch
source /boot/home/config/settings/Terminal/.bashrc
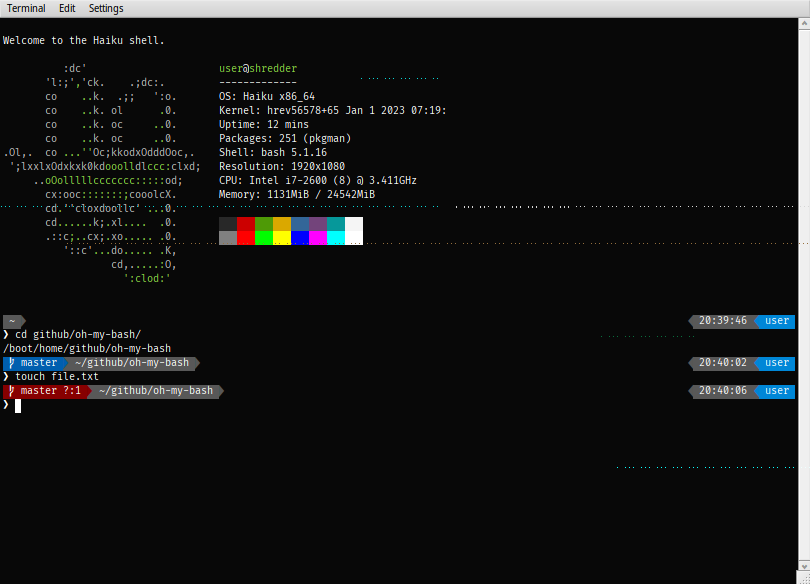
That’s it. When you create a new terminal window, you should have the themed prompt.
Now open a new terminal to see your new prompt. cd into a git cloned repository to see how the prompt reflects the current git status.
