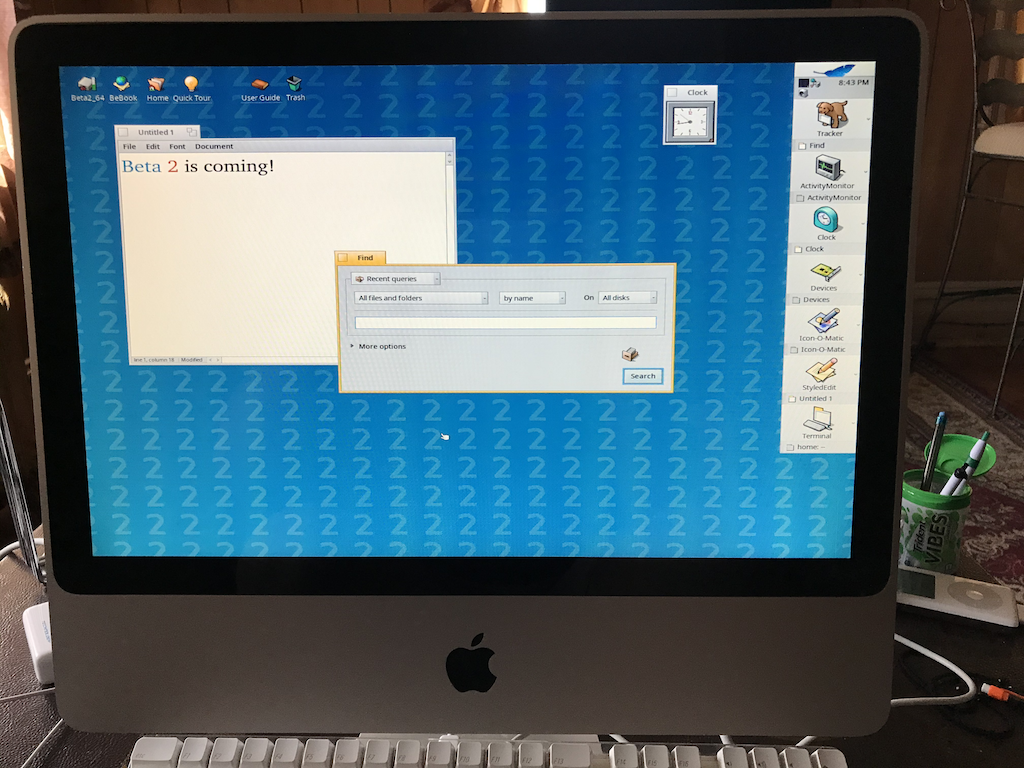
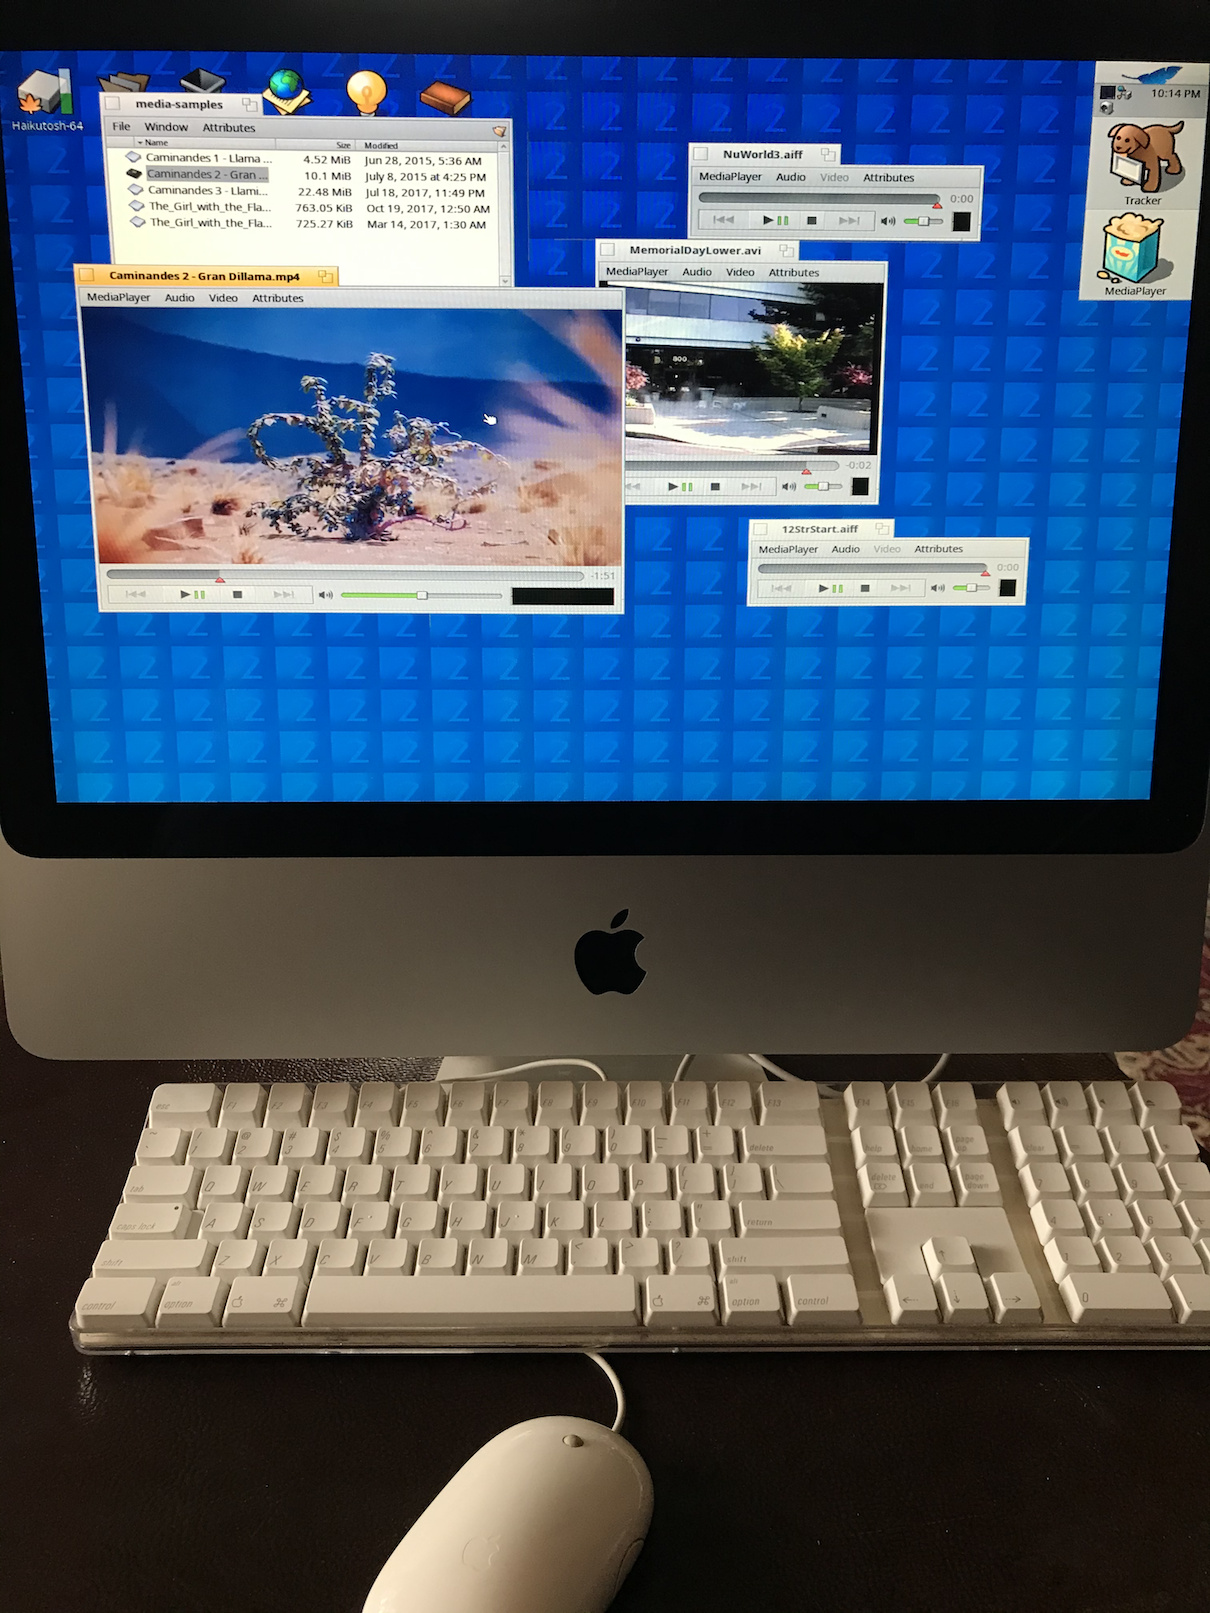
I’ve done some preliminary testing on a few Macs with the beta 2 test builds and my iMac8,1 handles Haiku great; networking works over Ethernet, there’s audio and video, and so it seems ready to run the actual Beta 2 when it arrives
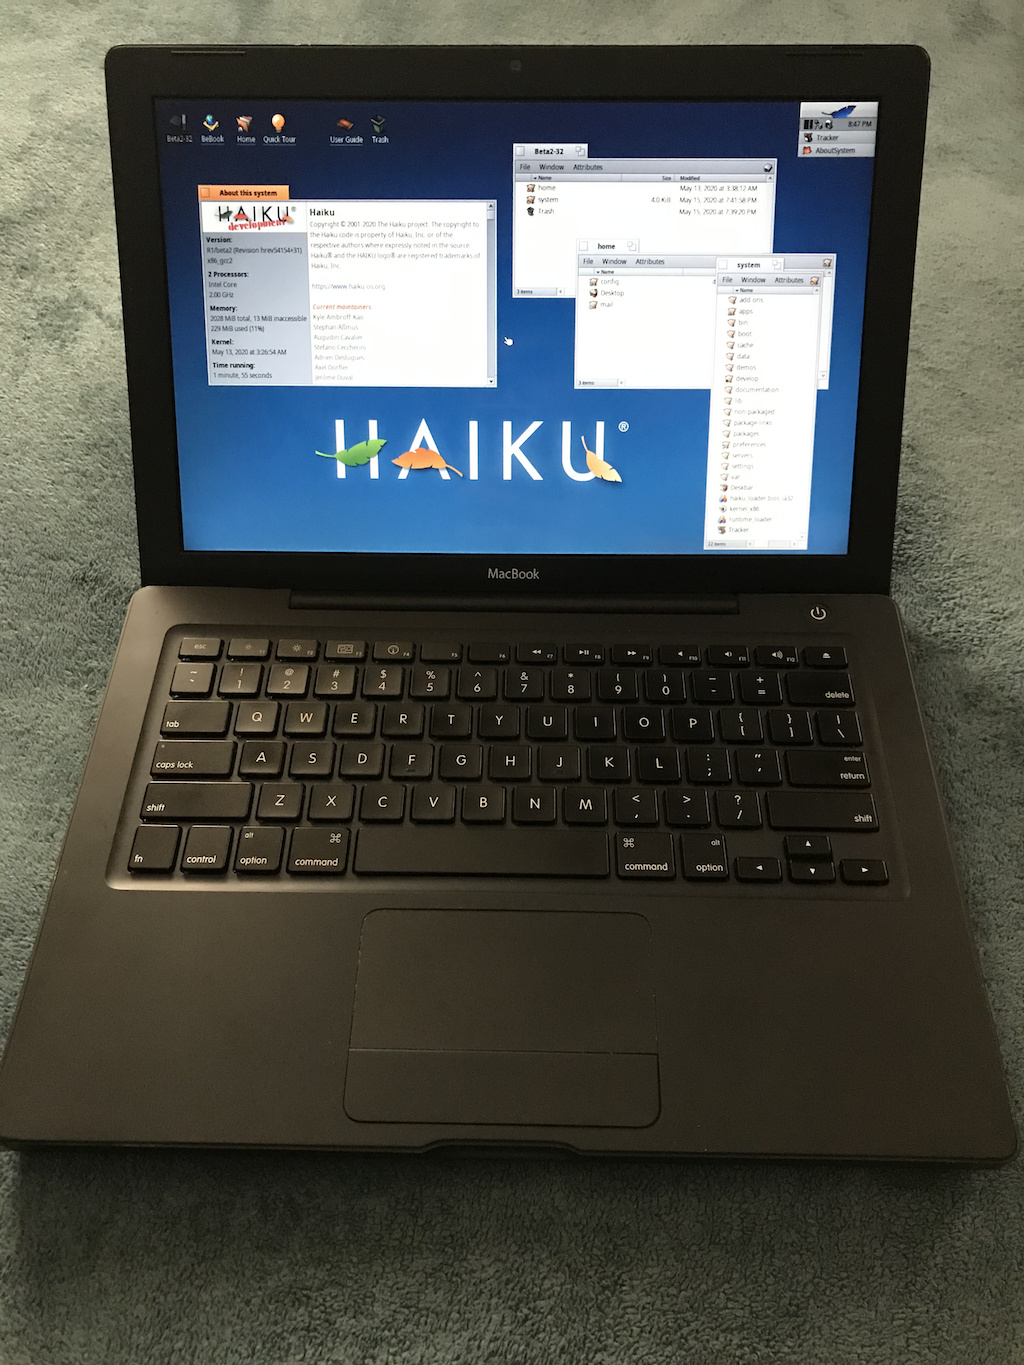
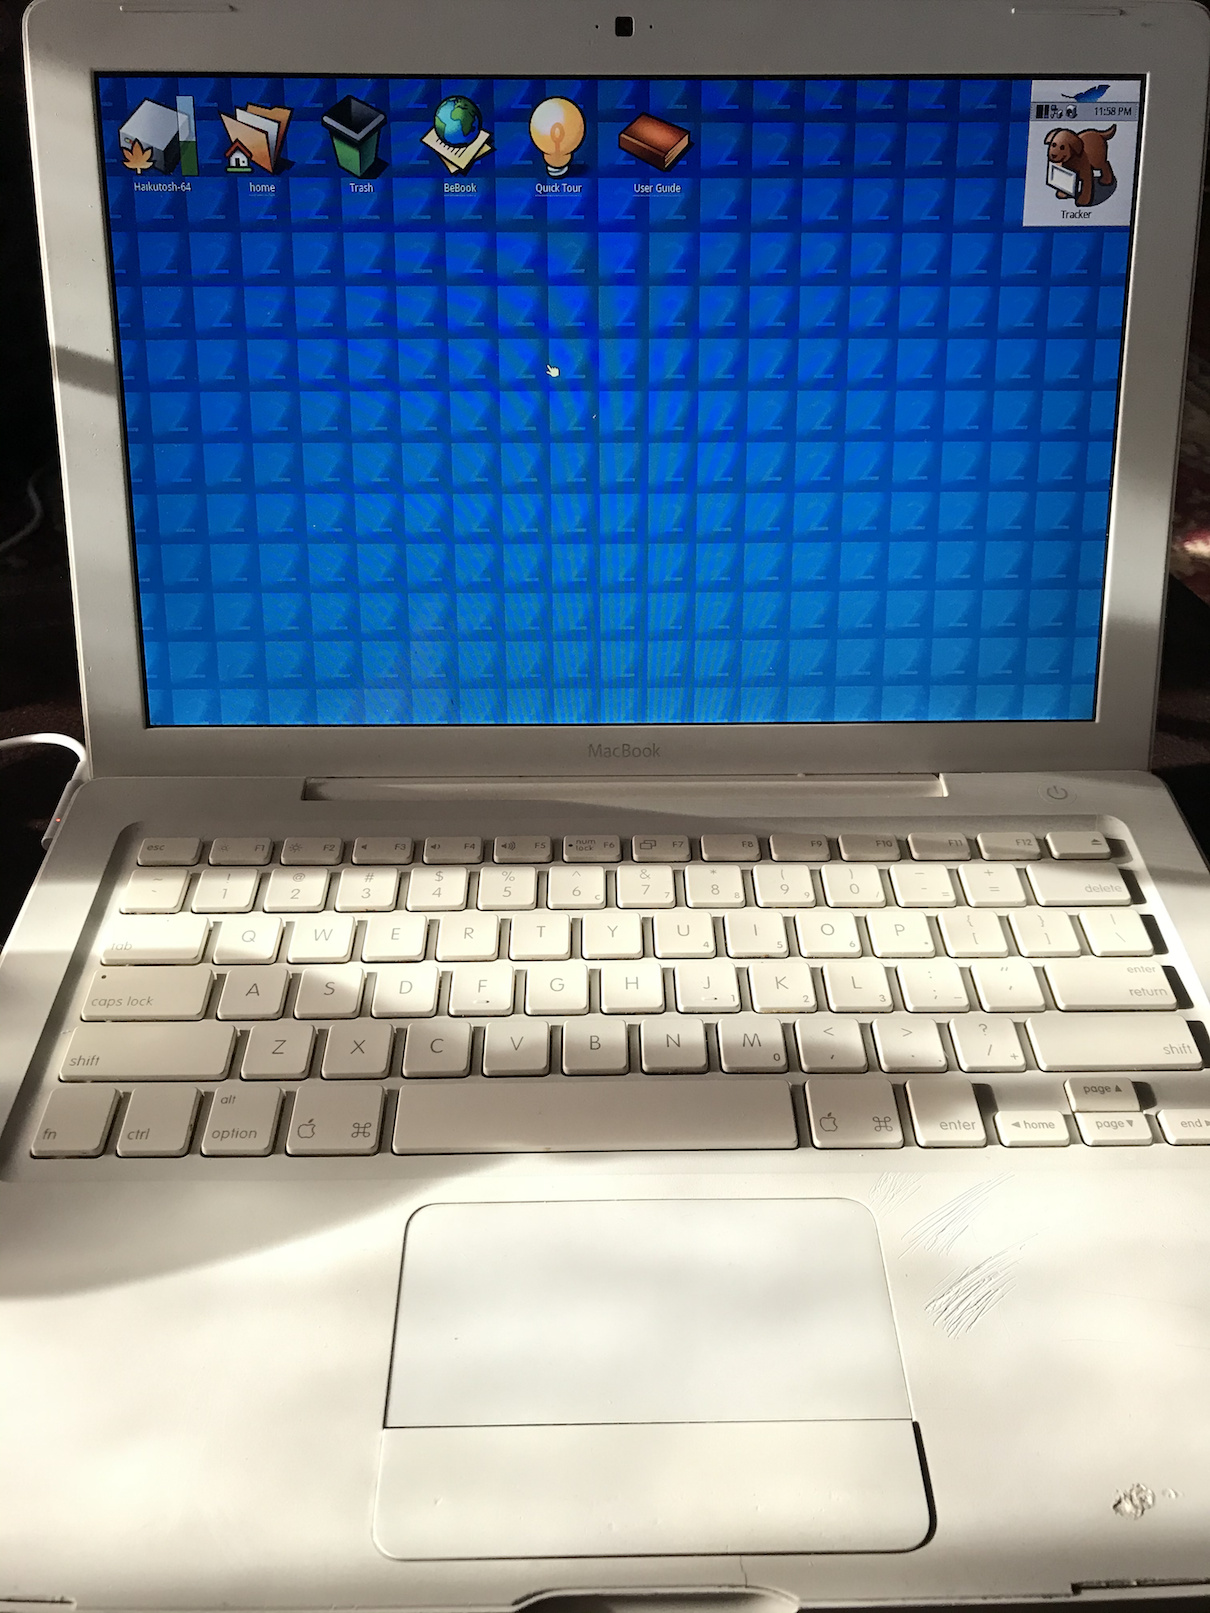
The other machine that is my usual testing station for Haiku images is my “BlackBook”, (black polycarbonate MacBook1,1) which doesn’t have sound out of the box (and needs a key to be pressed on the splash screen to ‘unstick’ it) but otherwise works well.
Anyway, for anyone else who has Macs in the community, please share your machines in this thread too
I have a late 2012 non retina (I think it’s MacbookPro9,2?) I’ll try it. How did you install? I tried a nightly burned to DVD a few weeks ago and it was quite unhappy with that and just got a black screen.
I didn’t (or at least not in the conventional sense); I imaged Haiku to disk. There are better methods to mine… but the one that I test Haiku out with is I’ll set up disk images and write them to the hard disks. And I do this by booting Mac OS from an external drive, and run dd in Terminal from there, so for instance I’ll do dd if=/Users/andrew/Desktop/haiku-images/Haikutosh-beta2testing-x64.img of=/dev/rdisk0 (if the internal disk is 0; diskutil list lists out the disks in the system.
But that’s just me. I guess I do it this way because I run VMs a lot? So I’d say the better way would be what @Diver suggested, to split the disk and use rEFInd
To be honest, I’ll probably write it to an SD card or USB stick and boot from there.
This laptop runs Catalina and I use as a daily driver for Mac and iOS development, so installing a boot manager isn’t really worth the potential hassle. There’s a Windows drive too, so maybe I can split that?!.
@apgreimann which method did you use? My 2012 MacBook Pro 13" Unibody non retina will get as far as the boot screen, but it seems to freeze. The spacebar doesn’t seem to get the boot menu. This was using a 64bit image and from SD card.
The image seems okay, as I tried the card in my 32bit only MSi Wind and got the “need a 64 bit processor” error, so I think it does work. I’ll try a USB key when I get a chance.
I usually use 32-bit and 64-bit custom disk images as its easiest for me to deploy across my Macs; the only thing about this is that it can take some time to copy (whereas the standard installation is much faster) and because BFS can’t yet be resized (afaik) the images (would recommend sparse images) need to be sized accordingly. I stubbornly stick to this myself… but its only one of several methods.
Other ways other Haikuers on Mac use include using rEFIt, where someone starts up and/or installs Haiku that way, and on older Macs, I have had some luck using DVDs to start from. There’s also some startup disk trickery that can be done as well. It’s really up to you what method to pick from. Also, I can say I haven’t tested on anything past 2012, as I don’t have any Intel Macs later than that at the moment – so if anyone does, hopefully they can contribute to the effort.
And agreeing with what @extrowerk said, right after the gray screen, try holding the shift key down.
I just put it on to a USB key so I’ll give that a go this afternoon. With SD, no keys did anything, not on laptop nor external USB. I was holding down option to get the boot menu though, so maybe that doesn’t work?
Option brings up the startup disk chooser; that’s specific to the Mac not Haiku — the Haiku boot menu recognizes both the shift and space key. If you’re using a USB stick, you’ll need to use rEFIt; I’ve tried booting from USB sticks I’ve burned Anyboot images onto directly and usually they’re not recognized. Best options are to use rEFIt, boot from a DVD, or directly image a preinstalled Haiku instance to the drive.
Installing to disk on the iMac could be not very simple, but it depends on the models. Make sure you have proper backups and macOS installers in chase you need them, before attempting a native install to the internal disk.
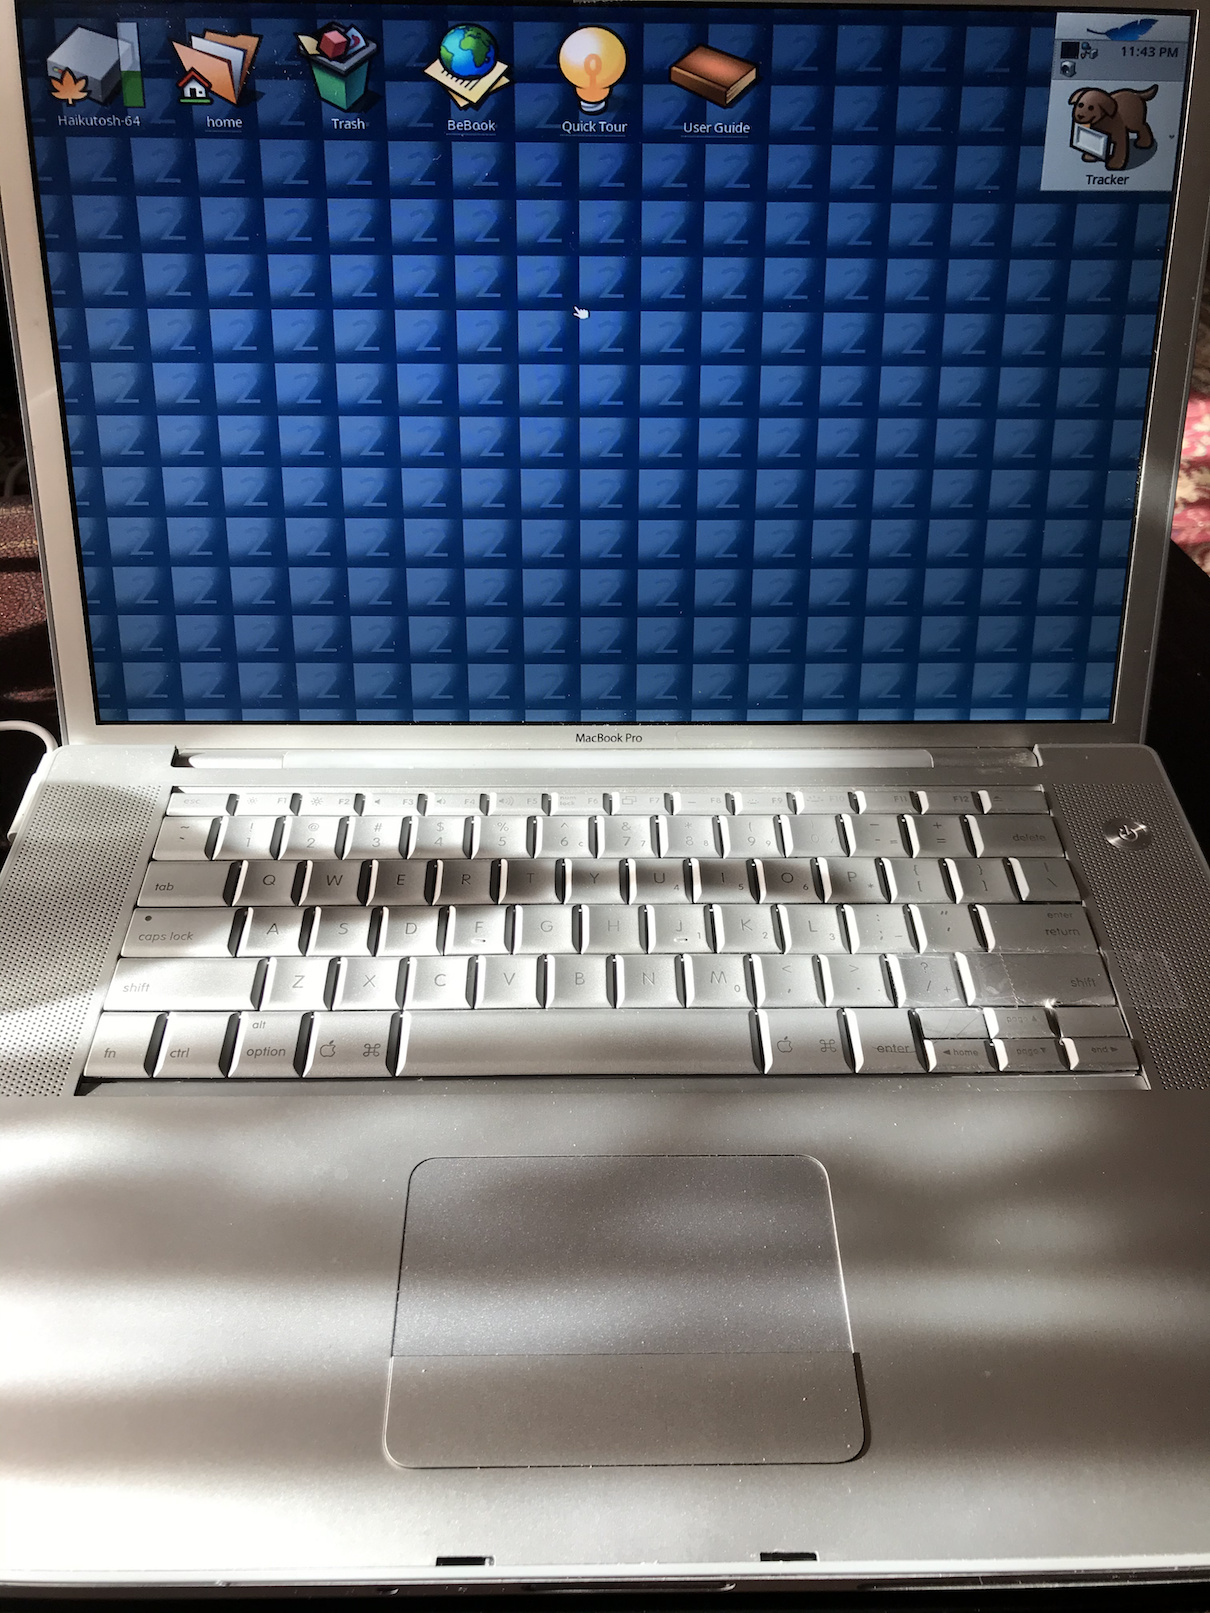
I have Haiku installed on a 2007 MacBook Pro and booting was never easy. Without a dvd drive to boot from, and not being able to boot Haiku from USB, the best I could get was dumping the Haiku installer to the second hard drive, just to be able to load the real Haiku installation on the main SSD. But if you are able to boot from USB, you already have an alternative that I missed.
I confess I don’t remember the exact steps I followed but I think it involved using disk utility or boot camp to shrink the macOS partition before installing Haiku. But if you’re using a newer system and an APFS formatted drive, I doubt it would be possible to install it side by side with macOS…
Regarding the sound support, check if using external speakers or earphones works. In my MacBook Pro, I have no sound in the internal speakers, but using the jack connector it works. If you’re a little lucky, maybe you have at least that option. And if you are able to boot a big partition, that’s very good. I wish I could do the same with my 2019 MacBook Pro.
Thanks for answering.
As i wrote in my previous post. I managed to install Haiku to an 75 GB partition. I used Disk Utility to shrink a partition, and Haiku Installer to install Haiku after booting the USB disc. Now, how to get it booting from the 75 GB Haiku partition on my iMac.
Oh… do you mean you have already installed to the internal drive? Does that partition show up when you press Alt/Option on boot? My MacBook Pro shows a “Windows” labeled disk that in fact boots Haiku.


 Also, I can say I haven’t tested on anything past 2012, as I don’t have any Intel Macs later than that at the moment – so if anyone does, hopefully they can contribute to the effort.
