This is an exact step-by-step guide for installing and running Haiku R6 on a Mac Mini Late 2012, also known as Mac Mini 6,1 with an Intel i5 processor. We will use the likewise old boot manager rEFIt to do it. My monitor is a 2160p Philips 4K display connected through HDMI.
You might have to delete all data on the machine to follow this guide.
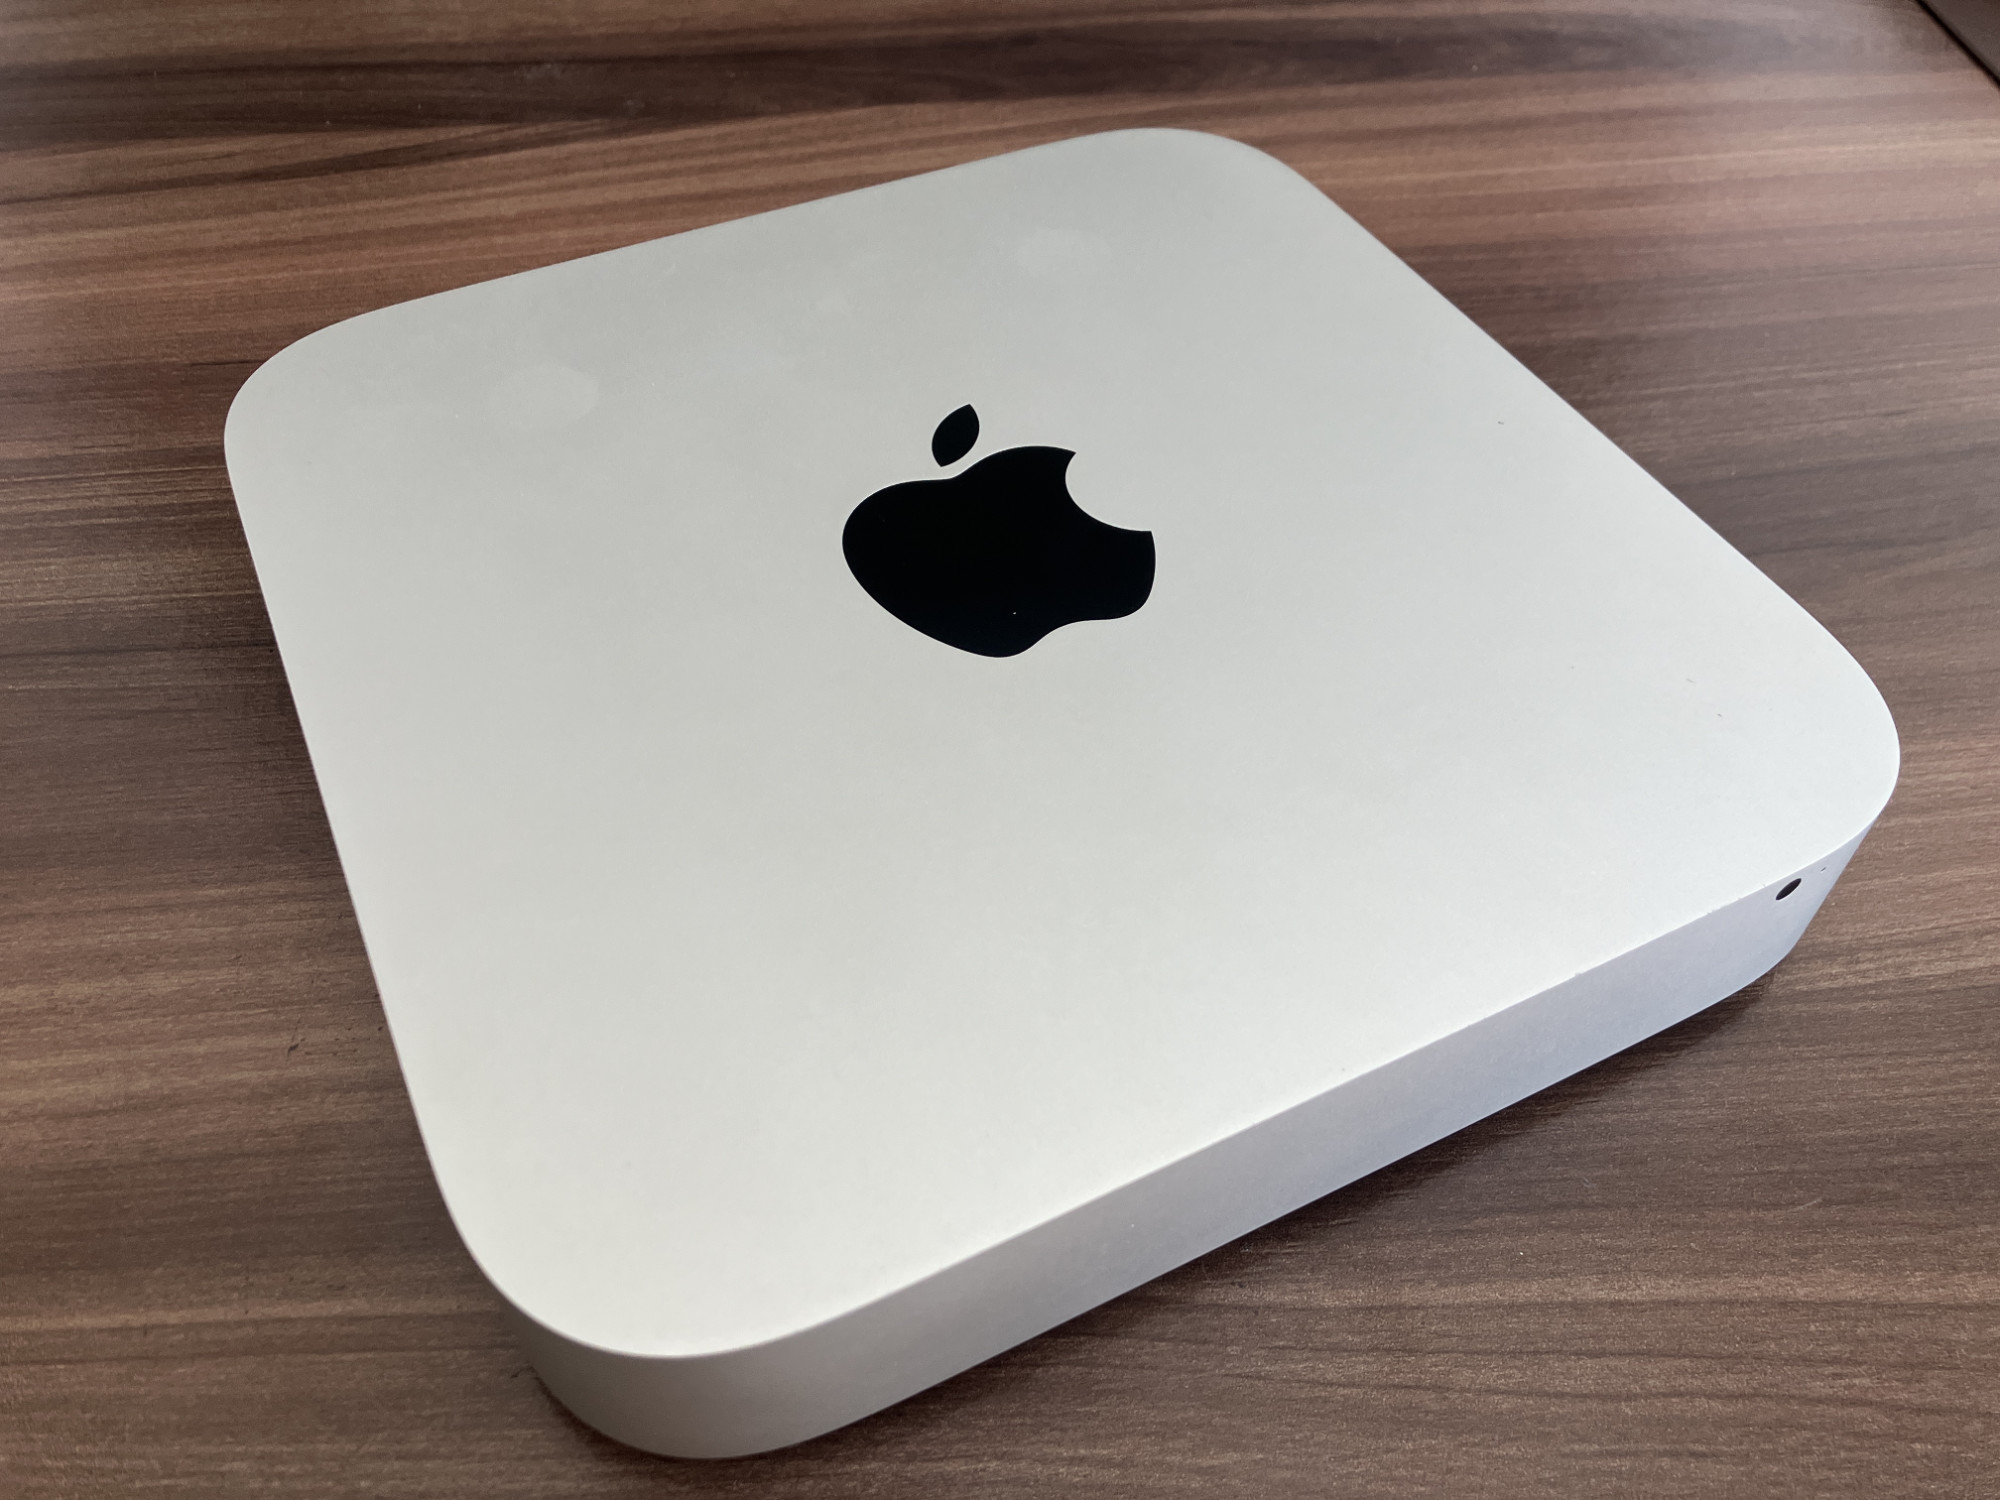
This is how it looks from the front:
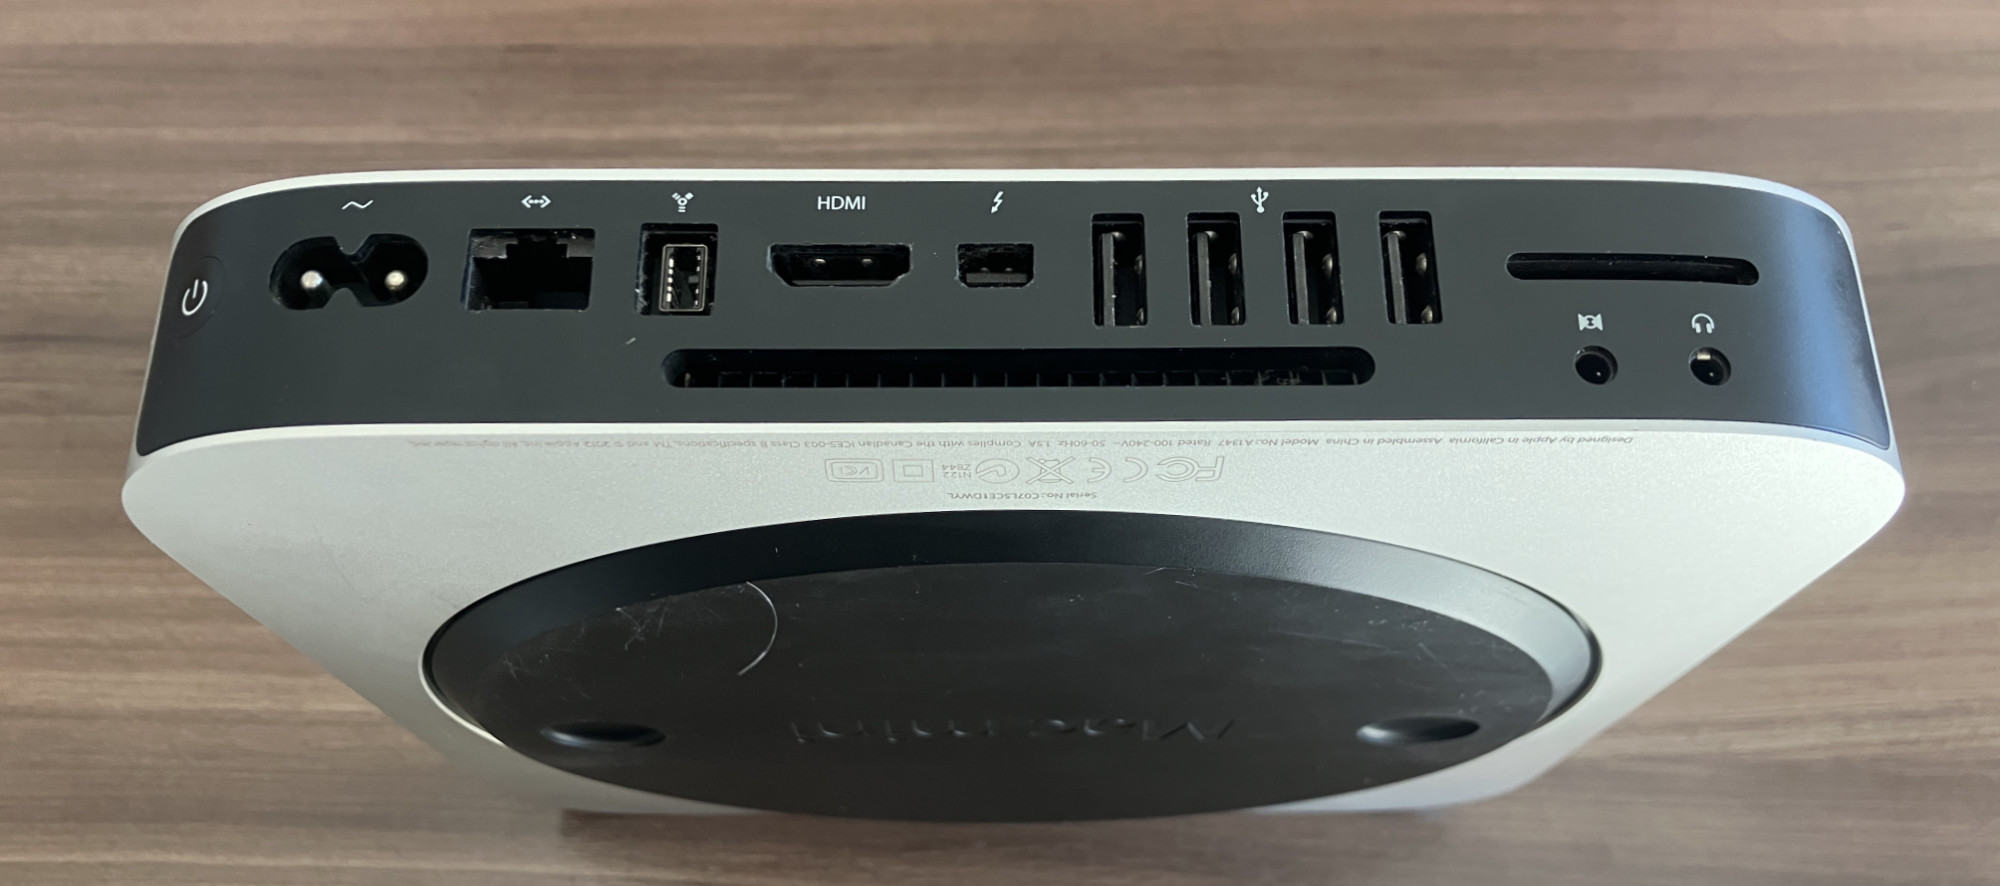
This is how it looks from the back:
Before you start
Messing with Haiku on an old Mac should just be done for entertainment. If you want to do something productive, there are many better options.
SSD Drive
You should make sure your Mac Mini has an SSD drive and not a HDD drive. This is a cheap and easy hardware upgrade and will give your machine a massive performance boost, no matter what system you use. If you just bought it second hand, it’s very likely to already have an SSD.
 These things do not work with Haiku on the 2012 Mac Mini and can’t be fixed:
 WiFi. You need to use an ethernet cable, or try a USB WiFi Dongle.
 Sound will not work at all.
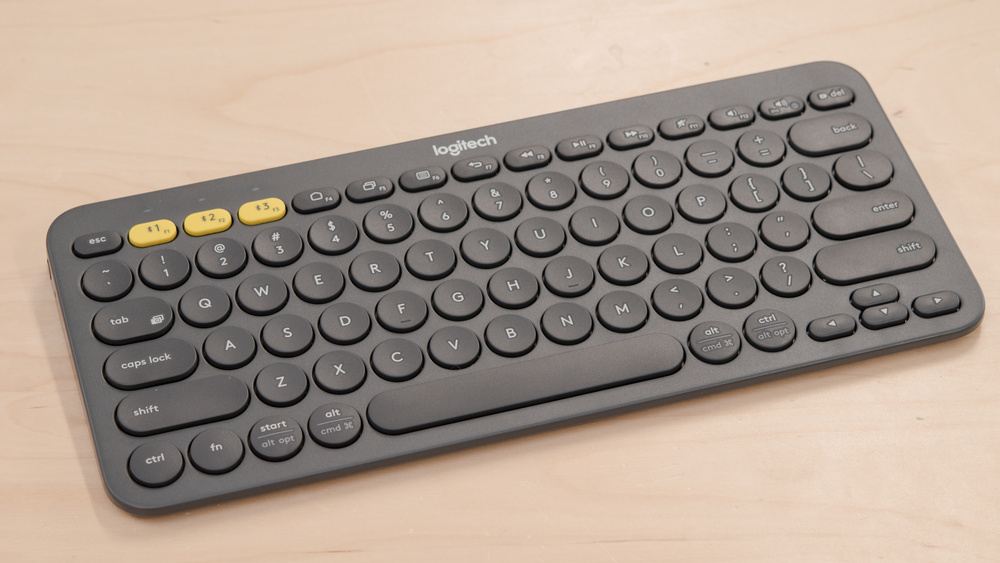
- ᛒ Bluetooth does work with the Logitech K380 keyboard. Not with Microsoft mouse and not with bluetooth speakers. Launching the Bluetooth service in Haiku will not work.
 Native graphic card driver. The fallback framebuffer is what we will use instead.
The development pace of Haiku is slow. The things above will likely never be fixed.
What you need
-
A 16GB USB thumb drive. Take care that the drive is of good quality. Fishing up an old pen drive from your drawer can lead to a lot of frustration if it is corrupted.
-
 Preferably another computer to use for flashing the OS installer to the pen drive, and for referencing this guide.
 -
 A wired USB keyboard (or a Logitech K380 Bluetooth keyboard)
 -
 A wired USB mouse
Let’s get started!
1 Stage: Prepare within MacOS
We will use the rEFIt boot manager to dual-boot Haiku and MacOS X.
rEFIt doesn’t work if the computer has a MacOS X version later than Mavericks. If your machine has a more modern OS, you have to downgrade.
(If needed) Downgrade your MacOS from Internet Recovery
 Warning: This will nuke all your data on the machine.
-
Reboot the computer and hold Command + Shift + Alt + R to enter Internet recovery mode. It will first show you a spinning grey globe. It takes a long time, so be patient. If it fails, try again. Note: Only holding Command + R is wrong and will not enter Internet recovery mode. You might have to reboot the machine several times to finally enter Internet recovery mode.
-
If you only have WiFi and no ethernet, it will ask you to connect to a network.
-
Once inside Internet recovery mode, start the Disk Utility tool to wipe MacOS from your local drive. Select the drive and “Erase”.
-
After this, you will be able to install OS X Mountain Lion on your drive. If it refuses, that means you skipped step 3.

Before moving on with installing Haiku, feel free to upgrade Mountain Lion to Mavericks, following the easy instructions given from Mavericks Forever:
Making a Haiku partition
-
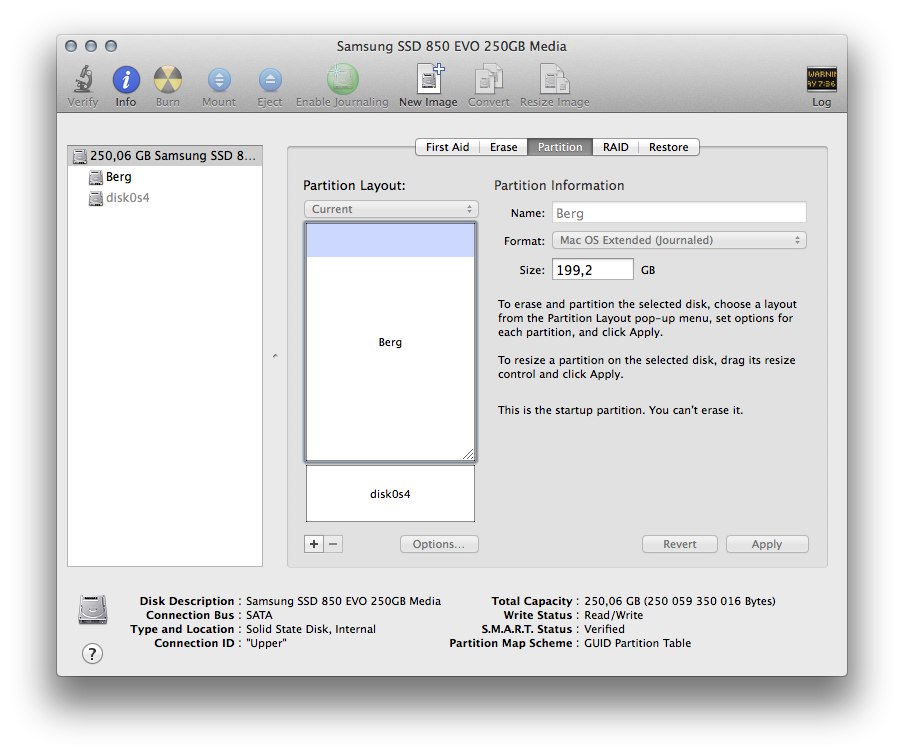
Open Disk Utility in MacOS X
-
Select your local drive and then the tab “Partition”. Make a new partition with the + button, and give it a nice name that you will remember. You can select FAT as the filesystem.
This process should be fast.
Installing the rEFIt boot manager
- Download Refit from Softpedia and install it: https://mac.softpedia.com/get/System-Utilities/rEFIt.shtml
- You have to reboot your machine 2 or 3 times before the rEFIt menu starts working. It will show up after that every time you boot your Mac.
Preparing the Haiku installer thumb drive
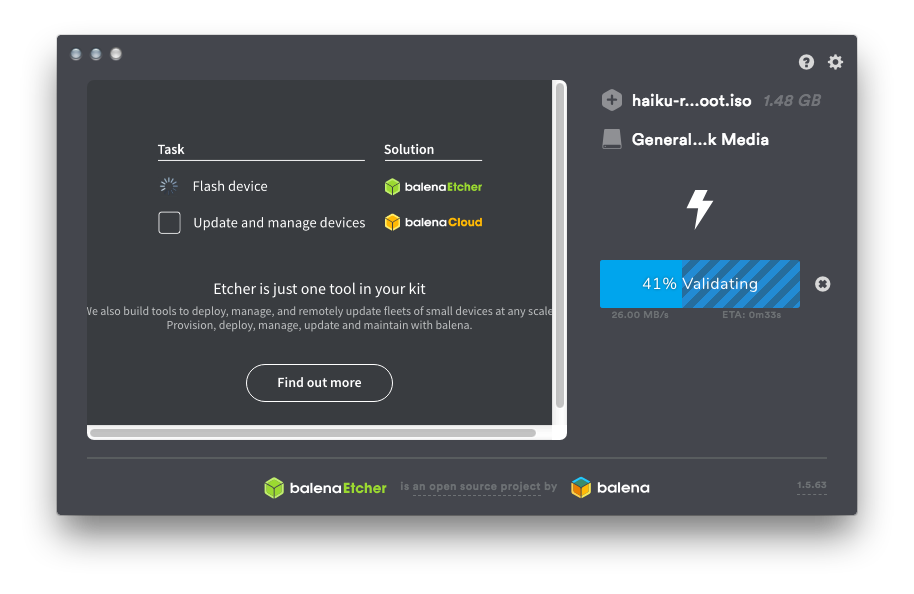
We will use balenaEtcher to flash the Haiku iso file to a thumb drive. That thumb drive will be used to install Haiku.
- Version 1.5.63 of balenaEtcher works with Mavericks and can be downloaded from here on GitHub: https://github.com/balena-io/etcher/releases/download/v1.5.63/balenaEtcher-1.5.63.dmg You can also use another computer to make the thumb drive, if you prefer.
- Download the Haiku R6 installer iso image file from here: Get Haiku! | Haiku Project or from the big yellow button on the Haiku home page. The correct file for your Mac Mini is the x86_64 version.
- Open balenaEtcher from MacOS and click the blue button “Flash from file”. Select the haiku…anyboot.iso that you downloaded.
- Click the button “Select target” and select your USB Thumb drive.
- Click the “Flash” button. It should only take a couple of minutes to flash and validate.
- Once it is done, click “Ignore” on the alert pop-up saying the disk was not readable.
2 Stage: Install Haiku from thumb drive
Now we are ready to install!
-
Insert the USB thumb drive if it isn’t already inserted.
-
Reboot your computer from MacOS
-
The rEFIt boot menu will show up. Highlight the Haiku ESP boot option.
-
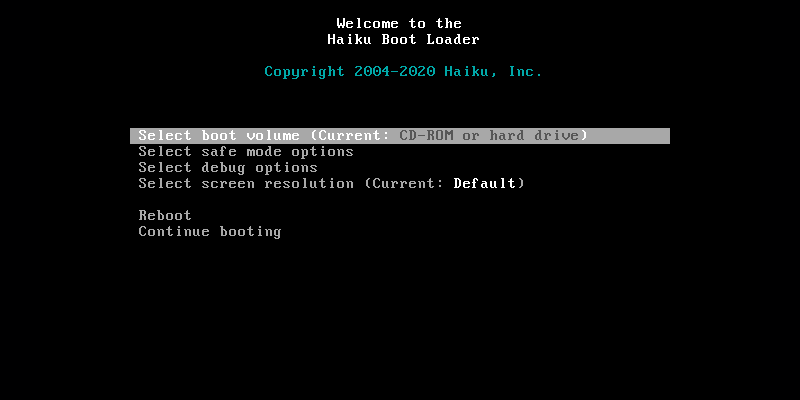
IMPORTANT As soon as you press enter, start hammering SHIFT and SPACEBAR and keep hammering them until you are shown a MS-DOS looking screen saying “Welcome to the Haiku Boot Loader”
-
Select safe mode options → Fail safe graphics driver. Select it.
-
Return to the main boot menu and select “Continue booting”.
-
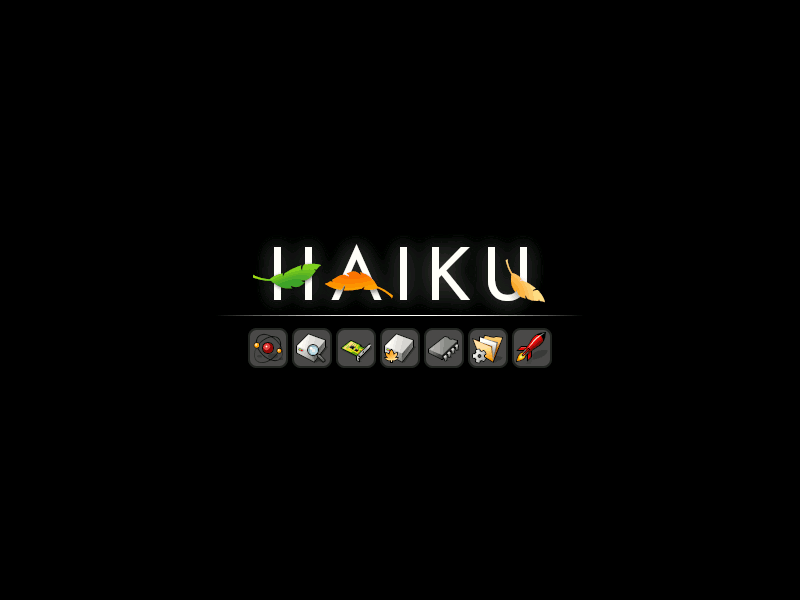
The Haiku logo will show, and the gray icons will become colorized as Haiku proceeds to boot.
-
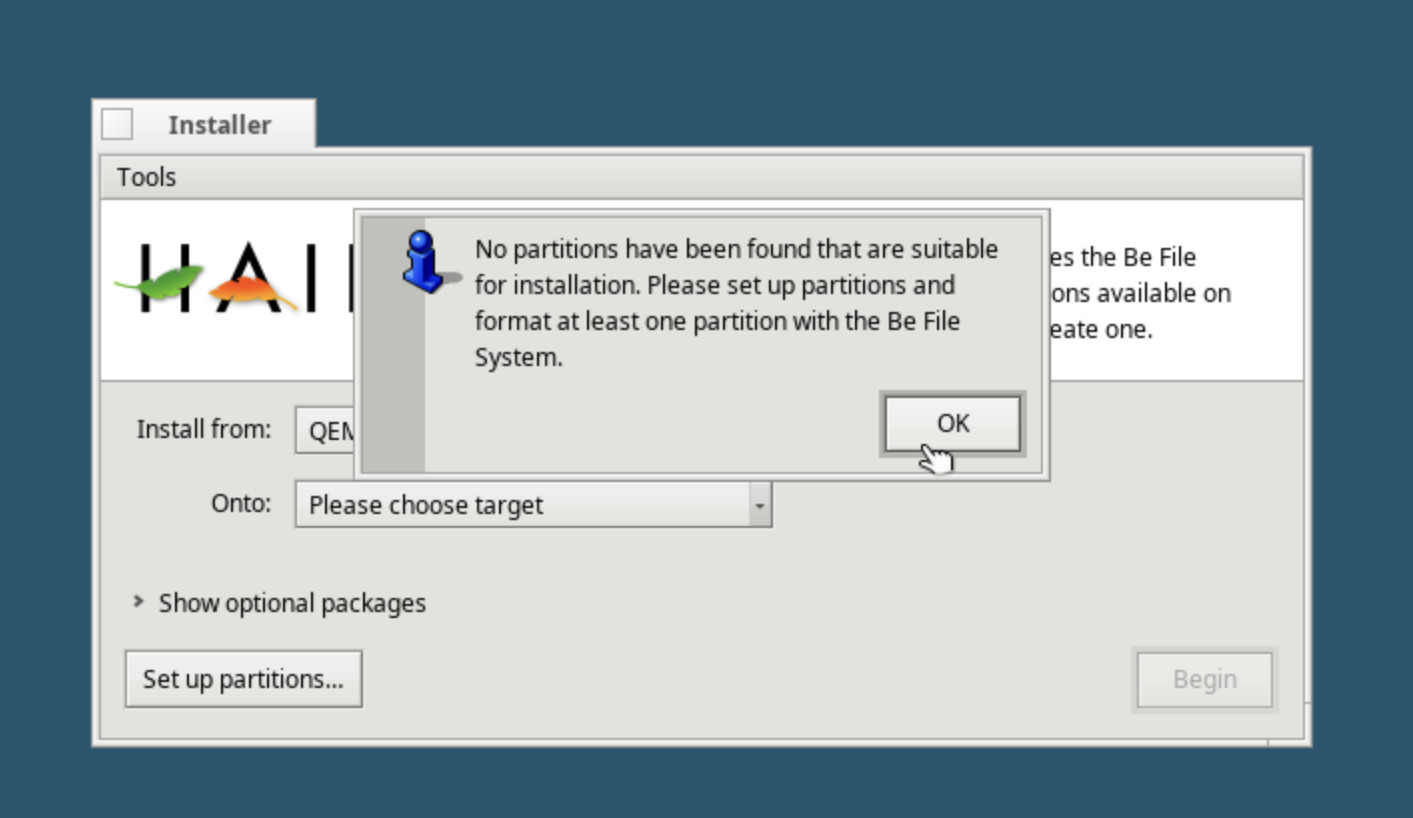
An alert saying “No partitions have been found etc” will show up. Click “OK”.
-
Click the button “Set up partitions”
-
Select the partition you made before with the nice name that you could remember.
-
Select Partition → Format → Be File System from the menu or from right clicking the partition. It will be fast. Do not begin the installation yet!
-
Select Tools → Install EFI Loader from the menu. This step is important. If you don’t do it, the Haiku boot loader will ask you to select a boot partition every time.
-
Now you can click the “Begin” button to begin your Haiku installation.
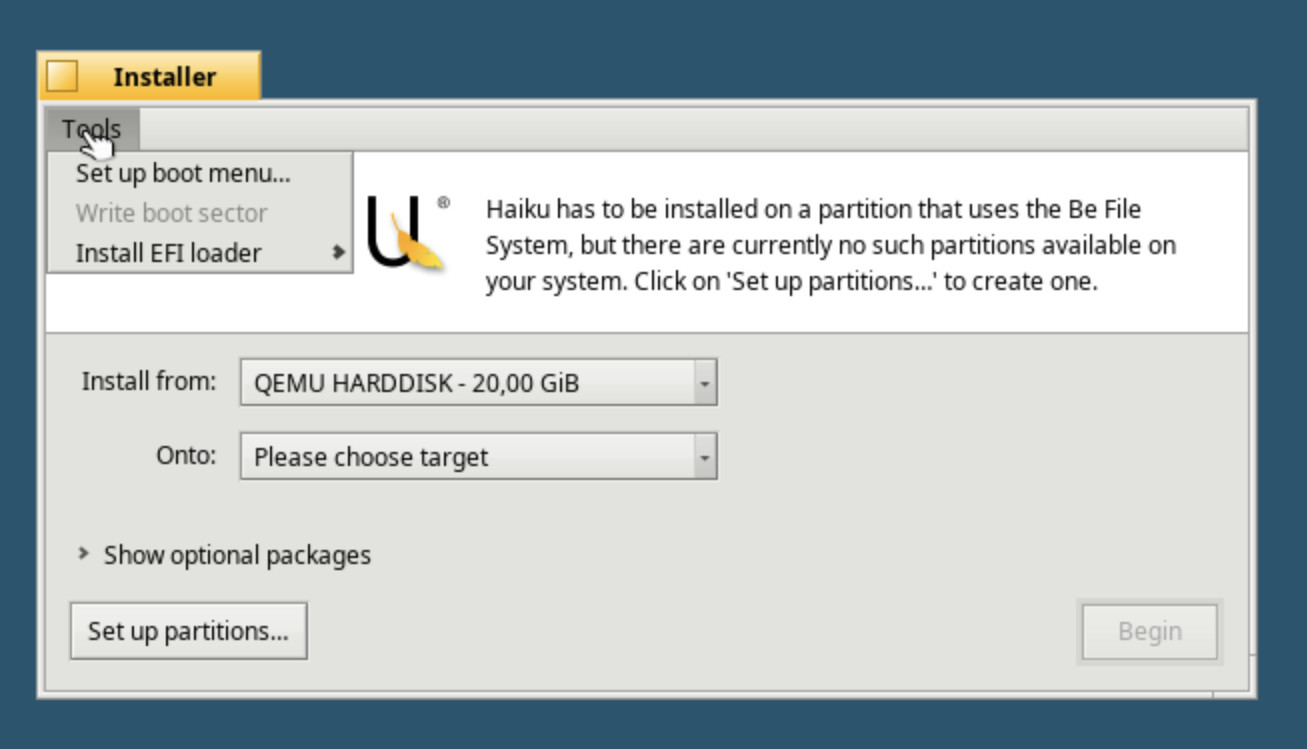
After the installation is finished, you will reboot your computer, remove the thumb drive, and boot into Haiku from rEFIt.
Remember that you have to hammer SHIFT and SPACE BAR every time you boot into Haiku and select “Fail safe graphics” until you’ve fixed the graphics in the next step.
3 Stage: After installation graphics fix
You now have two ways of booting Haiku from your Mac Mini with rEFIt. Either through EFI or through Legacy Mode. The difference is which graphics driver will be used, and EFI is much better for a high resolution display.
What we expect
- After booting into your fresh Haiku installation from EFI, your screen resolution should be 1920 x 1080 with 24bit color through HDMI output.
- Click Deskbar → Preferences → Screen to see if it says “framebuffer”. It will not be possible to change the screen resolution or any other screen settings. If it doesn’t say “framebuffer” it means you have booted into Legacy Mode, and your resolution will probably be 1280 x 720. You can proceed to the next step anyway.
Make Fail Safe Graphics permanent (easier than it sounds)
“boot” is what the partition you have installed Haiku onto is called, even if you have given it a name of your own.
-
Go to the folder boot/home/config/settings/kernel/drivers/
-
Open the file called “kernel” by double clicking it.
-
Remove the # symbol in front of the line that says fail_safe_video_mode true
-
Save the file. Do not remove any other # symbols.
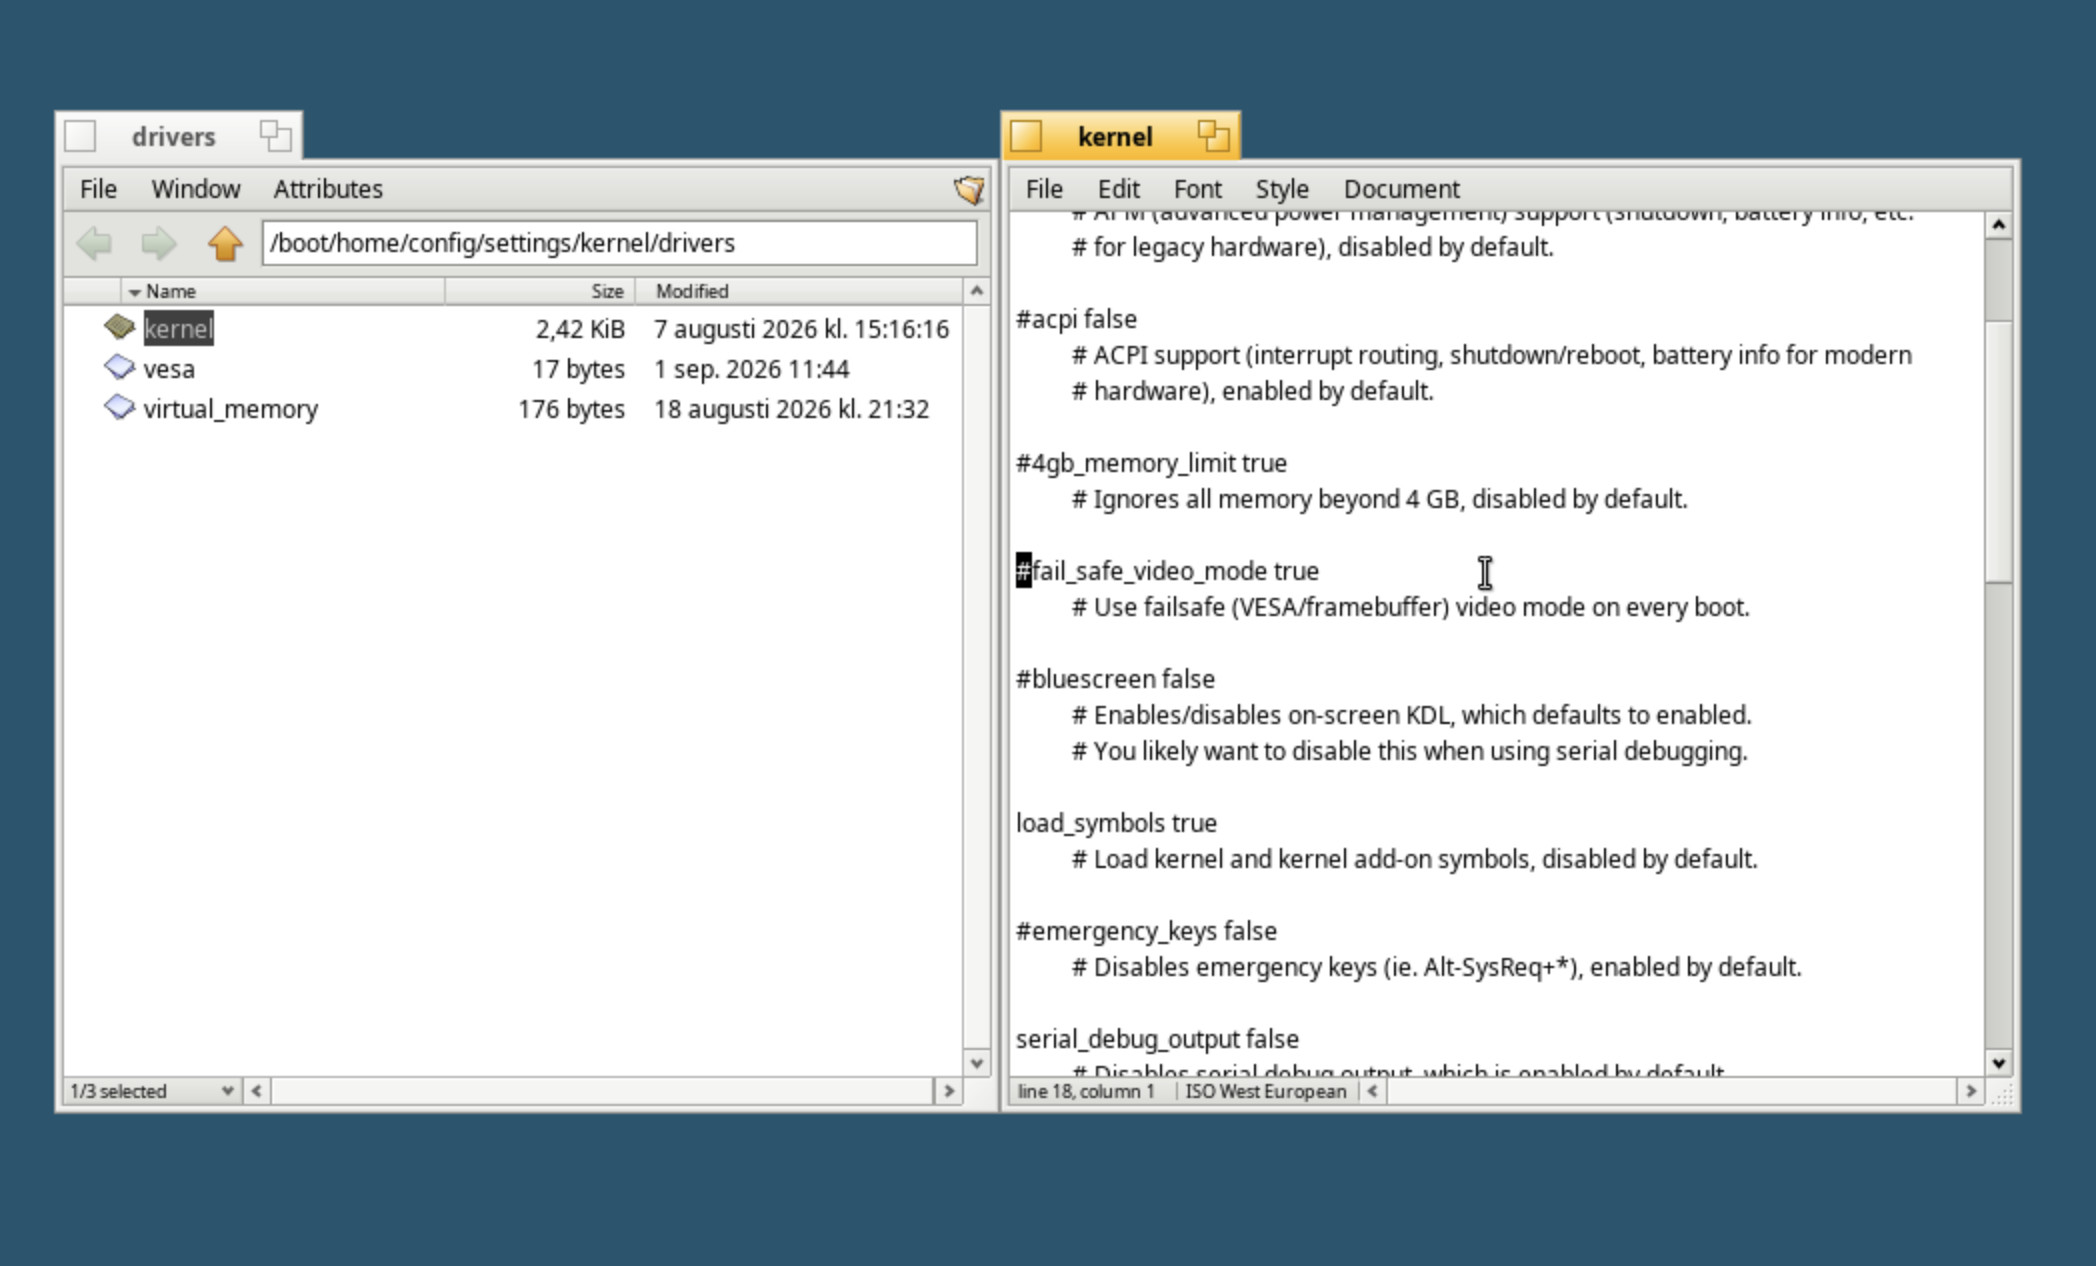
That’s it! No more hammering SHIFT and SPACEBAR every time you reboot.
4 Stage: Some post-installation improvements
Improving Legacy Mode graphics
This is not necessary if you prefer to always boot in EFI mode.
- Boot Haiku into Legacy Mode from rEFIt
- Click the Deskbar menu and select Preferences → Screen
- Make any change, it doesn’t matter. For example change the color bits per pixel.
- Click “Apply”
- The next time you boot Haiku in Legacy Mode you will have more resolution options in the Screen preferences. Not all of them will work.
The max resolution I could get in Legacy Mode was 1600 x 900 with 24bit color.
Fixing font antialias
This is not necessary if you use Haiku at your monitors native resolution.
- Click the Deskbar menu and select Preferences → Appearance
- Select the tab Antialiasing → Antialiasing type → Grayscale
Software Update
Just for good measure run the software update from Applications → Software Update
