I was able to make this work by slightly modified original instructions.
Setup
On haiku box:
git clone https://github.com/novnc/websockify.git
On another box:
wget https://git.haiku-os.org/haiku/plain/src/tools/html5_remote_desktop/HaikuRemoteDesktop.htmlwget https://git.haiku-os.org/haiku/plain/src/tools/html5_remote_desktop/HaikuRemoteDesktop.js
Usage
On haiku box
cd websockifypython3 -m websockify 5000 localhost 5001- (From another terminal)
TARGET_SCREEN=5001 Terminal(Can be another application than Terminal)
On other box
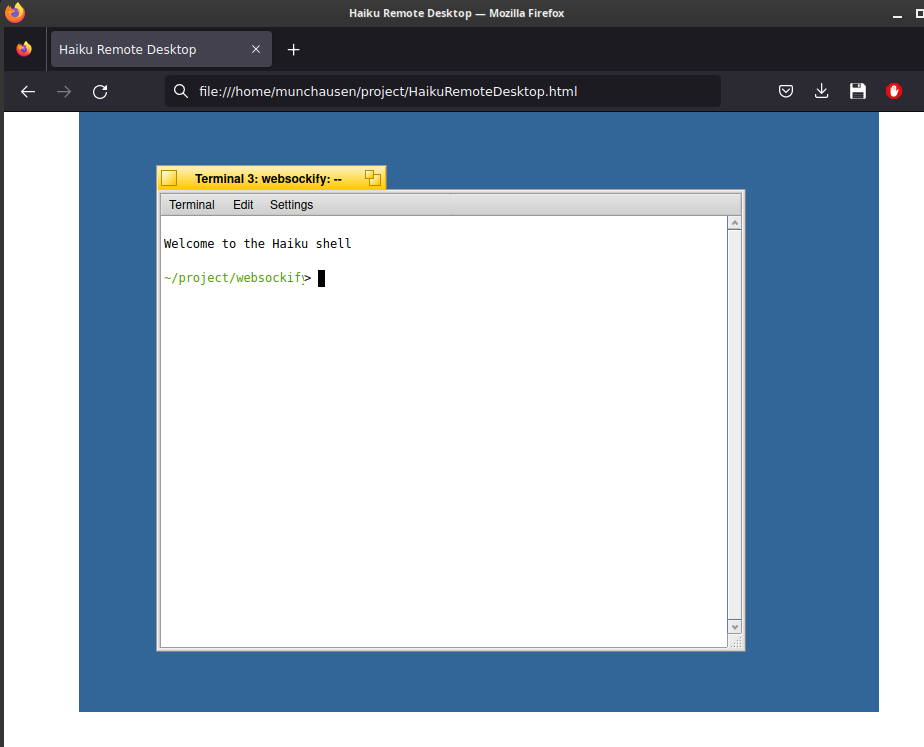
- Open HaikuRemoteDesktop.html in a browser
- Type in host ip and port (5000) and connect
Note
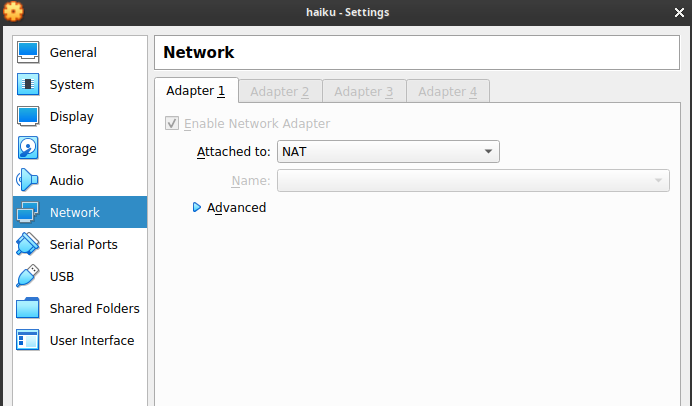
If you’re running haiku in a VM with a NAT network card setup you will need to set up port forwarding. In virtual box:
- Open VM settings, click network, then advanced:
- Click port forwarding, and add a new rule like below (replace with actual guest IP if it is different).
- This rule routes port 5000 on the guest (haiku VM) to 127.0.0.1:2222 (localhost port 2222). So now on the host machine the RD can be accessed by putting 127.0.0.1:2222 into the remote desktop html

- Voila